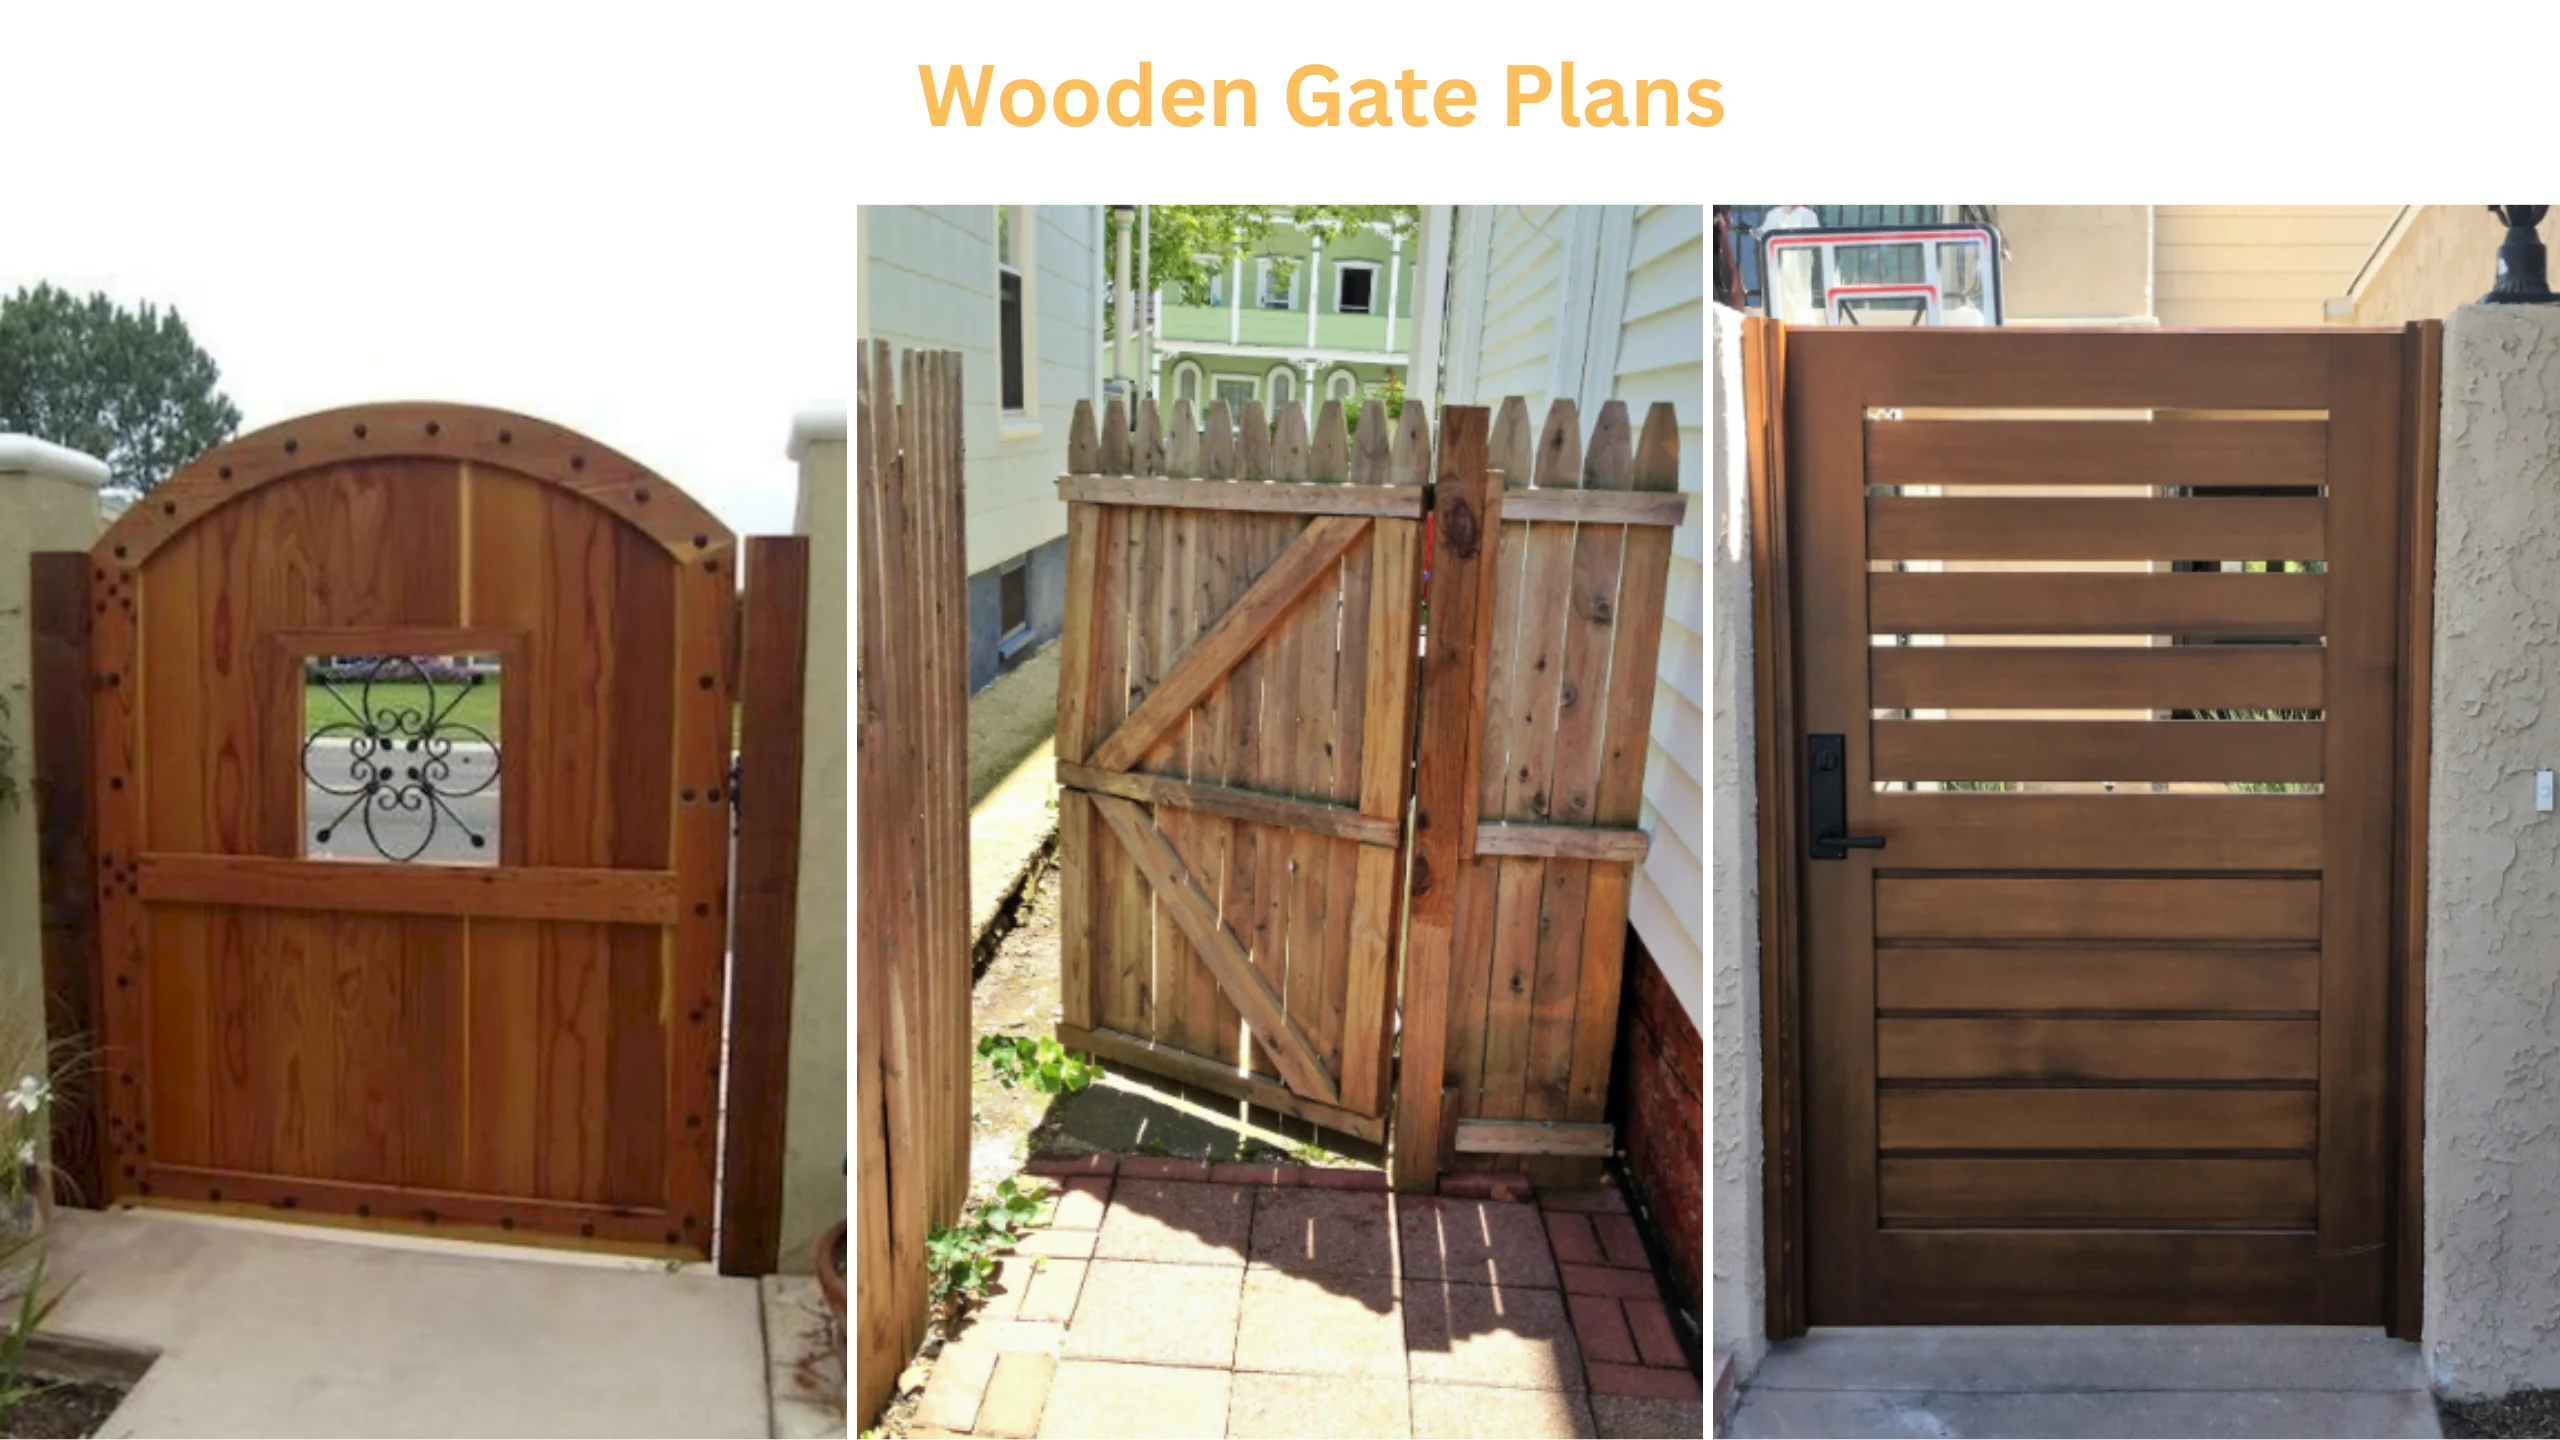
Wooden gate plans are detailed blueprints or instructions for constructing wooden gates. They include measurements, materials, and steps to create functional and decorative gates for various purposes, like garden entrances or driveway access.
Choosing the right gate design is crucial for functionality and security. Exploring DIY gate projects offers various options. Consider designs like closed gates to keep out small animals but provide easy access for pets. Knowing your choices and construction methods sets you apart in the DIY community.
This article offers fantastic wooden gate plans and designs to help you get started. Even with limited woodworking experience, you can follow the detailed instructions and blueprints to create your gate. These resources make your DIY gate project accessible and achievable.
Source Pinterest
List of 10 Wooden Gate Plans
Here is a collection of free wood gate designs that may be built without prior carpentry knowledge. Naturally, the plans range in appearance, expense, and complexity.
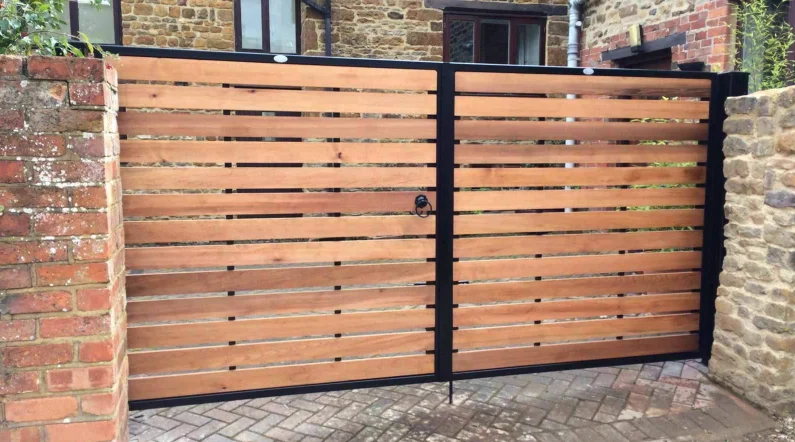
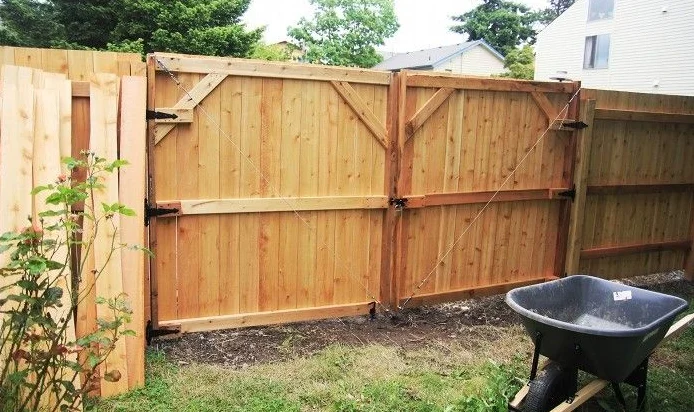
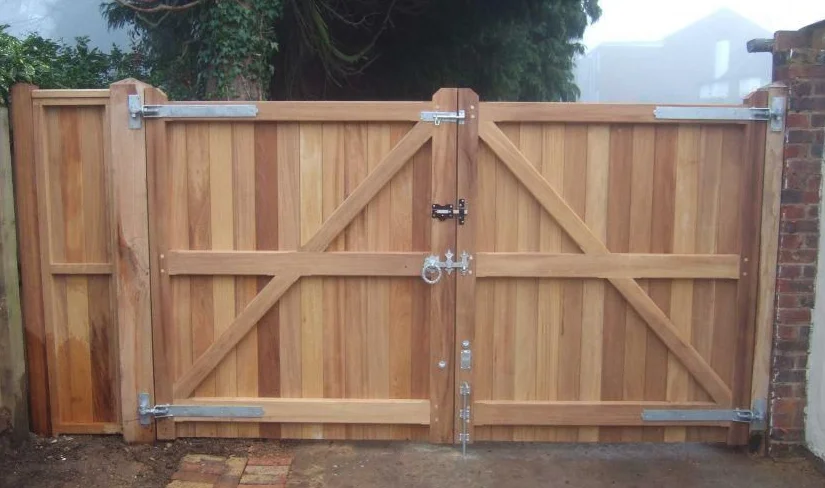
1: Double-Lumber Gates
Source Pinterest
Here, we have a substantial double gate with wood and sturdy hinges. Large gates like this one must be aligned correctly to ensure they lap properly and open without colliding with obstructions.
The gate may swing open or closed at will because of the kind of hinges used. It looks best in a public area where everyone can admire it. There’s greater space to maneuvre large machinery via the two gates.
However, you’ll need much more material to construct this one than lesser gates compared to lesser gates. This gate is secure and cannot be opened by anything except large vehicles. If you’re a DIY enthusiast with some woodworking skills, give this a go.
2: Concrete Posts Wood Gate
Source Pinterest
Gates mounted on concrete supports are more secure and long-lasting. It combines a sturdy timber gate with the ever-reliable concrete posts, and this design is our top pick for the longest-lasting wood gate.
Making the post structure hold the wet concrete while it cures is the first step in building the gate from the ground up. The latches and door alignment must be checked and corrected before the gate can be mounted.
The look, budget, and time commitment of your project depend on the sort of wood you pick for the covering. You will likely require someone else’s prior woodworking knowledge and a helping hand to do this task.
The size and complexity of these doors make them impractical for a single person to manage. This gate looks fantastic with a muted wood stain.
3: Removable Cedar Fence
Source Pinterest
These cedar gate slats are a great option for anybody searching for a beautiful, long-lasting wood gate that can withstand the elements. It has a simple wooden frame with aligned cedar slats covering the structure and increasing its height.
The wooden slats are close together, so the only way for animals to approach you is via the gap under the door. The frame, door locks, and hinges need unprocessed cedar slats “2 by 4” wood. The instructions in the manual are straightforward and should help anybody build a wooden gate.
Keep the gate unpolished for an authentic wood appearance. The natural wood grain is a frequent design element for wooden gates, and this strategy makes excellent use of that trait.
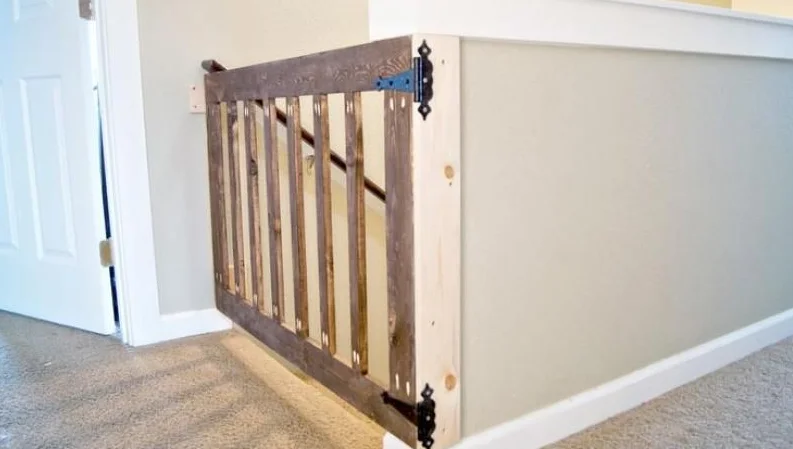
4: DIY Baby Stair Gate
Source Pinterest
This stair gate is a must-have if you have a young child and your home has steps. A wooden gate may also be placed within the house. Your apartment’s gate may be located within the building, blocking off the stairwell.
For baby safety on stairs, opt for a short gate matching the stair rail’s wood ideally. If needed, use similar wood or one harmonizing with the design. Craft a simple gate with a frame and crosswise wood pieces, stained to match the railing finish.
Secure it with a door lock to prevent infants from opening and wandering off. Because it is a modest gate, construction requirements are low. Since the only cuts you’ll make are straight lines, no miter saws or other specialized equipment will be necessary to do this job in less than three hours.
5: Classy DIY Wooden Gate
Source Pinterest
The cream-colored wooden gate is an elegant touch in this design. The gate is as high as standard doors, but you may make it shorter to suit your needs by adjusting the dimensions in the accompanying design.
You’ll need four 1x6x8-foot boards, two 2-by-6-by-8-foot boards, and one 2-by-8-by-four-foot board. To reduce the size of the boards, you will also need cutting equipment and other supplies.
Because of its massive dimensions, the door needs specific joints to keep it from drooping. A finish in a creamy color is not only lovely but also quite effective at making the door seem like it’s larger than it is.
You may use a different color to make it less noticeable against the wall’s background or fence surrounding it.
6: Solid Western Red Cedar Gate

Source Pinterest
This wooden gate design prioritizes safety and longevity. Long-lasting and aesthetically pleasing, a door made from cedar wood following a traditional wooden gate layout will stand the test of time.
Not even the tiniest animals can get through the gaps between the wooden planks in this design. The construction of this gate requires careful measuring to provide a snug fit between the panels.
This strategy is best for those with DIY experience but not professional chops. The plan calls for several 2x4s and 1x6s of cedar, nails, glue, gate locks and hinges, a drill, a clamp, and a table saw, among other tools and supplies.
7: Crisp Picket Gate Decor
Source Pinterest
The dimensions of the gate in the blueprint are 3 feet in height and 2 feet in width; however, these dimensions may need to be modified to suit your needs. If you have a wooden picket fence, it looks best with a matching pocket gate.
But even if you don’t have a picket fence, you may still utilize a picket gate to keep your kids safe and certain animals out. You can easily see what’s going on the other side of the gate thanks to the peaceful, see-through design of the picket fences.
You may paint it to go in with the rest of the room or stain it to make it appear like natural wood. Even a DIY newbie may see how simple this picket gate design is and build one without a blueprint.
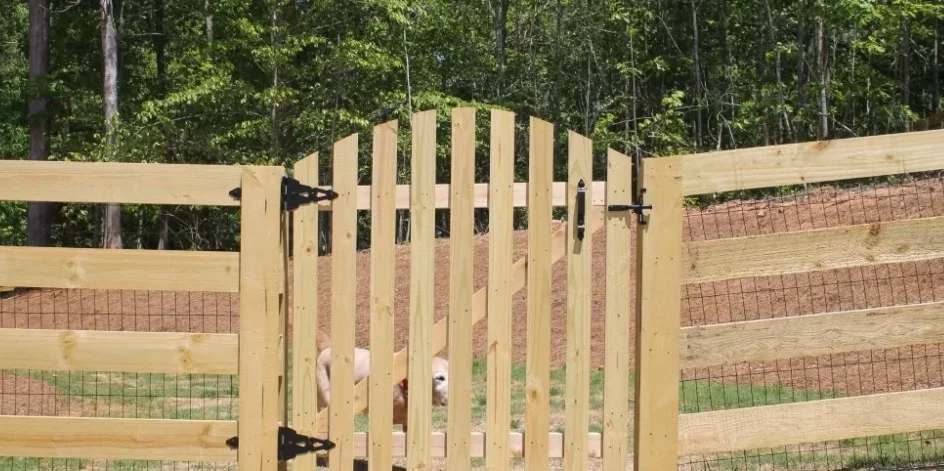
8: Double Pallet Wood Driveway Gate
Source Pinterest
Sometimes, a basic layout is needed to get the desired results. It is comparable to the gate frames; however, the gate has no covering. Instead, just the framework itself is enclosed.
Most animals readily pass the gate, making it inappropriate for security or seclusion. The driveway and the garden are two examples of situations where less seclusion is desirable, making them ideal for the double-frame gate.
It’s one of the simplest gate designs we’ll feature; even a beginner can assemble it easily. The gate may be completed in less than two hours, depending on your preferred conclusion. This gate plan is fantastic if you want to save cash on materials without sacrificing the quality of your home’s gate.
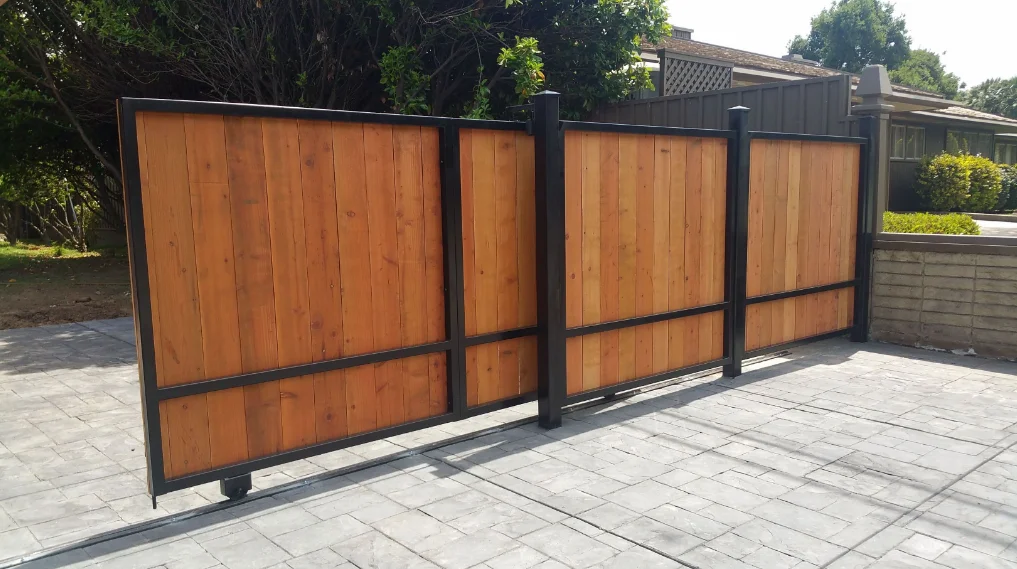
9: Retractable Gate
Source Pinterest
Sliding gates made of aluminum or metal are relatively widespread. However, sliding gates made of wood are rare. The design of this wooden gate features rollers at the bottom and a top rail for guiding pedestrians through the entrance.
When the gate overlaps a wall, as in this design, it is possible to use the available space effectively. The beautiful sliding wooden gates will surely be the topic of discussion wherever it goes.
A novice may install the gate, but precise alignment may need the help of a professional carpenter. The gate may be constructed using relatively few components, depending on the size.
This job may be finished in a few hours, whereas staining can take anywhere from one to twenty-four. Medium-sized animals can’t go through the small fence, but energetic pets like dogs and cats can.
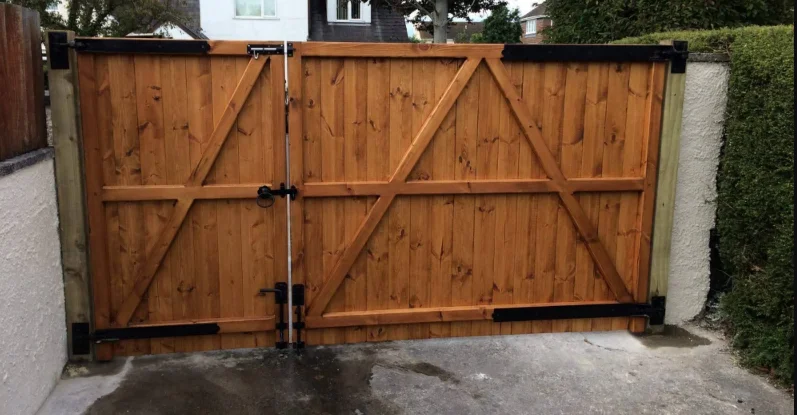
10: Strong Driveway Gate

Source Pinterest
To avoid road injuries, dogs and children need a sturdy driveway gate. The fence will not only confine dogs and kids but also deter strangers and ensure their safety.
You’ll need to think about aesthetics and privacy while deciding how high to build this gate. The gate’s final wood will be chosen based on several factors, including availability, aesthetic preference, and required durability.
Whether or whether you have walls around the gate area, posts are necessary for stability. It takes substantial posts to support a substantial gate. However, if you want the most sturdy, you may have to cement it into the ground.
How to Make a DIY Wood Gate?
Basic Tools that You Will Need
- Clamps
- Power Drill
- Pencil
- Chisels 10 mm, 25 mm
- Sheet Rock Screws
- Mortise gauge,
- Rule,
- Timber
- Glue
How to Construct a Wooden Gate?
Step 1: Gate Location
Begin by selecting the perfect spot for your gate. If it’s part of a fence, place it where the panels meet. For standalone gates, determine their ideal position. Use a measuring tape and pencil to mark this location accurately.
Step 2: Lumber List
Calculate the exact lumber sizes you need for your DIY gate. For example, for a 6 ft by 8 ft gate, you’ll require two 6 ft vertical pieces, two 8 ft diagonal beams, two 4 ft horizontal beams, and two 3 ft horizontal rails.
Step 3: Cut the Lumber
Now, it’s time to cut the lumber according to your measurements. You can use a power saw, circular saw, or a handsaw.
Pay close attention to the markings on your lumber and double-check your cuts with a measuring tape. If you’re using a power saw, remember to wear safety goggles. When using a hand saw, ensure the lumber is adequately supported.
Step 4: Mortise and Tenons
Create notches, known as mortise, on the diagonal beams. These notches will fit into your gate frame. Also, cut corresponding projections called tenons on the vertical and horizontal rails.
Step 5: Build the Gate Frame
With all your lumber pieces cut and marked, assemble the gate frame. Start with one side and secure an end piece to the other using clamps. Then, fix this assembly between two diagonal beams, using two dowels as hinge pins.
Repeat this process on the opposite side with the other end piece. Afterward, install the verticals, using tenons to secure them to the ends. A mallet or hammer can be handy for tapping the tenons in place. Finally, attach the horizontal rails using dowels and glue.
Step 6: Add Boards and Braces
With the frame complete, it’s time to add boards to the top. Cut square mortises using a tenon saw and apply wood glue to the corners.
Set the boards on top to align them with the frame. Next, use two more boards and two additional dowels to create diagonal braces. Once again, apply glue in each corner and attach them using a tenon saw or mallet.
Step 7: Sanding
After assembling the gate, thoroughly sand the surface to eliminate splinters or rough spots. Pay attention to corners and joints to ensure a snug and smooth fit.
Step 8: Finishing It Up
Finally, consider adding a finishing touch to your DIY wood gate by painting or staining it. It not only adds style but also protects against the elements. Choose a color or finish that complements your overall design and aesthetic preferences.