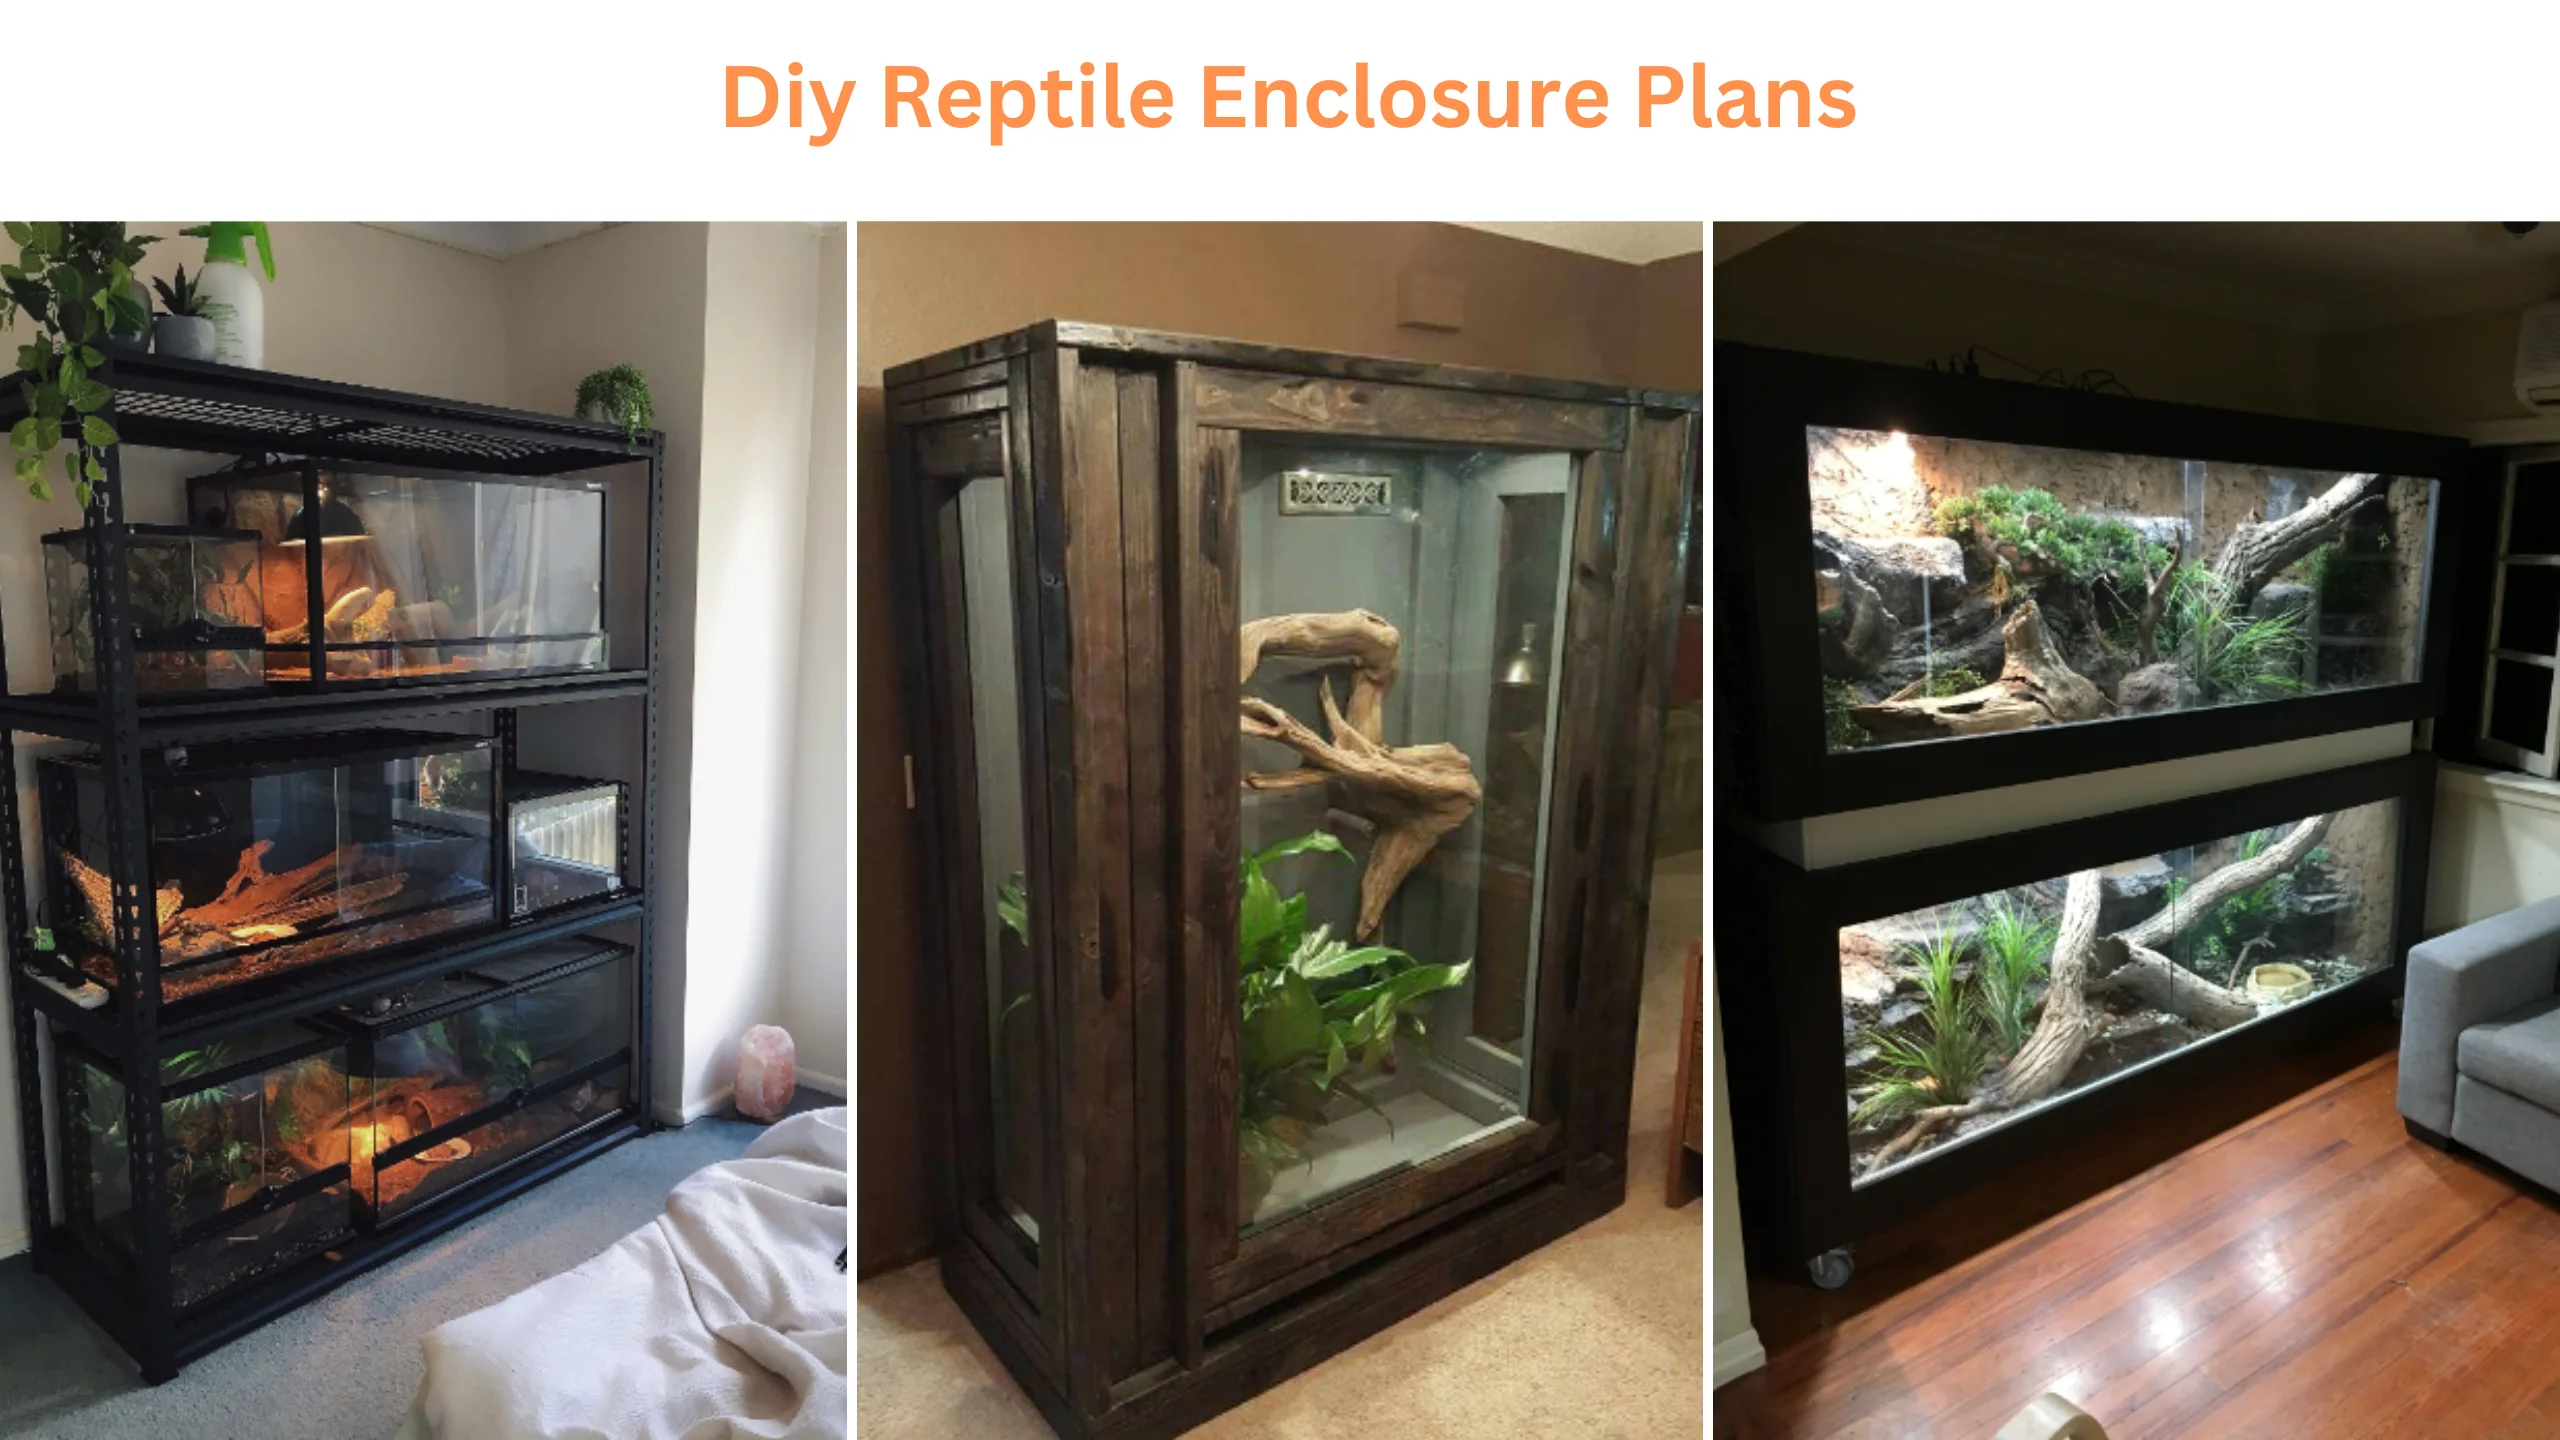
DIY reptile enclosure plans give people who like reptiles as pets or are interested in them a fun way to build safe homes for their cold-blooded friends. These plans are a doorway to a creative world where the needs and tastes of snakes are taken into account, and the owner’s style is shown.
With DIY lizard cage ideas, we set out on a trip that goes beyond just caring for pets. Whether you’ve kept reptiles before or this is your first time, these plans allow you to make settings that fit your reptile’s type, size, and natural needs.
There are a lot of different choices, from lush jungle settings for tree-dwelling species to dry areas for snakes that like the desert.
Join us as we learn how to make DIY lizard houses that are both creative and useful, giving these unique and interesting animals a place to live that is healthy and happy. It’s a trip where love and work come together to give snakes the home they deserve.
Source Pinterest
List of 10 DIY Reptile Enclosure Plans
Following is a list of DIY reptile enclosure plans:
1: DIY Iguana Cage
Source Pinterest
Caring for adult iguanas is a captivating experience due to their unique characteristics and diverse sizes. Crafting their habitat is achievable by following these instructions, offering the flexibility to place it indoors or outdoors.
Both options have distinct requirements; outdoor enclosures involve fence posts. Begin by assembling the frame structure in a spacious location, making it easier to work with larger pieces. Secure the wooden fence posts, attach the door, and install wire mesh.
Finally, add plants to the base. Your DIY iguana enclosure is now ready to welcome its new resident, creating a functional and artistic habitat for these fascinating creatures.
2: Simple DIY Reptile Enclosure Plan
Source Pinterest
This easy-to-follow do-it-yourself reptile cage layout is an excellent option for pet owners with reptiles. The melamine housing provides a flexible foundation for sizing options in the design.
You’ll need to purchase the melamine in sheets, cut them to size, and then screw the pieces together. PVA glue seals the cutout melamine, and the edges are pressed flat with iron.
Apply a sealer around the perimeter carefully and let it cure thoroughly. Putting in a pane of glass as the front cover is the last step. The do-it-yourself terrarium for reptiles is complete.
3: DIY Enclosure for Brazlian Rainbow Boa

Source Pinterest
For this project, you’ll need old glass windows, which are easy to get by. If you’ve ever done remodeling work on your home, you probably have a few unused window panes.
The strategy is straightforward. The edges of newly cut glass should be cautiously handled since they are very sharp. Sanding them down may reduce the risk of injuries on the job.
After slicing the glass, the pieces must be put back together to form a container. Try to put the glass box together correctly, so you understand later on. Join the glass together at the borders with GE silicone I.
The next step is to work with wood to shape the sides seen from the front. These trimmings are handy when connecting the door to the terrarium and the hinges. After that, you must screw the door into position and drill pilot holes in the wall.
4: DIY Tortoise Cage
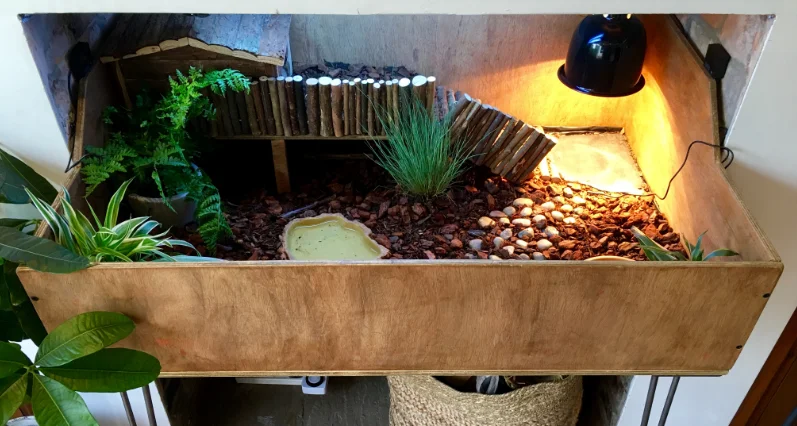
Source Pinterest
Once you track down an old, ready-made cabinet, you’ll be astonished at how simple it is to construct this enclosure. Reusing old cabinets can save time and money compared to building brand-new ones.
Decide as to what may stay in the cabinet and what must go. Take away the ineffective ones and swap them out with hard boards if necessary. Sealing all edges and seams using a sealer like GE Silicone is crucial. It keeps the cabinet dry and functional at all times.
After that, install glass tracks at the base and vinyl flooring within. Your new enclosure is almost complete; all that remains is to set up the sliding glass doors.
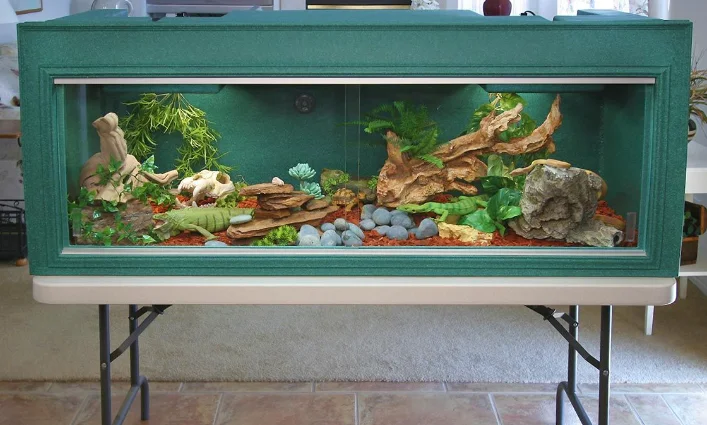
5: DIY Reptile Cage Out of Wood
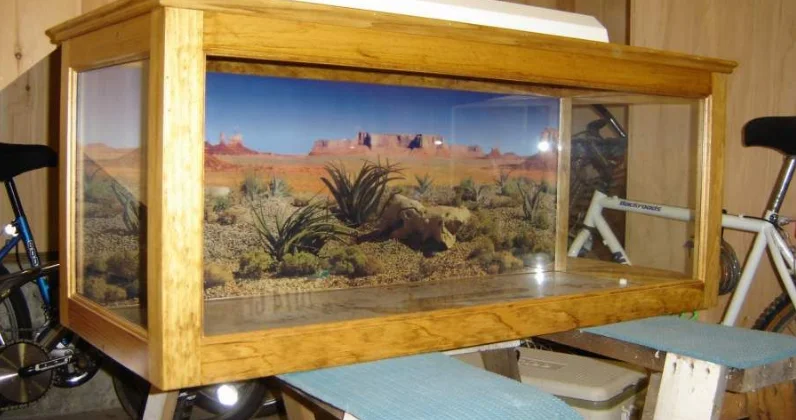
Source Pinterest
This DIY wooden reptile cage concept from Reptile Range is about as easy as possible. Five boards may be assembled with screws, and two sliding doors can be added to the front.
Adding glass doors needs some expertise, but installing perspex ones is simple. Since glass is less expensive than perspex, the decision should be based on cost considerations.
Both horizontal and vertical enclosures may work, depending on the type and size of the reptile being kept. Medium-sized reptiles do well in horizontal cages, whereas tiny reptiles do better in vertical enclosures.
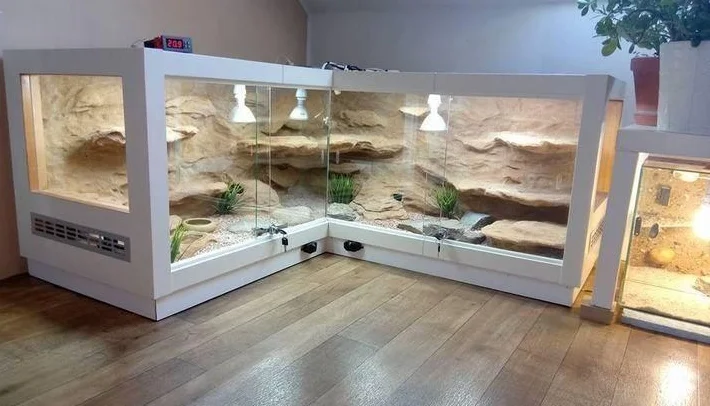
6: DIY Bearded Dragon Enclosure

Source Pinterest
This DIY reptile cage layout from Instructable is another alternative for those looking for a low-cost and straightforward to-construct solution. You may make your sliding-door front cabinet out of any old dresser or cabinet by taking it apart, removing the broken or unnecessary pieces, covering the inside and exterior with plywood, and installing slide rails.
Remember to drill holes in the cabinet’s back or sides to allow air to circulate within. Plexiglass panels provide the finishing touch; slot them into the glass tracks and secure the top with poultry fabric screws.
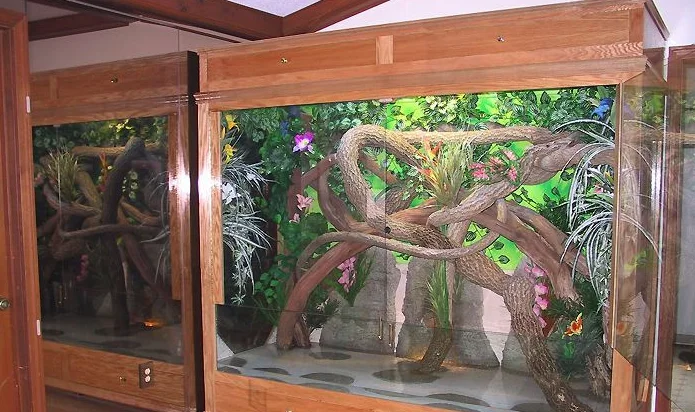
7: DIY Turtle Tank With Underwater Tunnel
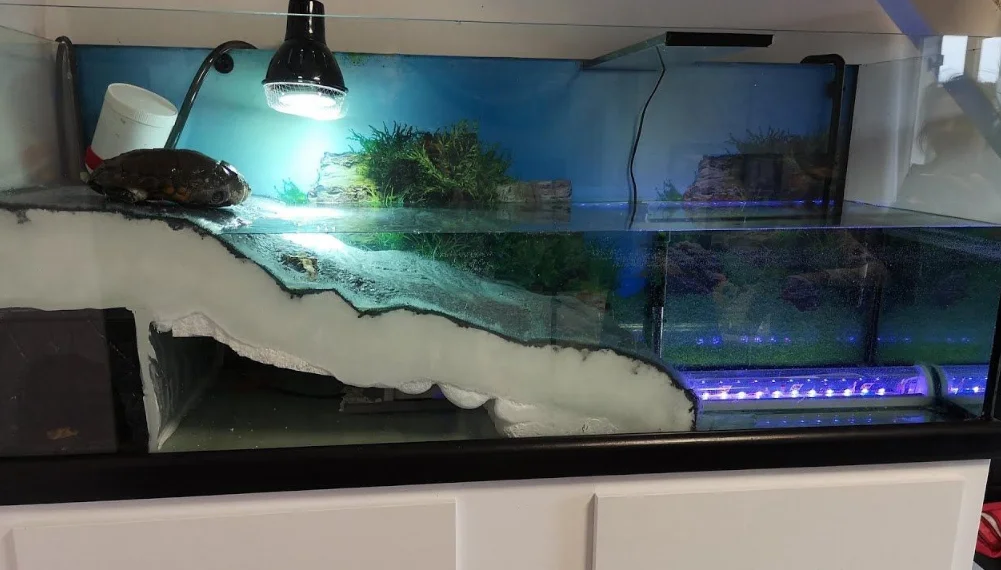
Source Pinterest
And are you hoping to provide a permanent residence for your aquatic pal? DIY enthusiasts look at this turtle tank layout for reptile housing needs.
The finished tank is stunning in its complexity and elegance, but only after much preparation, arsenals of equipment and expert craftsmanship have gone into its construction.
It will be considerably easier to complete the assignment if one can locate a once-operating aquarium that has since been closed down. The last few processes, which include cleaning, painting, and finishing the aquarium, proceed without a hitch.
The most challenging phase is building the tunnel under the sea. If the construction seems too time-consuming, you can do it without having to do it. However, it’s worth a shot if you want your turtle tank to seem more exotic.
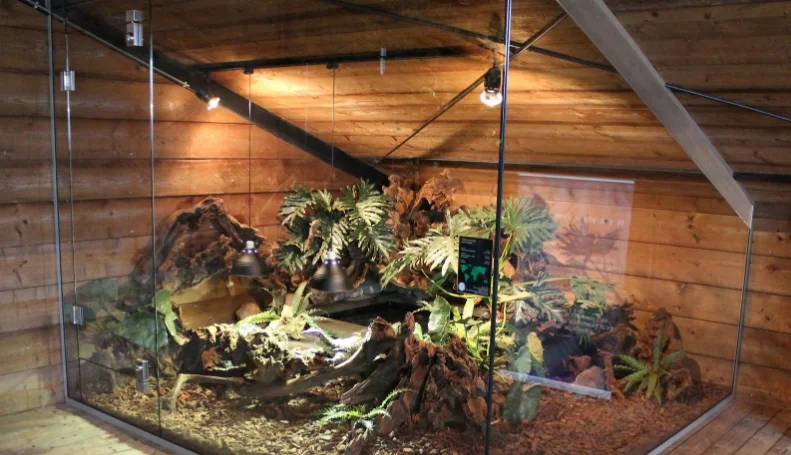
8: DIY Chameleon Lizard Cage
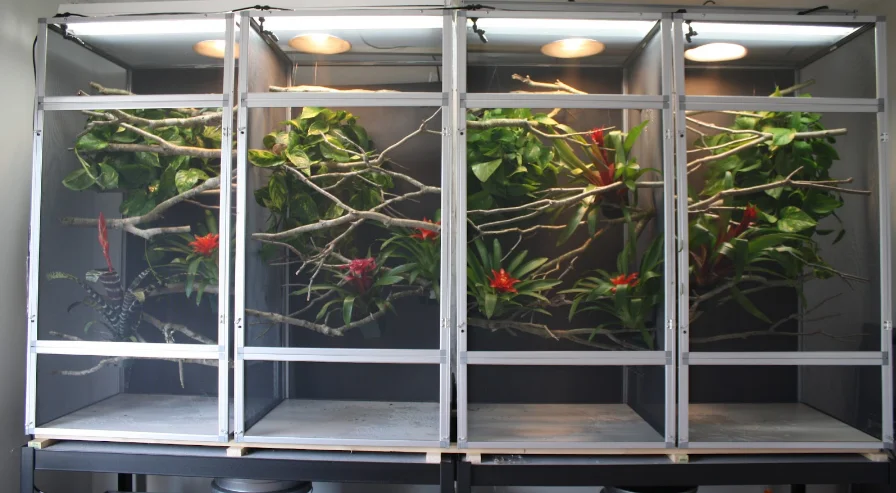
Because of their delicate nature, keeping a chameleon as a pet for an extended period may be challenging. Their cages should be constructed with their complete ease of movement and temperature regulation in mind.
The ideal conditions for keeping these animals in captivity would be those found in their native environments. That is why a do-it-yourself chameleon cage blueprint like the one seen in Reptiles Magazine is the best option.
The strategy calls for acquiring a sufficient quantity of hardware cloth, its subsequent rolling into a tube, and its subsequent fastening at the top. Put the tube in a plant saucer and cover any rough spots with silicone for a polished look.
9: DIY Indoor Tegu Enclosure
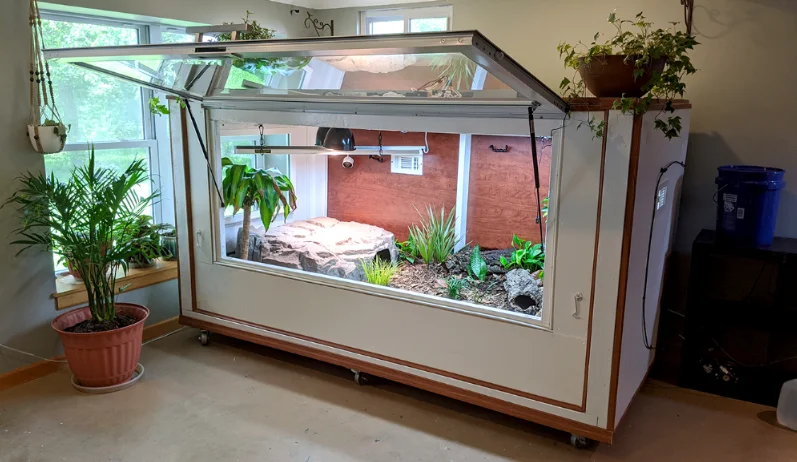
Tegus need a long, horizontal terrarium since they spend much time underground. This comprehensive, user-friendly, and do-it-yourself guide to building an indoor tegu enclosure contains everything you need.
If you need an enclosure but are on a tight budget, try building one with a top-hinged door instead of a front one. Plexiglass may be easily installed at the front to serve as a window.
Again, plexiglass may be the complete door if you design it to open from the front. The substrate should be ground coconut fiber since it is absorbent and simple to clean. You may use any big, hollow utensil or pot with a narrow hole for the burrow.
10: DIY Reptile Enclosure Made Out of an Upcycled Bookcase
DIY reptile enclosure ideas recommend using an old, unused bookshelf as the base for the enclosure. Your abilities will be tested throughout the procedure, but the result will be well worth it.
The bookshelf doors must be removed first, and then the holes must be filled with wood filler and sanded smoothly. Next, ensure enough airflow by drilling holes in the sidewalls.
Contact paper may be used to complete the interior of the bookcase shelves. Paint, though, is a simpler option. Please wait until it’s completely dry to avoid exposing your pet to any lingering hazardous odors.
Sliding door tracks and installation are the only remaining tasks. Now you know! A DIY enclosure for your reptile may now be used.