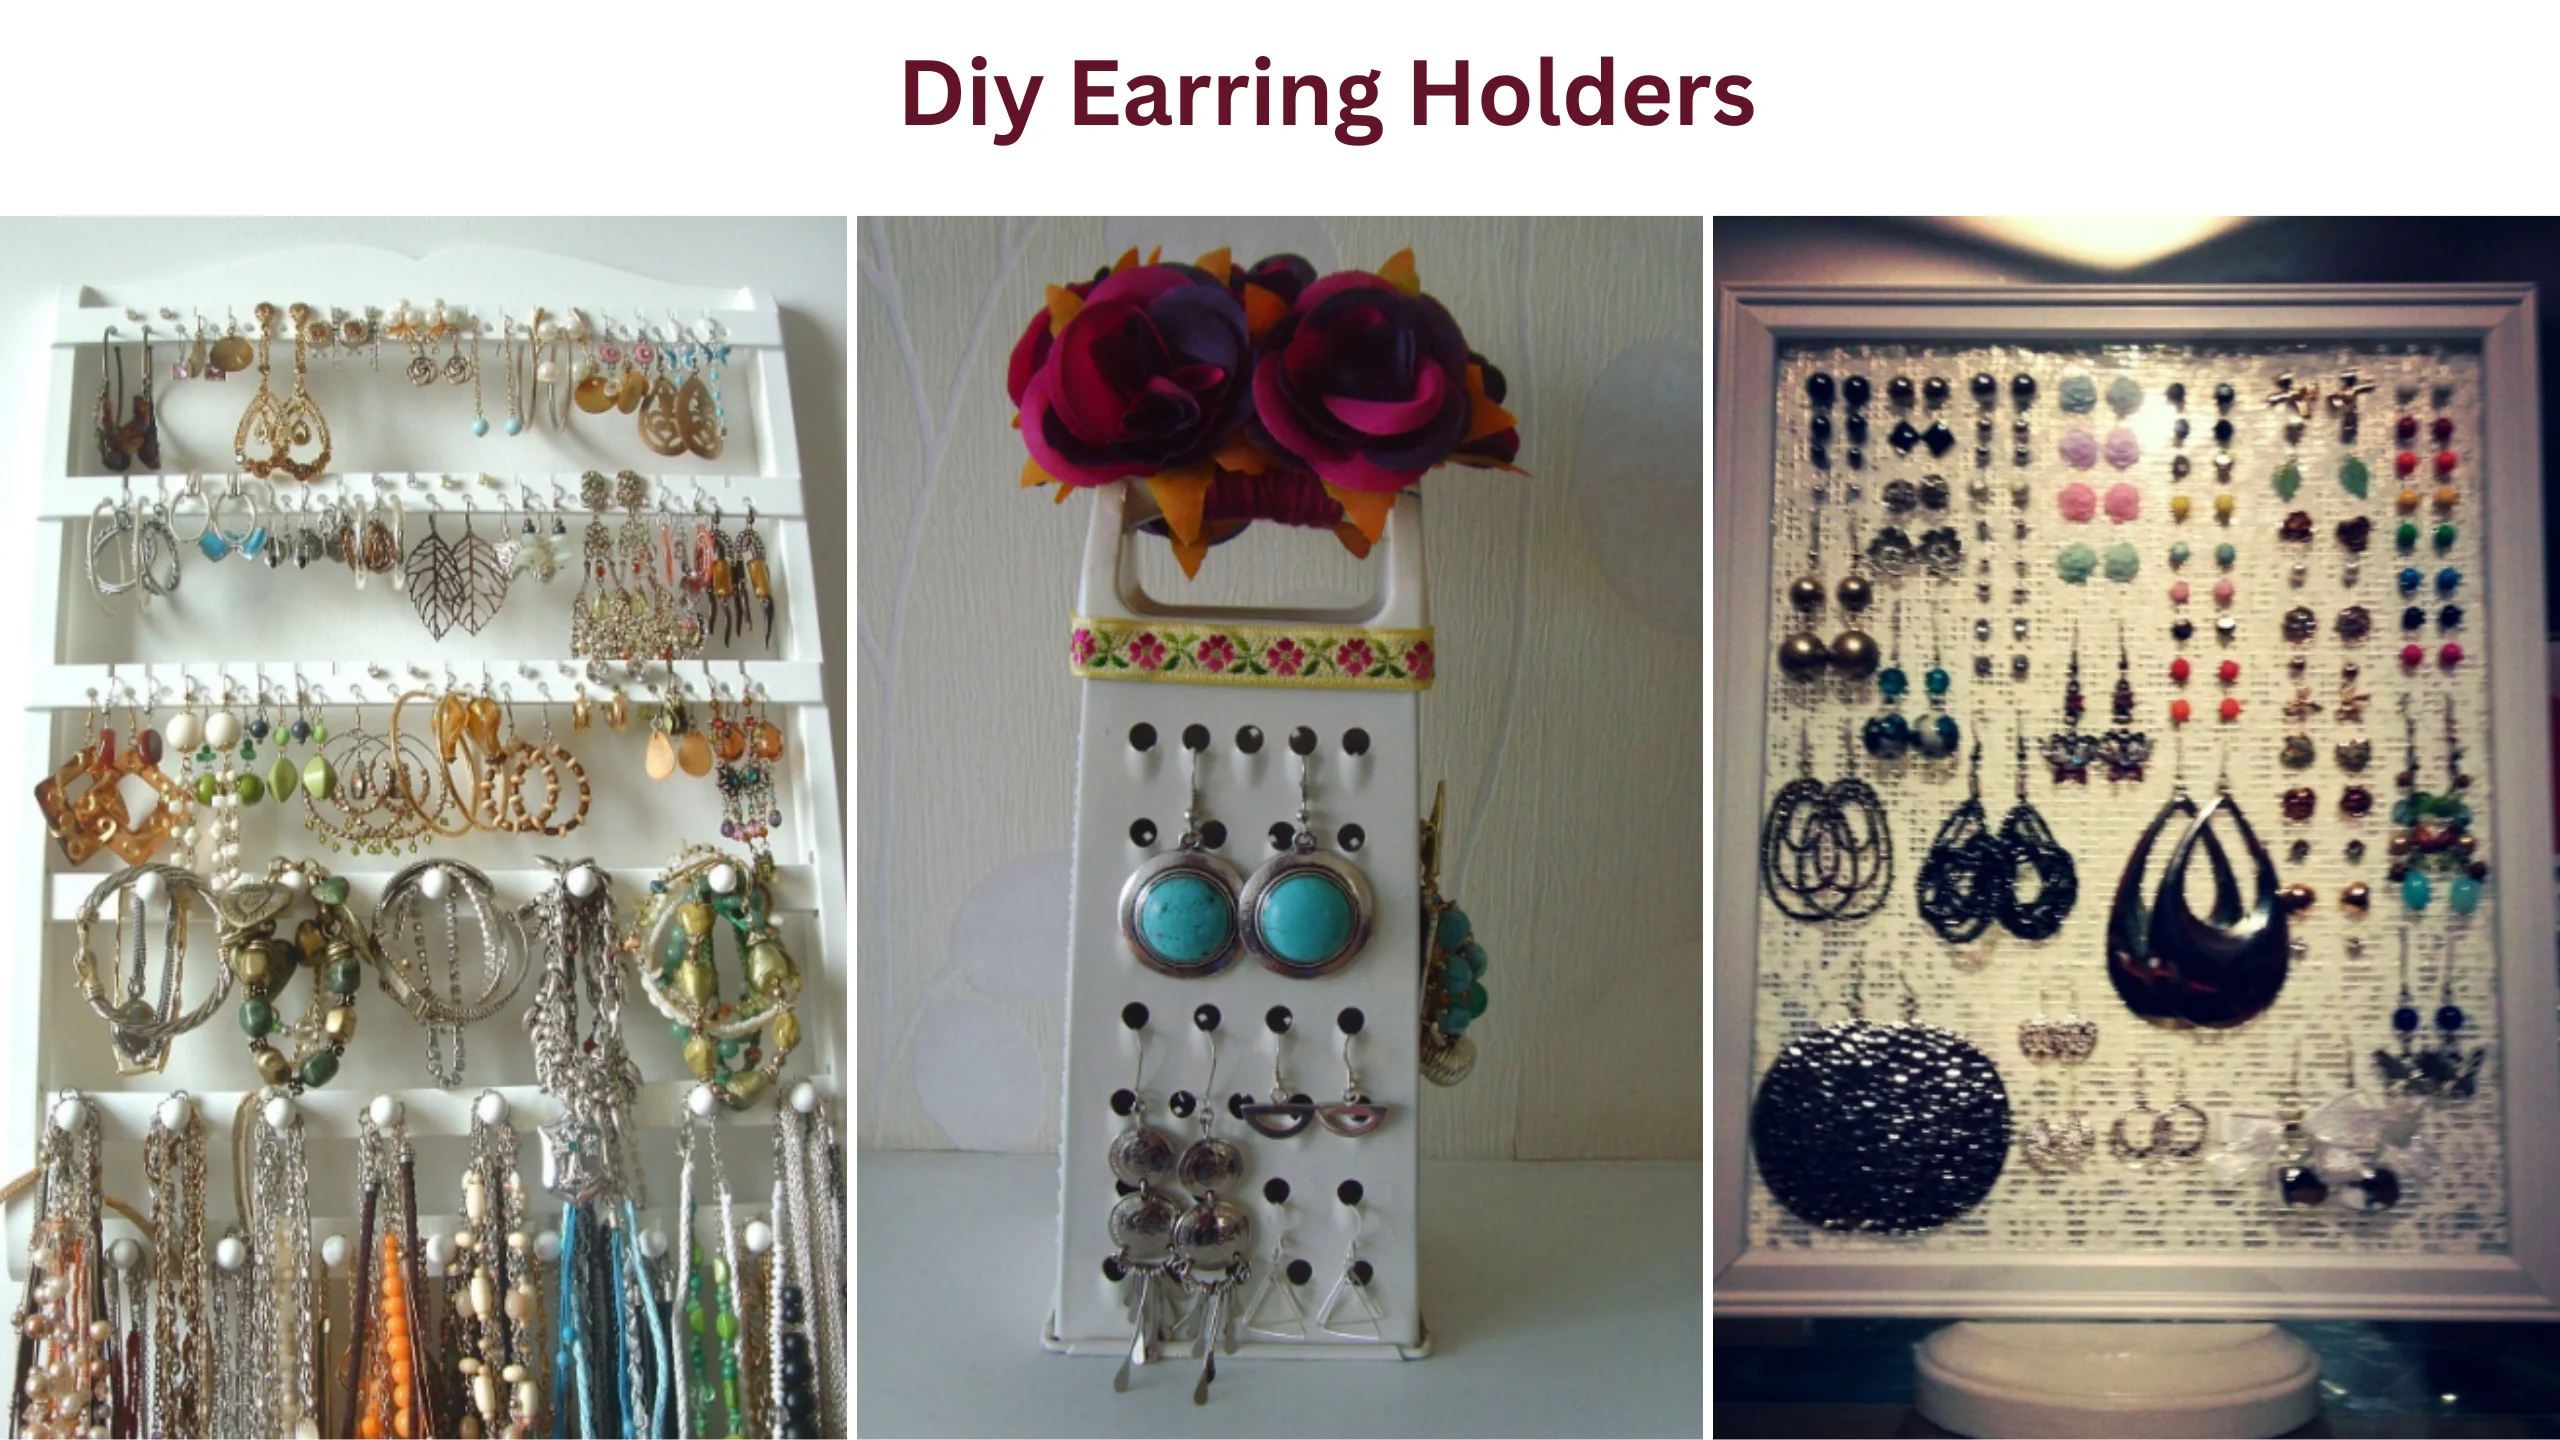
DIY earring holders are homemade organizers designed to store and display earrings creatively. They offer practical solutions while adding a stylish touch to jewelry storage. Discover the perfect blend of functionality and style with DIY earring holders.
These creative jewelry organizers keep your accessories organized and add a touch of flair to your decor.
From the simplicity of DIY wood earring holders to the intricacy of building a large earring stand, there’s a project for every skill level. Whether repurposing scrap wood or upcycling a thrift store frame, your DIY earring holder will infuse charm into your space.
These DIY earring organizers are essential for accessory enthusiasts seeking an organized display. Explore magnetic walnut and brass options, or repurpose old Birch boxes into unique earring holders that match your style.
Source Pinterest
List of DIY Earring Holders
Dive into our collection of 10 easy DIY earring holder ideas, complete with step-by-step instructions, to craft your personalized earring organizer from the comfort of your home.
1: Easy DIY Wood Earring Holder
Source Pinterest
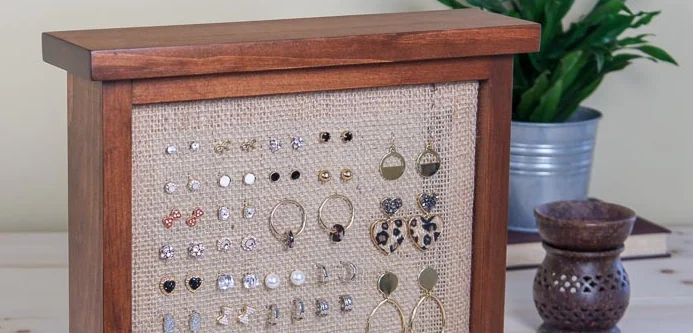
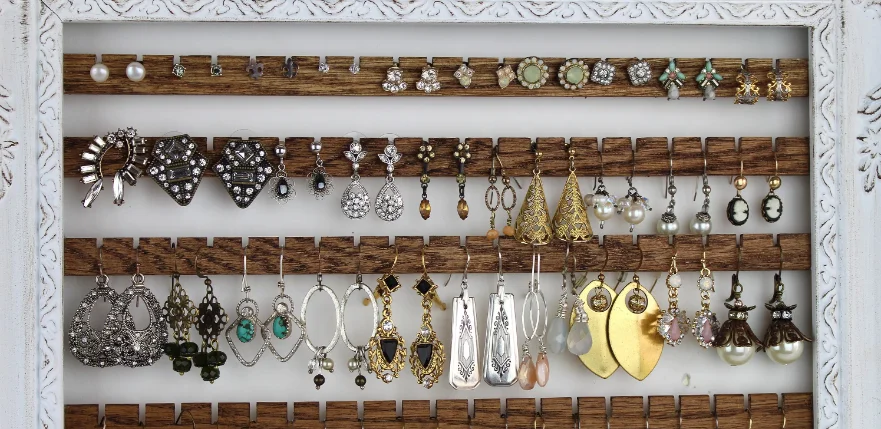
Create a simple earring organizer using a DIY project to keep your studs, hoops, and other earrings in order. Burlap and wood are used to construct this affordable picture frame-style container.
Because previous expertise is optional and just a few fundamental tools are required, this project is ideal for do-it-yourselfer of all skill levels, including novices. Burlap’s open weave imparts a country-style aesthetic while facilitating the orderly storage of various sizes and shapes of earrings.
For this easy and inexpensive DIY project, you may store hoop earrings, bracelets, and necklaces fashionably by using scrap wood or purchasing moderate-priced items. You may get organized right now by making your one-of-a-kind earring holder.
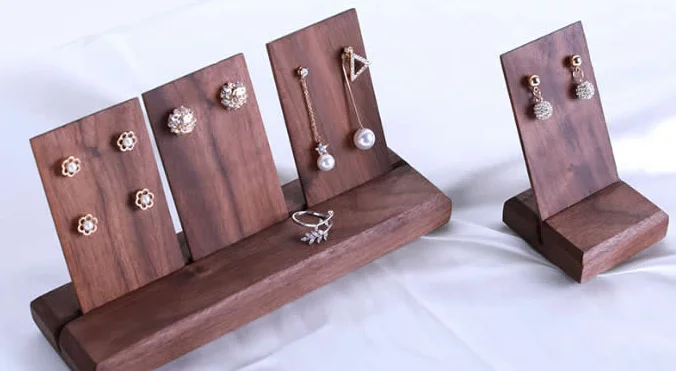
2: Magnetic Walnut and Brass Earring Holder
Source Pinterest
With this easy-to-make magnetic jewelry organizer, you can keep your jewelry neatly organized without sacrificing flair. Its construction has a stunning appearance because of the use of walnut and brass.
You may keep all of your favourite earrings, even studs and bigger ones, in storage by connecting them to the main organizer using magnets and keeping them there.
Walnut plywood measuring 14 inches thick, scrap wood or plywood measuring 12 inches, brass rods, and walnut edge banding are all you need to assemble; you don’t need any sophisticated tools or components.
Using this straightforward do-it-yourself technique, you can create a lovely jewelry organizer that is also simple to use.
3: Earring Holder from Thrift Store Frame
Source Pinterest
Make your earring holder using a frame from the thrift shop and a little creativity! You need a few materials to create an eye-catching item to help you organize your jewelry and spruce up any space in your home.
To complete this project, you will need a frame, a decorative aluminium sheet, tin snips, paint and E6000 adhesive. First, the metal must be trimmed to suit the frame, then secured with paint and E6000.
Please wait until the next day before adding your favourite pairs of earrings; you now have an easy method to keep them organized and on show; thanks to this project!
4: Cactus-Shaped Holder for Earrings
Source Pinterest
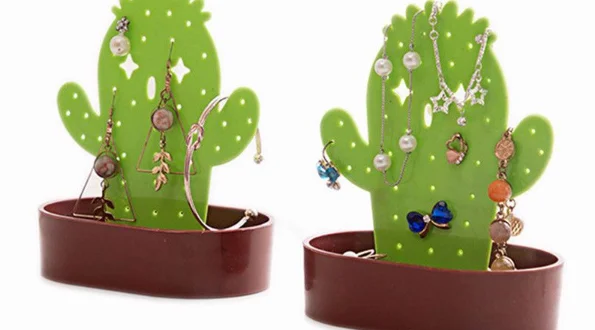
Utilizing this do-it-yourself method, you can fashion a container for your earrings that is one of a kind. You may create a show-stopping accessory to display your earrings stylishly and colourfully with just a few basic materials.
A chipboard shape in the form of a cactus, craft paint in the colours of your choosing, some hot glue, craft paper, and fringe trim are all you need to complete this project.
By the afternoon, you will have crafted something unique that is not only ornamental but also useful; this project is ideal for preteens and teenagers interested in arts and crafts. Constructing this charming DIY cactus earring holder is a great way to infuse personality into any bedroom or dressing area.
5: DIY Wooden Earring Holder Stand
Source Pinterest
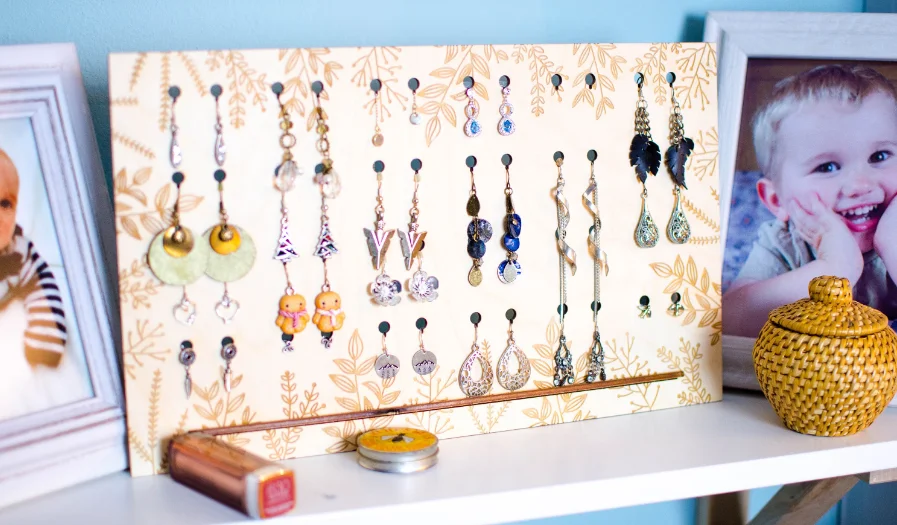
Learn how to make your DIY earring organizers in various inventive and cost-effective ways to keep your jewelry collection neatly stored and readily accessible. You can easily build a showcase for your earring jewelry using just a few pieces of wood.
Keep costs low by selecting knotty alder, or choose a more costly hardwood for a touch of class and sophistication. There is no need for power equipment; all that is necessary is a miter saw, a hand saw, a nail gun, or corner brackets, and you will be ready to go.
This simple do-it-yourself project is ideal for storing and displaying your most cherished earrings, and it also makes an excellent present. Explore these DIY Jewelry Box Plans to create the most well-organized jewelry displays anywhere with this easy project.
6: Homemade Earring Holder Embroidery Hoop

Source Pinterest
With this easy-to-make earring holder made from an embroidery hoop, you can exercise your creative side, create a chic accessory to show off your earrings and keep them organized.
You can personalize this holder by adding patterns with various embroidery threads to create a style that is all your own. All you need is an embroidery hoop, a ruler, a chalk pencil, and some open-weave fabric in a dark colour, such as linen or cotton.
Apply glue to the inside of the embroidery hoop to secure the cloth, then take measurements using the ruler and chalk pencil to determine where each hole should go. The process of hanging up your artwork in any location while maintaining an orderly collection of your favourite earrings is complete.
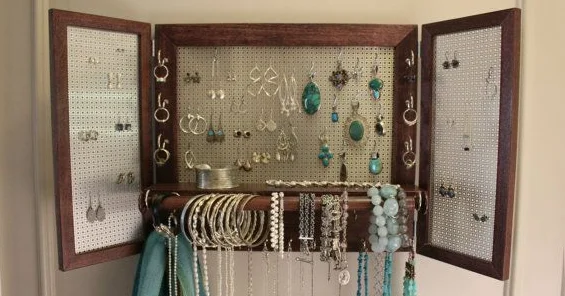
7: Large Earrings Holder
Source Pinterest
Using this simple earring stand, you can make yourself will make organizing your earring collection a pleasure. You can construct an earring stand in a matter of minutes if you have 30 inches of a 1×1 board, 7 inches of a 1×4 board, and a sheet of ornamental metal.
The metal screen is ideal for storing studs and other designs with protruding components. Still, it also ensures that your valuable jewelry is kept secure and simple to reach.
Please choose from our selection of colours to stain or paint the furniture in your bedroom or dressing room for an additional unique touch that will wow guests. Get creative now and construct this simple but fashionable do-it-yourself project for organizing your most cherished items.
8: DIY Stud Earring Holder Using Scrap Wood
Source Pinterest
Using these straightforward and easy-to-understand techniques, you can craft your pair of one-of-a-kind and chic earring holders. Create a stunning and one-of-a-kind present for a friend or family member with only a few pieces of scrap wood.
This earring holder is the ideal supplementary accessory for any stud earrings. Although it just takes one day to create, it has a striking appearance and can be stored in confined spaces without taking up much room.
Today is the day to acquire the skills necessary to construct your earring holder, which will provide an air of enchantment to your collection of jewels.
9: Unique Earring Organizer from Old Birch Boxes
Source Pinterest
Try repurposing a birch box by turning it into an organizer for your earrings! To build more columns of jewelry, all you need is one birch box that is completely assembled, in addition to any extra bottoms.
You’ll have the ideal organizer for all of your favourite pairs of earrings in no time at all if you follow this ingenious and inventive concept for recycling something else.
In addition to that, it works very well for organizing other little things, too. Therefore, please give it a go today and brag about the one-of-a-kind DIY project you made.
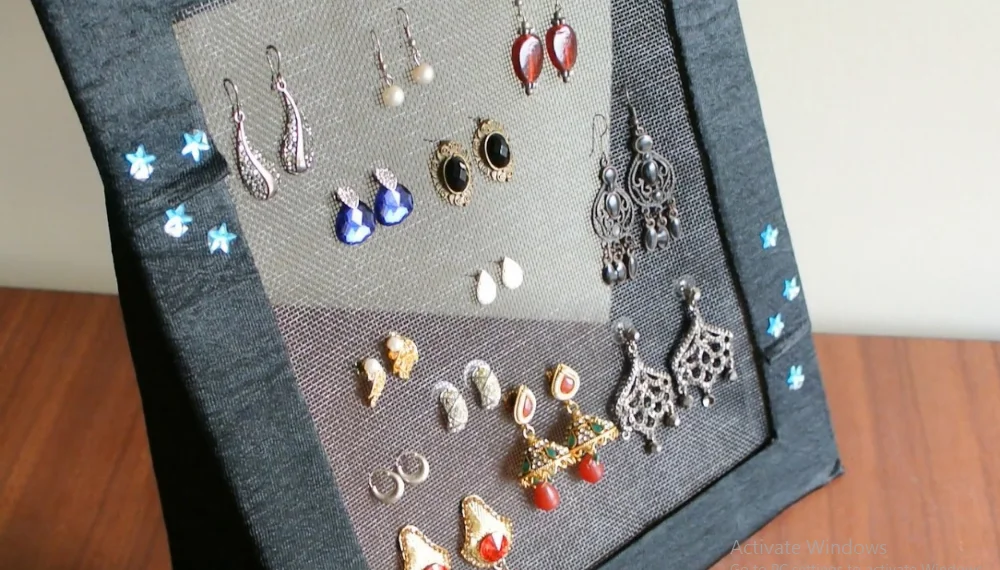
10: Homemade Earring Holder
Source Pinterest
DIY earring holders are simple to create and may be done for only a few dollars. They are great for both adults and children since they are lightweight and won’t break easily; all you need is a plastic frame and canvas sheets to make them.
They harmonize with the colours that are used in children’s rooms. It would help if you cut your canvas to fit inside the insert to assemble the frame. There you have it a quick and simple holder that you can make yourself and that will look great anyplace in your house.