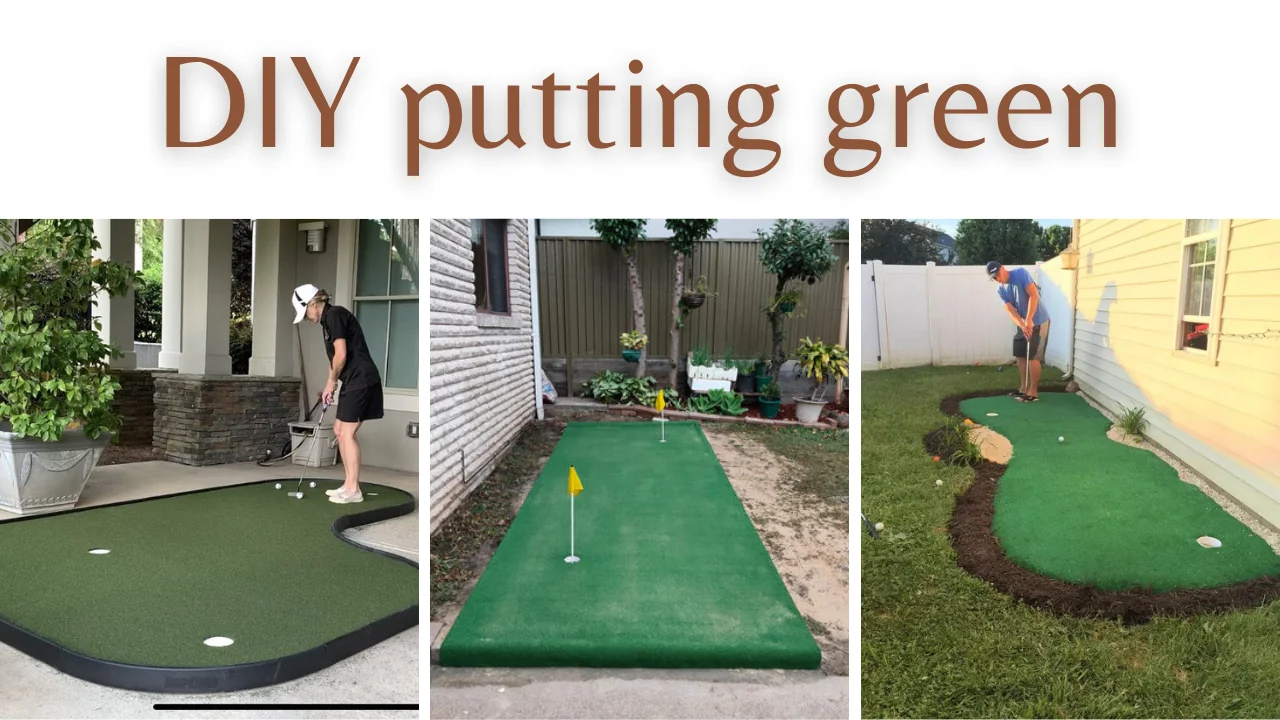
DIY putting greens are fun and turns your backyard into a golfer’s dream. Golfers who want to improve or homeowners who want to add elegance and fun to their backyards will love DIY-putting greens.
This fun hobby lets you build a miniature golf course at home. By creating hard curves and perfecting your putting technique, a DIY putting green allows for creativity and skill growth. Imagine practicing your strokes on beautiful, manicured turf outside.
Discover the joys of a private golfing oasis with our step-by-step guide to DIY putting greens, complemented by the ultimate indoor experience, Golf Simulator.
What is DIY Putting Green?
A DIY putting green is a self-constructed miniature golf practice area tailored to your preferences. It involves designing and creating a small green space in your yard or indoor area with artificial turf, holes, and contours.
This hands-on project allows golf enthusiasts to refine their putting skills at their convenience. From selecting the turf to shaping the landscape, a DIY putting green offers a customizable and cost-effective solution for honing your golf game in the comfort of your space.
Building Your DIY Putting Green
By following these four steps, you’ll be well on your way to building your DIY putting green. Remember, attention to detail and proper execution will result in a realistic and enjoyable practice area for honing your golfing skills.
Step 1: Select the Site
To begin your DIY putting green project, carefully choose a suitable location in your yard. Opt for an area with minimal slopes and good drainage.
Keep in mind factors like sunlight exposure and accessibility. Avoid spots with excessive shade or poor water runoff. Selecting the right site is crucial as it lays the foundation for a smooth and enjoyable putting experience.
Step 2: Excavate the Site
Once you’ve identified the site, start excavating the area to prepare the ground. Use a shovel or a mini excavator to remove grass, plants, and debris.
To create a flat and even surface, dig down to a depth of around 4–6 inches. If you want your putting green to have a solid, level foundation, you should use a plate compactor to pack the soil down.
Step 3: Insert the Cups
Now, it’s time to insert the cups, which are the holes where you’ll aim your putts. Place the cup liners in the holes and secure them firmly. Ensure they are level with the ground surface.
This step requires precision, as accurate cup placement contributes to the authenticity of your putting green and the challenge it presents.
Step 4: Apply the Turf
To bring your DIY putting green to life, carefully apply the artificial turf you’ve chosen. Start by unrolling the turf over the excavated area, ensuring it aligns properly with the site’s dimensions. Trim any excess edges for a neat fit.
Secure the turf’s perimeter using landscape staples, placing them about every 6–8 inches. Once secured, use a power brush to fluff up the turf fibers and ensure an even surface.
Apply a thin layer of infill material, such as silica sand, to stabilize and maintain the turf’s natural appearance. Brush the infill into the fibers to complete your realistic and smooth, putting green surface.
1: Seaming
Seaming is the process of joining two pieces of turf together to create a seamless and cohesive surface. Start by placing adhesive seaming tape along the edge of one piece of turf.
Align the second piece of turf closely against the first, ensuring a tight fit. Carefully fold back the edges of the turf to expose the seaming tape.
Apply lawn adhesive evenly on the tape. Press the edges together to bind. Landscape staples along the seam secure turf. This precise seaming method unites your putting green, improving its looks and playability.
2: Adding Fringe
When cutting off the putting green, you should have left some of the underlying layer exposed around the perimeter of the green if a fringe was part of the original design for the putting green.
When building a putting green, fringing is another intricate and challenging aspect of the operation. In this article, we won’t get into the nitty-gritty details, but the overall concept is as follows:
- Fringe grass pieces should be laid out all the way around, overlapping the inner putting green and the outer perimeter of the dugout space.
- Use a carpet knife to trim the fringe grass so it fits the profile of the putting green.
- Roll back the edge and tape it to finish the putting green.
- Spread the grass out and compact the grass towards the edges.
- Nail or staple the fringe down to the base layer.
Step 5: Apply the Infill
Applying infill is crucial in achieving a realistic and functional DIY putting green. Spread a layer of specialized infill material, such as fine sand or rubber granules, evenly over the turf. Use a stiff brush or a power broom to work the infill into the fibers, ensuring they stand upright.
Infill provides stability, supports the turf’s structure, and replicates the feel of a natural green. It also aids drainage and prevents the turf from matting down, maintaining a consistent and smooth surface for your golf practice.
Step 6: Add Finishing Touches
Now that your putting green is taking shape, it’s time to add those final details that enhance its appearance and functionality. Trim any excess infill material around the edges for a neat finish.
Place flags or targets in the designated cup holes, making your putting green feel like a genuine golf course. Add contours, slopes, and breaks using additional infill to elevate the challenge.
Inspect the entire green for any imperfections and adjust the infill as needed. With these finishing touches, your DIY putting green is ready to provide countless hours of enjoyable practice and golfing fun right in your own backyard.
Benefits of DIY Putting Green
Creating a DIY putting green brings forth many advantageous features that enhance your golfing skills and elevate your outdoor space. Here are the benefits of DIY putting green to consider:
1. Convenient and Frequent Practice
A DIY putting green offers the advantage of practicing putting skills conveniently and frequently. With your green, you can practice whenever you like, eliminating the need to travel to a golf course.
This enables regular, focused practice that contributes to refining your putting technique and enhancing your overall performance on the course. The accessibility and flexibility of a DIY putting green empower you to make consistent strides in improving your golf game over time.
2. Tailored to Your Preferences
Designing and constructing your own putting green empowers you to tailor it to your unique preferences. You can choose the size, shape, and contours that challenge and complement your playing style. This customization ensures that the putting green perfectly aligns with your skill and desired difficulty levels.
3. Economical and Long-Term Investment
Building a DIY putting green is a cost-effective alternative to frequenting golf courses or clubs. While the initial investment is required for materials and setup, it eventually becomes a long-term asset contributing to significant savings in course fees and membership dues.
The durability of the materials used in the construction ensures your investment remains worthwhile over time.
4. Aesthetic Enhancement
Beyond its functional advantages, a well-designed DIY putting green enhances the aesthetic appeal of your outdoor space.
The vibrant green surface adds a touch of natural beauty, acting as a focal point that blends harmoniously with the surroundings. This eye-catching feature can transform your yard into a visually pleasing and enjoyable area for both leisure and recreation.
5. Versatile Family Entertainment
A DIY putting green promotes outdoor activities and serves as a hub for family entertainment. It provides an opportunity to introduce golf to children, engage in friendly competitions with friends and family, or enjoy leisurely moments in the fresh air.
This versatility fosters bonding and creates cherished memories while encouraging physical activity and outdoor engagement.
Conclusion
Making your own putting green is a fun and sophisticated way to spend time outside. As you take those final putts on your meticulously designed green, you’ll enhance your golfing prowess and relish the satisfaction of crafting a personalized space that resonates with your interests.
This mini golf haven becomes a retreat for honing skills, enjoying leisure, and fostering cherished moments with friends and family. Your DIY putting green embodies the perfect fusion of passion, creativity, and outdoor enjoyment.
Frequently Asked Questions
How long does it take to build a DIY putting green?
What materials do I need to build a DIY putting green?
How much space is required for a DIY putting green?