Reverse flow offset smoker plans are your ticket to becoming a barbecue virtuoso. These detailed blueprints open the door to a world of exceptional grilling. With precision and consistency as their hallmarks, these plans ensure that every cut of meat emerges tender, juicy, and infused with a smoky flavor.
These plans unravel the secrets of reverse flow offset smokers, revealing the artistry behind their baffles and heat distribution. This guide explores the realm of barbecue, celebrating the nuances of reverse flow offset smokers and their role in creating culinary masterpieces.
Whether a grilling veteran or a newcomer, these plans ignite your passion for the perfect barbecue, one savory bite at a time. So, embrace these blueprints, and let the smoking adventure begin.
Source Pinterest
List of 10 Reverse Flow Offset Smoker Plans
Here is the list of Reverse flow offset smoker plans:
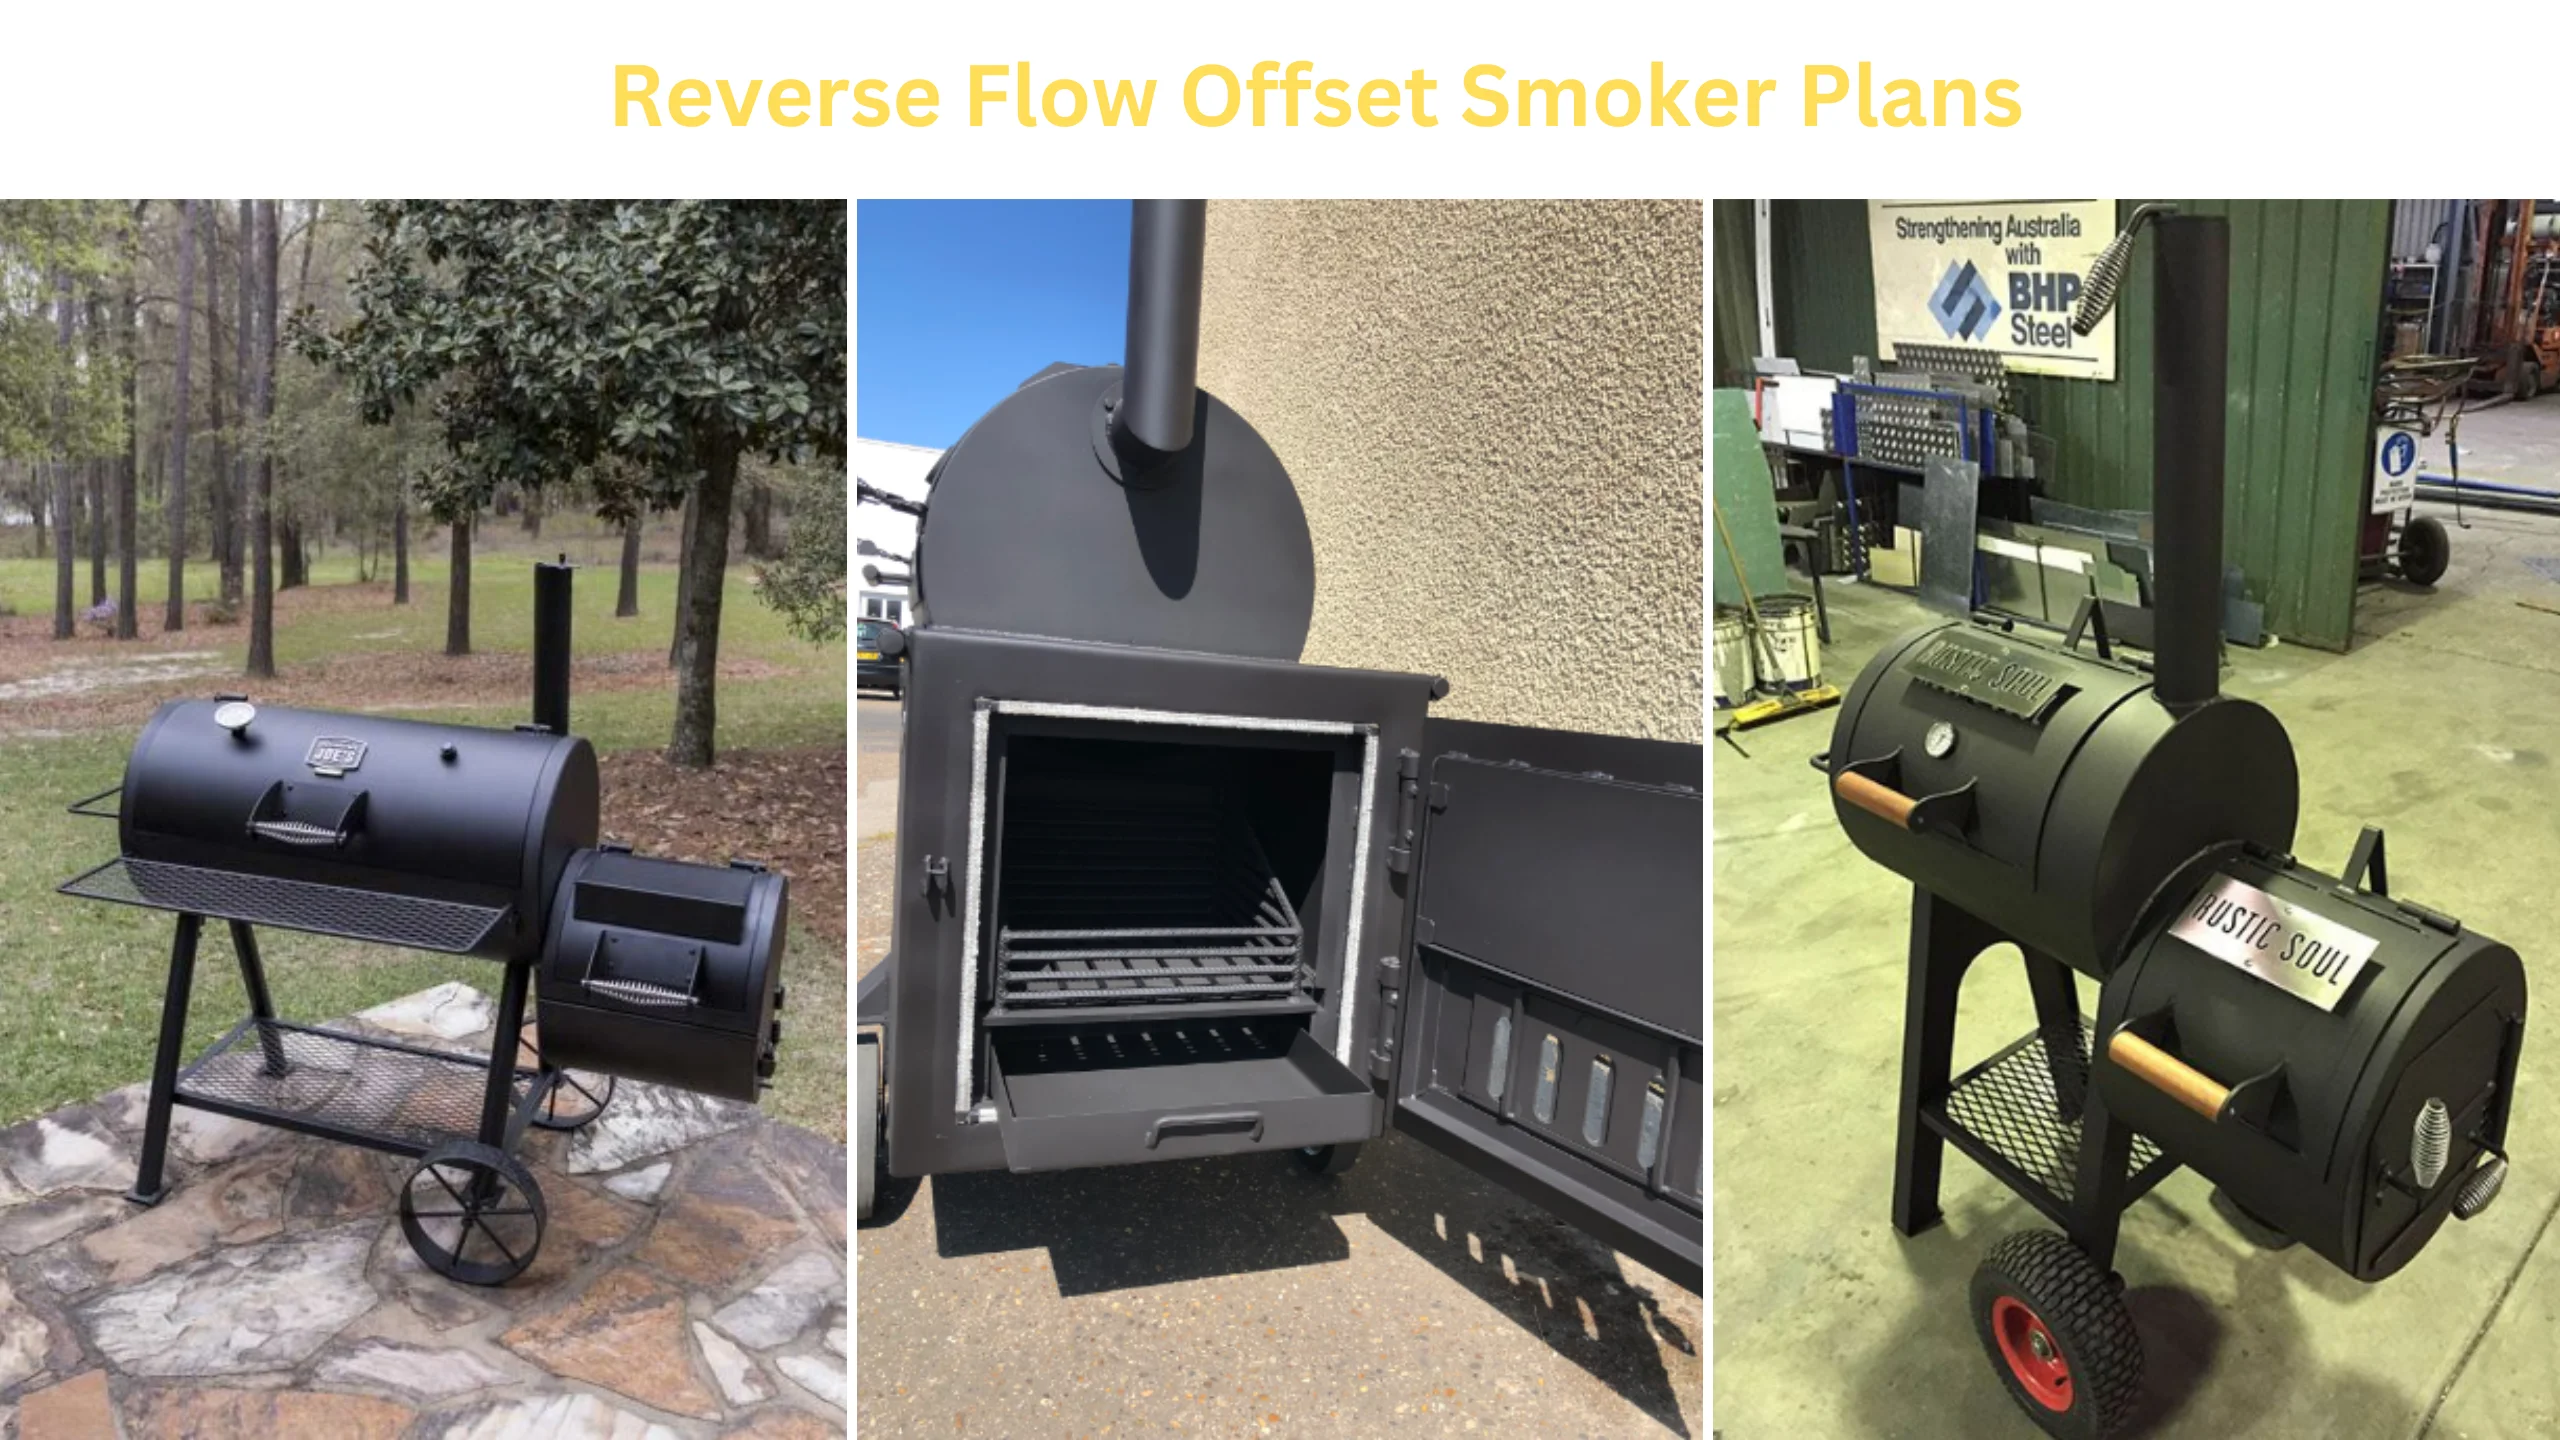
1. Reverse-Flow Smoker

Source Pinterest
A reverse-flow smoker is a specialized type designed to smoke food using indirect heat. What sets it apart is its ability to deliver exceptionally consistent results. The key to this consistency lies in its unique design.
In a reverse-flow smoker, the heat and smoke generated by the firebox are forced to travel beneath a baffle or a metal plate. This plate then redirects the heat and smoke back over the cooking chamber before venting it out.
This method ensures that the food is surrounded by a steady, even heat, eliminating hot spots and cold areas. As a result, the food is cooked uniformly, resulting in a flavorful and perfectly smoked dish every time.
Whether you’re smoking meat, poultry, or other delicacies, a reverse-flow smoker is a reliable choice for achieving consistent and delicious results.
2: Homemade Tabletop Reverse-Flow Smoker
Source Pinterest
A homemade tabletop reverse-flow smoker is an offset smoker that employs a system of baffles to ensure an even distribution of heat and smoke within the cooking chamber.
Also referred to as a recalculating smoker, this design effectively minimizes the occurrence of hot spots, resulting in more reliable and consistent cooking results.
It ensures that food is cooked uniformly by circulating heat and smoke throughout the chamber, making it an excellent choice for achieving consistent and flavorful smoked dishes.
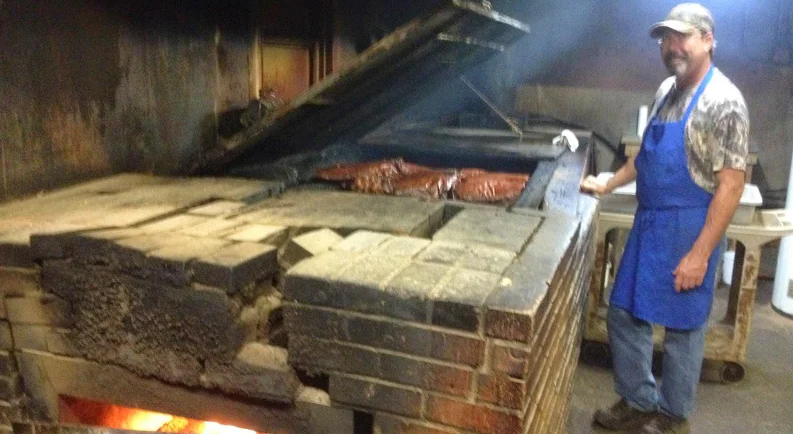
3: Build a Smoker Pit
Source Pinterest
A reverse-flow smoker offers several notable advantages that justify its higher cost for many enthusiasts. Firstly, it excels in temperature stability, ensuring a consistent cooking environment, which is crucial for smoking meats to perfection.
Secondly, it generates a substantial amount of smoke, enhancing the flavor of the food. While these smokers may be pricier than other options, their ability to deliver superior and reliably delicious smoked dishes makes them a worthwhile investment for those who prioritize consistent results and exceptional flavor in their barbecue or smoking endeavors.
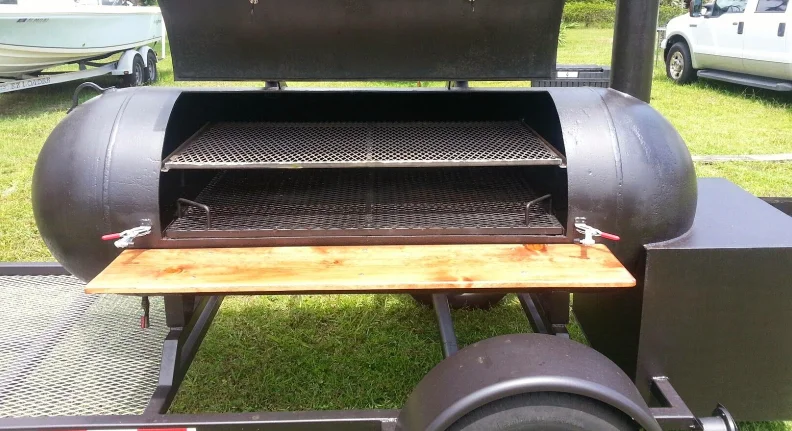
4: Reverse-Flow Offset Smoker
Source Pinterest
Once the baffles are securely in place, the next steps involve insulating and lining the reverse-flow offset smoker with a firebrick before its inaugural firing.
Building a reverse-flow offset smoker is well within the reach of anyone with a modicum of experience, and the payoff is consistently delicious and perfectly smoked meats.
The combination of the baffles, insulation, and firebrick lining ensures even heat distribution and smoke circulation, making this DIY smoker an excellent choice for those looking to elevate their smoking game with minimal construction expertise.
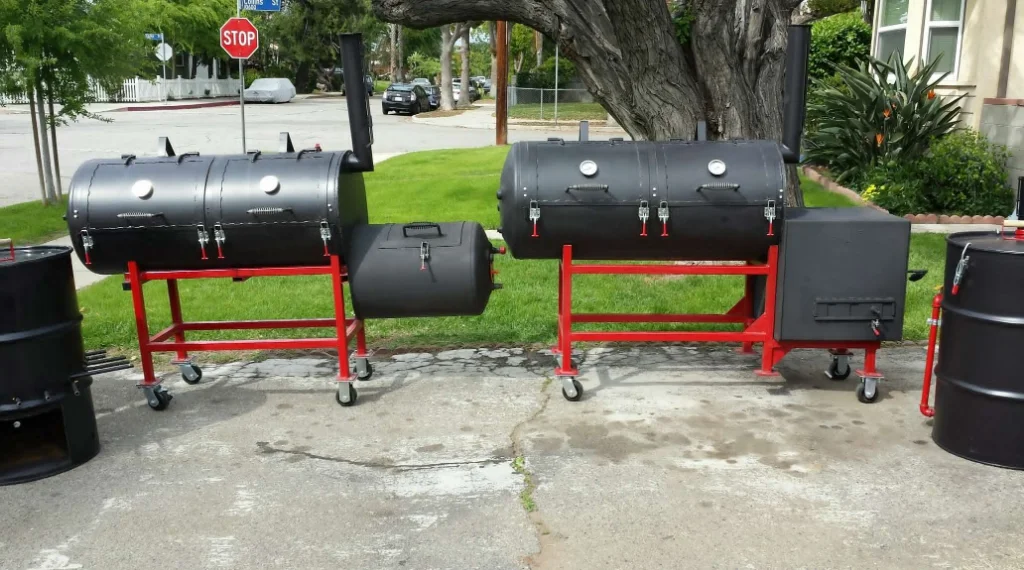
5: Homemade Tabletop Reverse-Flow Smoker
Source Pinterest
Heavy-duty steel sheets are required to construct an offset smoker, whilst cinder blocks or bricks may be used to construct a vertical smoker. Ultimately, you will be tasked with selecting a site for your smoker.
Because smoke may be hazardous to both persons and property, it is essential to hold your event at a location that is remote from any buildings or other structures. Considering all this, you should be prepared to begin constructing your smoker.
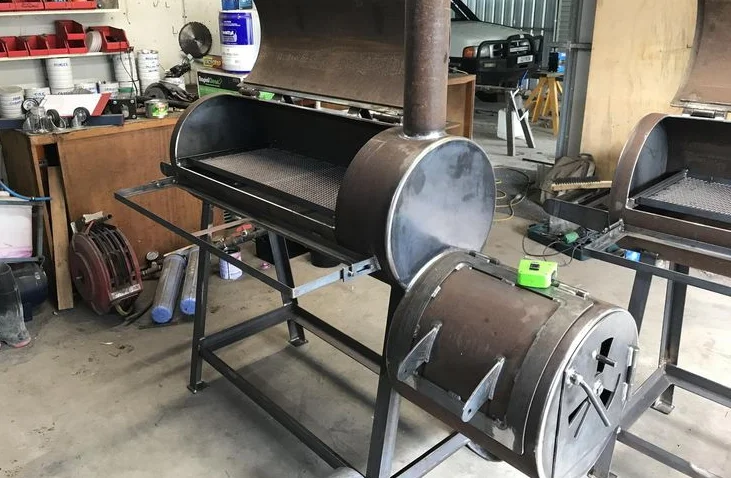
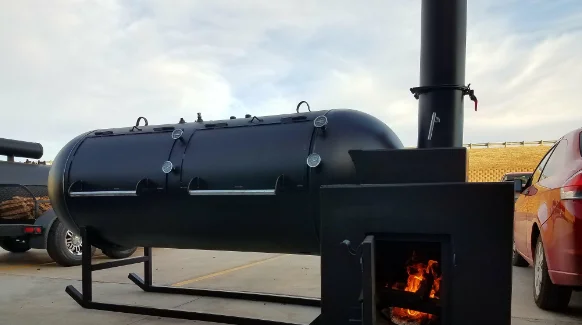
6: Old Water Boiler Reverse Flow Offset Smoker
Source Pinterest
Even though it is a project that takes some level of expertise in fundamental welding techniques, the construction of an old water boiler with a reverse flow and an offset smoker is a task that can be accomplished. The baffles, an essential part of this architecture and responsible for a significant portion of its functionality, are the most important.
These baffles can be crafted from materials such as sheet metal or expanded metal, and once they are properly positioned, welding them is crucial to ensure there are no air leaks. These baffles help distribute heat and smoke evenly, making it an excellent DIY smoker for those with some welding experience.
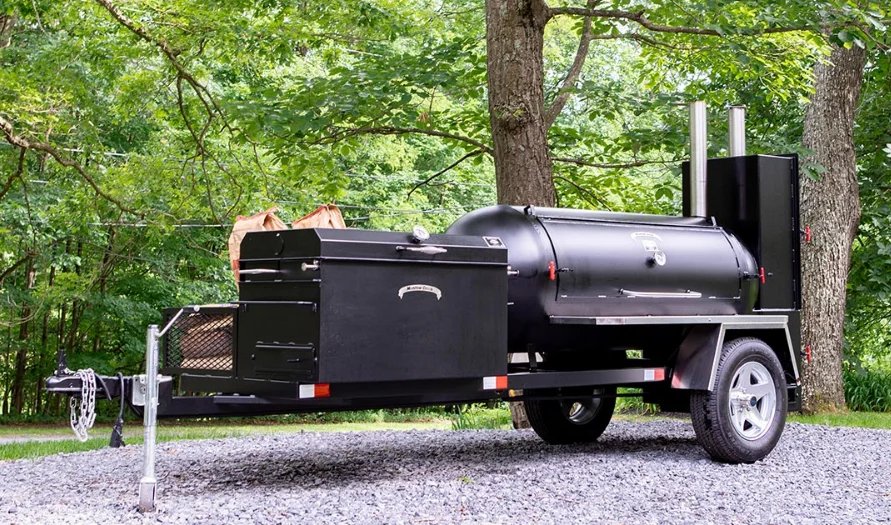
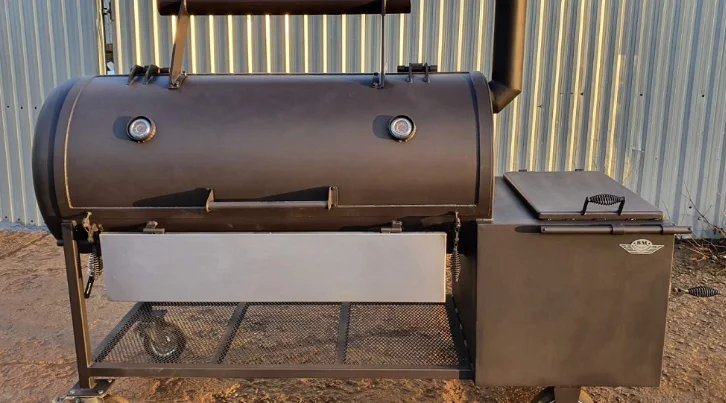
7: Create a 120-Gallon R-Bq Reverse Smoker
Source Pinterest
Like consuming smoked foods, you may give some thought to developing your very own smoker in your very own home. But before you get started, there are a few things you need to think about, so let’s go over them first.
To begin, you must decide on the kind of smoker you want to construct. There are two primary kinds, which are vertical and offset. Typically, charcoal or wood is used as fuel in offset smokers because of their more traditional nature.
How to make a Reverse Flow Smoker?
Craft your own Reverse Flow Smoker easily with these steps:
Tools Required
- Welder
- Mini-Grinder
- Pliers
- Hammer
- Wire Broom
- Baffle Dish
- Angle Iron Framing
- Casters
- Smoke Stack
- Vents
- Protective Gear
Steps for Making Reverse Flow Smoker
Step 1
Put together each of the components.
Step 2: Building the Cooking Chamber
Creating the cooking chamber is a flexible process, allowing room for creativity. Start with a flat surface for your meat. If you want mobility, attach wheels to a leg-made frame. Craft the chamber door by cutting an opening in the tank and reusing the removed metal.
Weld hinges to the door and uses bolts to secure the chamber. Since smokers don’t reach extremely high temperatures, you can employ materials like pure cotton, felt, or silicone as gaskets to seal the door effectively.
Step 3: Building the Firebox
Constructing the firebox for a smoker involves using robust 14″ plate steel to ensure uniform heat distribution and temperature stability. The process begins by crafting a simple square box with sturdy hinges for the door, allowing for easy access.
Air intake holes are added to the side, and a bolt is attached to control ventilation. It makes it easier for air to circulate through the room. The actual vent control can be made of sheet metal for a more straightforward construction.
For the door handle of the firebox, a practical solution is to use a chipping hammer. A latch is made by welding scrap metal to the side of the box, fastening a bar to the door, and adding washers and the handle from a chipping hammer into the design.
It is done so that the box may be secured. Additionally, the firebox is designed to be removable by welding a plate onto the smoker’s base to enhance convenience. This approach ensures a durable and functional firebox for the smoker.
Step 4: Cooking Grid and Baffle Plate
Utilize plate steel for the smoker’s body, serving as a heat sink, insulator, and radiant heat source. Weld it in place along the cooking chamber’s length to enable the flow of smoke and heat from the firebox to the chimney.
Use plate steel to construct the smoker’s body, allowing it to function as a heat sink, insulator, and radiant heat source. Weld it in place to facilitate the flow of smoke and heat from the firebox to the chimney.
Step 5: Chimney
Create a chimney using a 4 by 4 for smoke and heat ventilation. Please attach it to a manufactured flange for ease of installation. Build a chimney using a 4 by 4 for smoke and heat ventilation, and attach it to a manufactured flange for easy installation.
Step 6: Final Touches and Fire Basket
The room temperature was recorded after the thermometers were placed and the expanded-mesh fire basket was made. The fire basket will hold the hot coals.
Some metal was also used to make brackets for the wooden door handle of the cook room. Inside and out, the smoker should be washed well to get rid of any flux dust left over from welding. Then, high-heat paint should be put on the smoker.
Step 7: Test Cooking
When firing up the smoker for the first time, let it heat up and burn off any accumulated oils. Once it’s ready, you can start cooking. I prepared some delicious short ribs using charcoal for fuel and added wood for smoke.
Remember, smoke is generated by adding wood after the fire has turned into embers. Mastering this process may be challenging but is certainly rewarding. Heat the smoker, burn off oils, and cook with charcoal and wood for smoke, adding wood for more smoke as needed.