How to cut Plexiglass? Cutting Plexiglass, a transparent and durable plastic material often used as a glass substitute, is useful for DIY enthusiasts and professionals alike.
Plexiglass, also known as acrylic glass, offers versatility due to its transparency and impact resistance, making it ideal for various applications, from home projects to commercial displays.
Learning to cut Plexiglass properly ensures you can create clean, precise cuts without damaging the material. Understanding Plexiglass cutting procedures and tools is essential for making custom windows, display cases, and art installations.
This article covers scoring, snapping, circular saw, jigsaw, and Plexiglass cutter use. Work confidently with Plexiglass with the correct knowledge and safety precautions, opening up new creative possibilities.
What is Plexiglass?

Source Pinterest
Plexiglass, also known as acrylic glass, is a remarkable plastic rigid and see-through. It’s a glass alternative that boasts clarity on par with top-quality glass, allowing 92% of light to shine. The many benefits of Plexiglass are what set it apart from other materials.
It has a remarkable resistance to impact, and if it were to break, it would not split into potentially hazardous pieces like conventional glass would. Plus, it’s a weather warrior, capable of enduring various environmental conditions, making it a versatile choice, especially for outdoor applications.
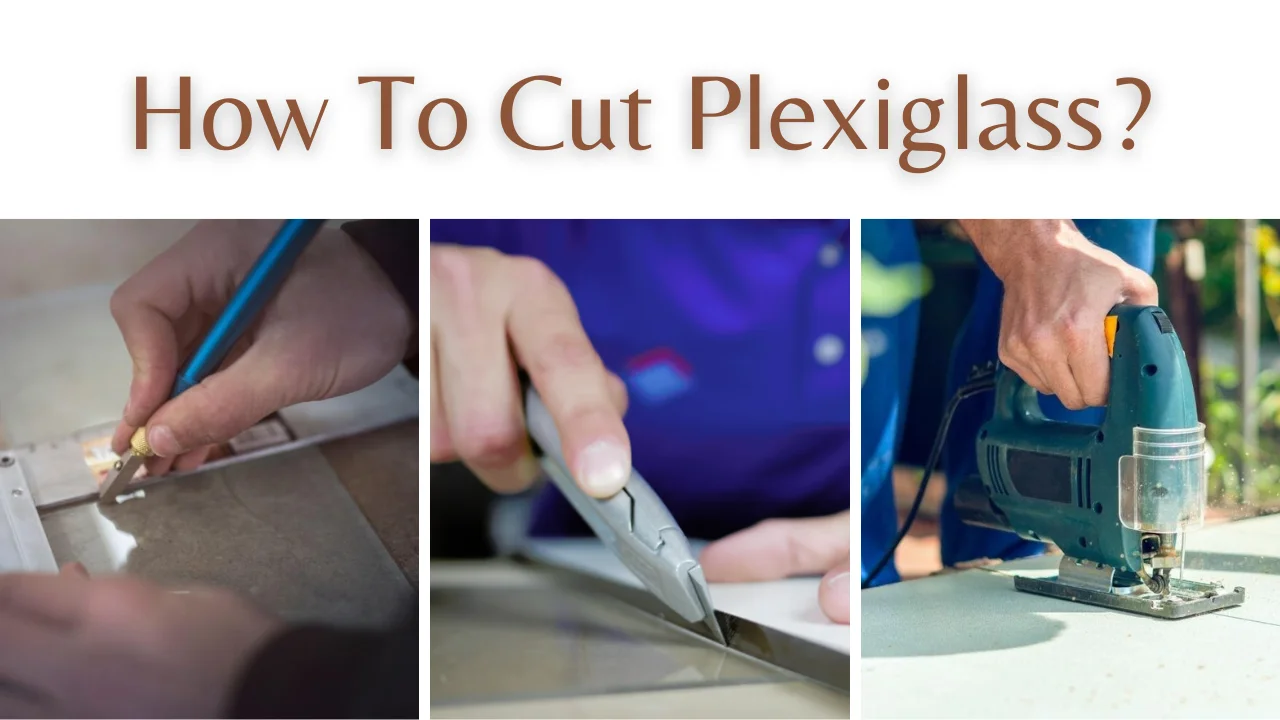
How to Cut Plexiglass by Hand?
Materials:
- Plexiglass sheet
- Safety goggles, gloves, dust mask
- Measuring tools, marker
- Straightedge or ruler
- Masking tape
- Fine-toothed saw or acrylic cutter
- Sandpaper
- Clamps

Source Pinterest
Steps:
1: Measure and mark the cutting line.
2: Secure Plexiglass and apply masking tape.
3: Put on safety gear.
4: Choose your cutting tool (saw or acrylic cutter).
5: Cut along the marked line with steady pressure.
6: Remove protective film.
7: Smooth edges with sandpaper.
8: Clean up your workspace.
Cutting Plexiglass With the Score and Snap Method
Cutting Plexiglass by hand is a breeze using the “score and snap” approach. It works best for smaller or thinner sheets. You’ll need a glass cutter (or a box cutter), a marker, and a ruler. Keep the protective paper on for safety.

Source Pinterest
Steps
Mark Your Cut: Use a marker to draw your cutting lines on the plexiglass sheet. There is no need to remove the protective paper.
Score the Plexiglass: Using your glass cutter, make a series of very light cuts following the line that has been indicated. It is unnecessary to cut all the way through; all you need to do is make a rather deep groove. If it is necessary, you can score on both sides.
Snap It Off: Place the scored Plexiglass on a flat surface, aligning the marked line with the table edge. Apply pressure along the line, and it will snap cleanly.
Smooth Edges: You run the risk of getting very jagged edges. You may use sandpaper, a metal file, or an electric buffer to smooth them out.
How to Use a Circular Saw to Cut?
Plexiglass sheet: Ensure it’s the size and thickness you need.
Safety gear: Safety goggles, gloves, and a dust mask to protect you from flying debris.
Circular saw: Ensure it has a fine-toothed blade for cutting plastics or acrylic.
Measuring tools: A ruler or measuring tape
Marker or pencil: To mark the cutting line.
Masking tape: To create a guide for your cut.
Scale: A straight piece of wood or metal or a ruler made of one of those materials.
Clamps: To secure the Plexiglass sheet to a stable work surface.
Support: A table or sawhorses to support the Plexiglass during cutting.
Step-by-Step Guide

Source Pinterest
Measure and Mark the Plexiglass: Use your measuring tools to determine the dimensions you need for your cut on the Plexiglass sheet. Make sure to double-check your measurements. Mark the cutting line on the protective film covering the Plexiglass using a marker or pencil.
Prepare Your Workspace: Find a clean, flat, and stable work surface, such as a workbench or table. Set up sawhorses or additional support to hold the Plexiglass sheet firmly and level during cutting.
Put on Safety Gear: Before you start cutting, prioritize safety. Put on protective goggles to keep debris from getting in your eyes, gloves to keep debris off your hands, and a dust mask to keep particles from getting into your lungs.
Secure the Plexiglass: Place the Plexiglass sheet on your work surface and use clamps to secure it in place. Ensure its firmly held down, preventing any movement while cutting.
Apply Masking Tape: Along both sides of the cutting line, apply strips of masking tape. It will serve as a protective barrier to reduce the risk of chipping and splintering during cutting.
Select the Right Blade: Ensure your circular saw has a fine-toothed blade designed specifically for cutting plastics or acrylic. Adjust the blade depth so that it extends slightly below the thickness of the Plexiglass.
Position the Cutting Guide: Place a straightedge or guide along the marked cutting line. Make sure it’s securely positioned and aligned with the desired cut.
Start Cutting: With all safety precautions in place, turn on the circular saw. Begin the cut by slowly feeding the saw blade into the Plexiglass along the cutting line. Maintain a steady and controlled pace; do not force the saw. Allow the blade to cut at its own pace.
Support the Cut-off Piece: As you approach the end of the cut, be prepared to support the piece that’s about to fall away to prevent it from cracking due to its weight.
Remove the Protective Film: After completing the cut, peel off the protective film on both sides of the Plexiglass to reveal a clear surface.
Smooth the Edges: To eliminate any rough or sharp edges, use sandpaper with a fine grit to gently sand the cut edges of the Plexiglass.
Clean and Dispose: Clean your work area thoroughly and dispose of any waste material properly, including the protective film and any trimmings.