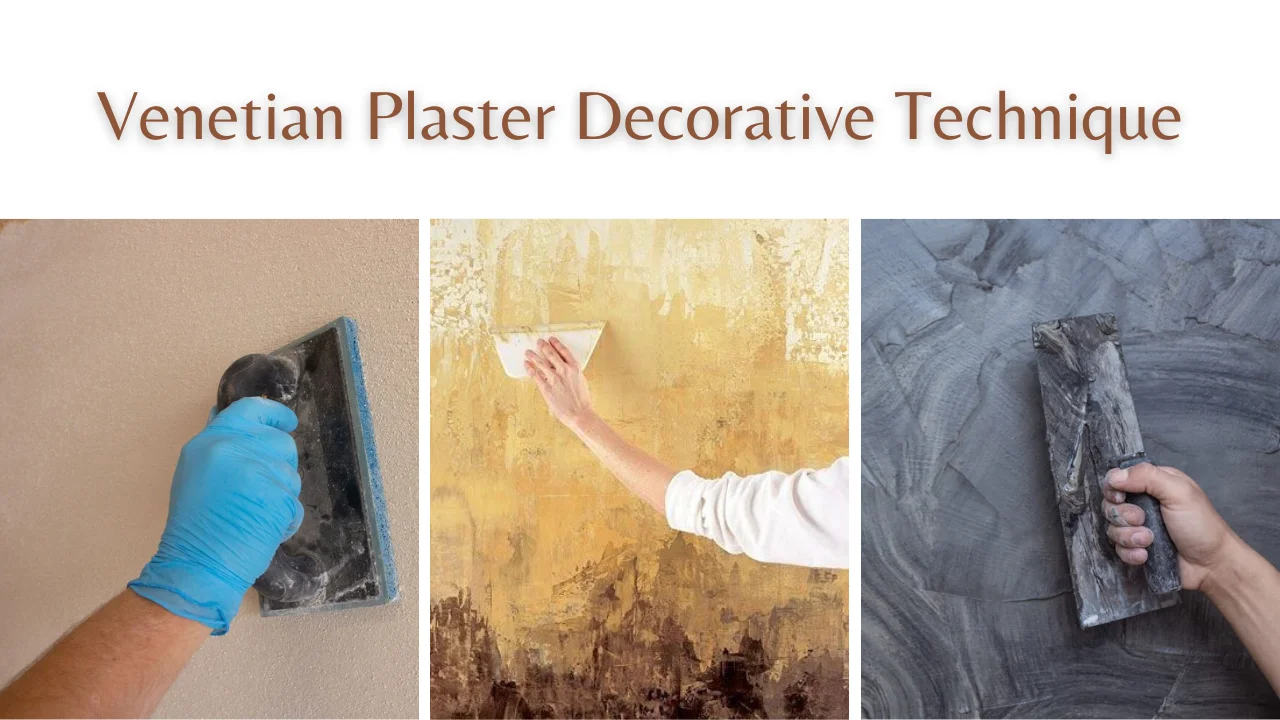
Venetian Plaster Decorative Technique is an old and reliable way to add a bit of timeless elegance to interior walls. This method comes from Venice, Italy, and includes carefully applying special plaster to walls and ceilings.
Skilled craftspeople build up layers of plaster and polish it to make it look like the rich texture and depth of real stone.
The result is a sophisticated finish that takes the beauty of living areas to a new level. It’s not just a surface treatment; it’s an art form that has captivated people for generations. It’s versatile, durable, and friendly to the environment.
You can choose plaster colors, but earthy tones and white are popular. Venetian plaster typically contains limestone and natural materials, applied with a trowel for a textured, defined look.
The Venetian Plaster Decorative Technique continues to charm homeowners by turning their homes into works of art that will last for a long time.
What is the Venetian Plaster Decorative Technique?
The Venetian Plaster Decorative Technique is a time-honoured approach dating back centuries, renowned for adorning walls and ceilings with a sumptuous and refined appearance.

Source Pinterest
With its origins in Venice, Italy, this enduring technique has transcended eras, maintaining its popularity among those seeking to enhance the visual appeal of their living areas.
It involves the application of plaster, meticulously crafted to resemble the luxury of natural stone, resulting in an enduring and elegant finish that adds an air of timeless sophistication to interior spaces.
Tools and Costs of Venetian Plaster
Venetian plaster, a luxurious wall finish, requires specific tools and associated costs. Essential tools include a trowel for application, a hawk for holding the plaster, and a mixing paddle for blending.

Source Pinterest
Other necessities encompass sandpaper for smoothing and burnishing tools for achieving that signature polished look. Costs vary based on factors such as the project size, plaster quality, and labor.
Typically, Venetian plaster materials can range from $7 to $20 per square foot, with additional expenses for tools and labor.
While it’s pricier than traditional paints, the stunning, timeless finish it provides is often considered well worth the investment.
Things to Keep in Mind Before Applying Venetian Plaster
Before applying Venetian plaster, remember that it dries lighter than it looks, sometimes even half the shade, so always test your chosen color on a different surface first. Venetian plaster is different from your typical paint job, so it’s smart to practice your technique on something like a canvas before taking it to your walls.
This precaution helps you avoid potential mishaps and ensures a smoother application process. So, take your time, experiment, and ensure you’re confident in your approach before transforming your living space with this unique and elegant finish.
Applying the Venetian Plaster Decorative Technique
Steps to Applying the Venetian Plaster Decorative Technique:
1: Surface Preparation
To begin applying Venetian plaster, thorough surface preparation is essential. Start by meticulously cleaning the wall or ceiling, ensuring it is free of dirt, dust, or debris.

Source Pinterest
Repair any cracks or imperfections in the surface using a suitable filler, then sand it down until it’s completely smooth. If there’s existing paint or wallpaper, removing them is recommended for optimal results.
2: Priming
The next crucial step is priming the prepared surface. Priming creates a suitable base for the plaster to adhere to and helps achieve an even finish.
Apply a primer using a roller or brush, ensuring even coverage, and allow it to dry as per the manufacturer’s instructions, typically taking a few hours.
3: Applying the Plaster
Now comes the artistry of applying Venetian plaster itself. Begin by preparing the plaster mixture according to the manufacturer’s guidelines, which usually involves mixing marble dust and other natural ingredients.

Source Pinterest
Using a trowel, apply a thin layer of plaster, holding the tool at a slight angle and spreading the plaster evenly in one direction. Let this initial layer dry for about 4–6 hours, but times may vary based on the product and environmental conditions.
4: Burnishing
Burnishing is a distinctive technique contributing to Venetian plaster’s glossy and polished finish. After the initial layer has dried, gently smooth the surface with fine-grit sandpaper or a specialized burnishing tool.
Apply subsequent thin layers of plaster in different directions from the previous one, creating a crosshatch pattern that enhances the texture and depth. Repeat the burnishing process with each layer, adjusting the number of layers to achieve the desired texture and depth.
5: Finishing Touches
Consider adding some final touches to complete the process and protect the finish. If you desire a particular color, tint the plaster by incorporating some pigment.

Source Pinterest
Apply the tinted plaster similarly to the previous layers, using thin coats and following the crosshatch pattern. After the final layer dries, gently sand any uneven spots or rough edges to achieve a uniform texture.
Consider applying a clear wax or sealer designed for Venetian plaster for enhanced sheen and durability. It adds protection and safeguards the finish from moisture and stains.