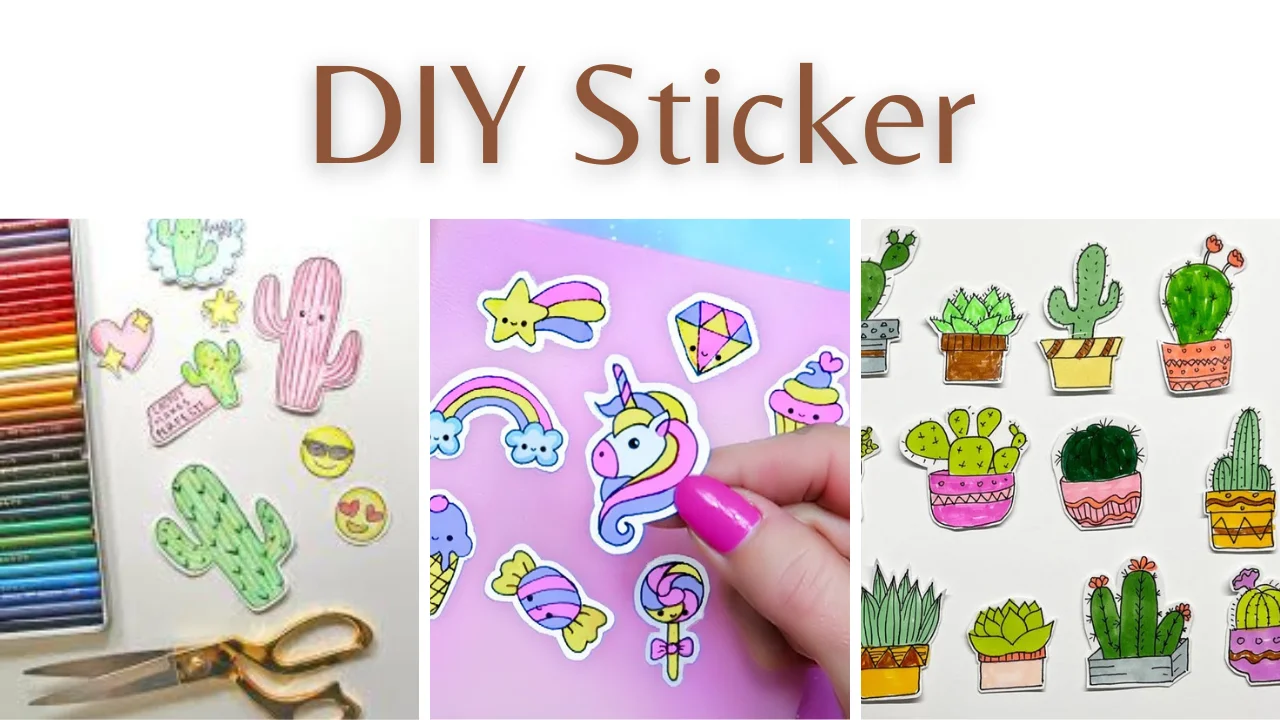
DIY stickers have become a popular and creative way for individuals to express themselves, add a personal touch to their belongings, or uniquely convey important messages. These stickers are a versatile and accessible form of self-expression, allowing people of all ages to unleash their creativity.
DIY stickers can be made using hand-drawn drawings, digital graphics, or existing pictures. DIY stickers are great for artists, hobbyists, and anyone wanting to customize their items. They may personalize laptops, water bottles, notebooks, and cars.
Moreover, DIY stickers often carry personal meaning, making them great for gifting and sharing sentiments with loved ones. This introduction explores the captivating world of DIY stickers, where imagination knows no bounds and self-expression takes on vibrant, adhesive forms.
Top 10 DIY Stickers
Following are the top 10 DIY stickers:
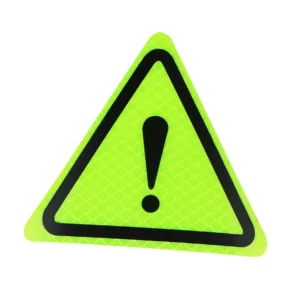
1: Warning Label
This proposal stresses warning labels, notably for grease fires; nonetheless, it is adaptable for any important message or caution that has to be communicated. Begin with a clear statement that can be summed up in a few words, then supplement it with pictures pertinent to the topic.
 Source Pinterest
After that, create a sticker using whichever design software you like. This approach ensures that essential safety or cautionary messages about fire hazards, chemicals, or other potential dangers are communicated effectively.
Combining succinct text with eye-catching visuals makes critical information easily digestible and memorable, promoting safety and awareness in various contexts.
2: AHS Vinyl Sticker
To complete this specific task, you will need to look for a picture you would want to have made into a vinyl decal. Once complete, you must copy and paste it before opening it in Photoshop.

Source Pinterest
Check to see that there is no trace of the backdrop showing. Carry out all the necessary procedures in Photoshop to personalize the design to satisfy your tastes and bring your idea to life.
Send Cut Job should be selected as the final step to complete once the image that you have made has been loaded into the vinyl cutting.
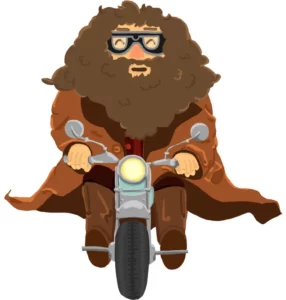
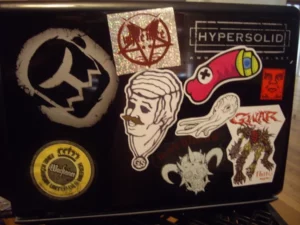
3: Hagrid
It would be best to begin by sketching out the design you want to produce, then scan it so that you can make any required adjustments digitally. Ultimately, you should have the design you want to create.
Source Pinterest
The next thing to do is open the file in Photoshop, make any final adjustments to the drawing, and check the final picture to make sure it is high enough quality to be printed.
After you have colored it in as you like, you can copy and paste it into a Word document. It would be best if you used a laser printer to print it. Tape should be used to cover the image before the latter is cut off completely.
Put the sticker in water, then carefully peel off the image to avoid any water damage. You’ll have your very own Hagrid sticker once you’ve waited for the image to dry after using it.
4: Cheap Vinyl
Creating cheap vinyl stickers is a cost-effective process that requires printable shipping labels, clear vinyl laminate, a smoothing tool, any printer, design software like Inkscape, scissors, and a computer.

Source Pinterest
First, design your sticker using Inkscape. Then, load printable shipping labels into your printer. Print your design onto the labels.
Carefully cut out the stickers. Peel off the backing from the labels and apply the clear vinyl laminate, smoothing out any bubbles. Trim any excess laminate.
This DIY method allows you to produce affordable vinyl stickers with a simple setup, making it accessible for various creative projects and personal use.
5: Electroluminescent Bumper Sticker
It’s conceivable that you have not considered this trendy and cutting-edge appearance in the past, but you should change that.

Source Pinterest
You will require a USB car adapter, double-sided tape designed specifically for cloth, an industrial double-stick foam tape, and a sort of shirt incorporating an electroluminescent panel into its design.
Access to a 12v power source within your vehicle will also be important. You’ll have to be creative with your tools, but the ultimate product will be something no one else has ever seen.
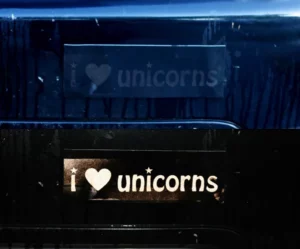
6: Illusionary Plan
It is an excellent way to joke on April Fool’s Day or if you just want to play a practical joke on one of your closest pals.
Source Pinterest
If the target of your practical joke drives a dark-colored vehicle, this strategy will work in your favor. For this practical joke to be successful, you will want some retro-reflective black 3M adhesive vinyl.
This vinyl will shine when a light is directed at it. Put a message that you believe would be humorous on someone else’s automobile, and you will have a prank that is entertaining and safe to play on.
7: Made in-Home
It is your greatest option if you are looking for a project that won’t break the bank and will also involve things that you already own or readily find.
Source Pinterest
To complete this project, you will require white vinegar, white glue, a pattern of your choosing, a brush, a jar, packaging tape, a straight edge, a small spray bottle, and scissors.
You will combine the glue and vinegar in a proportion roughly equal to 2:1. This results in an exceptionally robust adhesive.
If you take the tape and spread it out in a level layer on top of the pictures, it will give the pictures a wonderful, shiny appearance. Using this straightforward and uncomplicated method, you may produce whatever kind of sticker you desire.
8: Traditional Stickers
You will need your design, some scissors, a brush, some wax paper, and some sugar glue to manufacture these kinds of stickers. Obtain the images and position them on the wax paper, so the backs face up.
Source Pinterest
After the sugar glue has been produced, apply it to the photos using a brush and wait for it to completely dry before moving on to the next step.
When ready to use them, lick the back of the sticker and apply it to whatever surface you like. After that, you are finished.
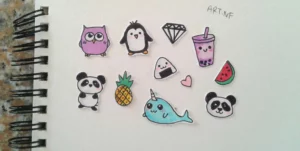
9: Draw your Own
Creating stickers is the easiest way, making it an ideal indoor activity for children or a family to enjoy together.

Source Pinterest
For this project, you’ll need some contact paper, tape, permanent markers, and scissors. Place the contact paper with the glossy side on the table, then begin to sketch.
After you finish, you should remove the paper backing from the contact paper before cutting the image out. And with the help of some contact paper, you’ve successfully created your own.
10: Car Decal Stickers
It has a quick and simple approach to give your car a unique appearance, which is perfect if you want to accomplish that. Numerous individuals take pleasure in customizing their automobiles by applying decals to their liking or conveying information about themselves.

Source Pinterest
Obtain some vinyl sticker paper, toothpicks, a vinyl cutter machine, contact paper, a knife, and rubbing alcohol as your first steps in this project. After the picture has been produced, you should remove any elements that aren’t necessary by cutting them out.
It needs to be covered with contact paper for you to be able to glue it to your automobile, but before you do that, you need to clean your car with rubbing alcohol. Peel off the contact paper and apply pressure to the sticker to ensure it sticks properly.