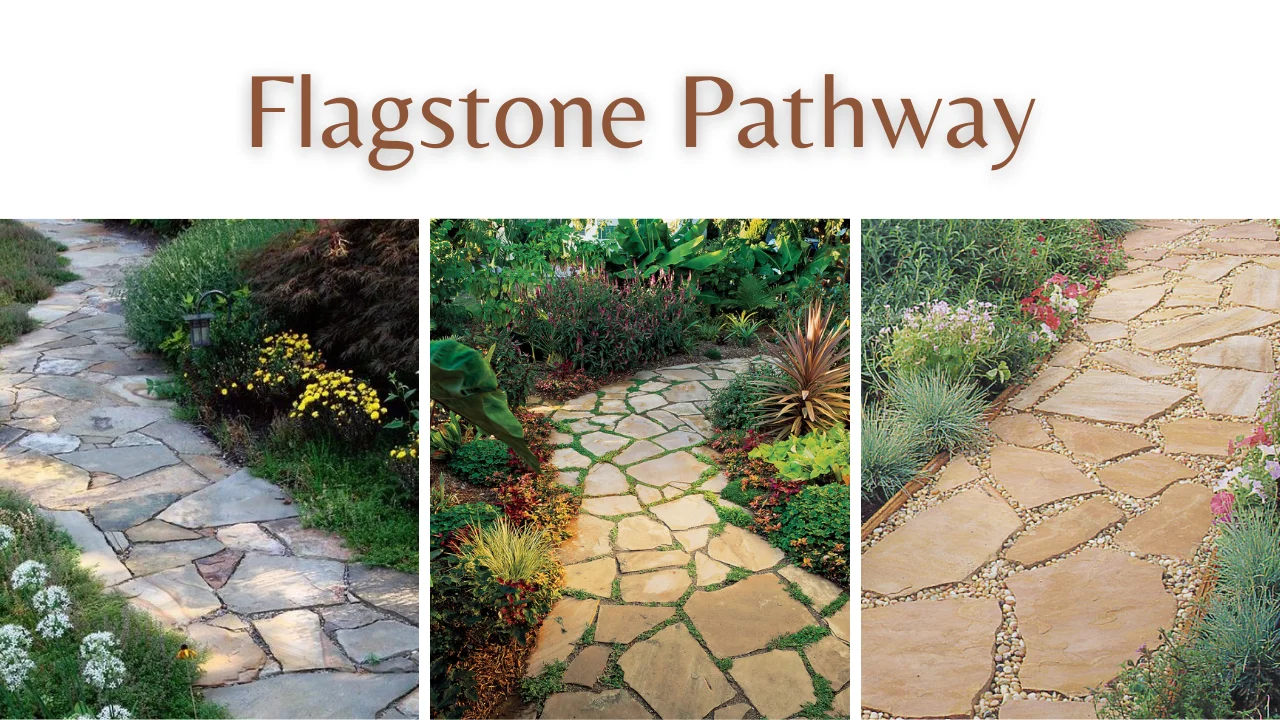
Flagstone pathway is a walkway made from flat, irregular-shaped stones like sandstone or slate, creating a natural and rustic look. Creating a flagstone pathway is a great way to improve your outdoor area’s look and functionality.
Whether you want to connect different parts of your garden, make a path to your favorite spot, or add beauty to your landscape, this DIY project can do it all.
From digging and preparing the base to placing and securing the flagstones, each step is vital to ensure your path stays solid and lasts a long time. You’ll have a functional and attractive pathway to enjoy for years with some care and effort.
Flagstone’s natural, irregular shape gives your garden or yard a charming, rustic feel. In this guide, we’ll take you through the process of building a flagstone path, step-by-step, making it easy for anyone to follow.
How do you Lay a Flagstone Pathway?
Source Pinterest
Step 1: Gather Materials and Tools
Before you begin, ensure you have all the necessary materials and tools. You will need:
- Flagstone pieces
- Gravel or crushed stone
- Sand
- Landscape fabric
- Shovel
- Wheelbarrow
- Rake
- Tamper or plate compactor
- Carpenter’s level
- Rubber mallet
- Safety gear (gloves, safety glasses)
Step 2: Plan and Design
Plan the layout of your pathway. Use garden hoses or string to outline the path’s shape. Consider the desired width and any curves or turns in the pathway. Make sure it complements the overall landscape design.
Step 3: Excavate the Pathway
Excavating the pathway is a crucial step in creating a stable flagstone walkway. Begin by digging out the ground within the designated path, reaching a depth of approximately 4 to 6 inches. The exact depth may vary depending on the thickness of your flagstones.
Ensure that the pathway has a gentle slope away from nearby structures. This slope helps prevent water from accumulating and ensures proper drainage, which is essential for preserving the longevity and stability of your flagstone pathway.
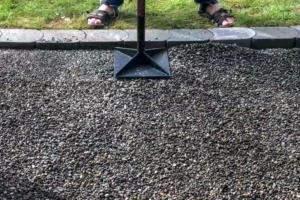
Step 4: Add a Base Layer of Gravel
Source Pinterest
Spread a layer of gravel or crushed stone about 2–3 inches deep over the excavated area. Use a rake to distribute the gravel evenly, then compact it with a tamper or plate compactor to create a stable base.
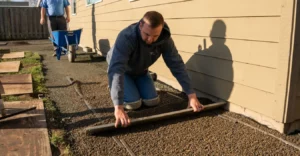
Step 5: Add a Layer of Sand
Adding a layer of sand is a critical step in the flagstone pathway construction process. After compacting the gravel base, apply a 1-inch layer of sand evenly over the prepared area. Use a wooden board or a straight edge to smooth and level the sand.
Source Pinterest
This layer of sand acts as a cushion, allowing for minor adjustments in the height and positioning of the flagstones, ensuring a level surface for the stones to rest upon. It creates a stable foundation that helps distribute weight and minimizes the risk of uneven settling in the future.
Step 6: Lay the Landscape Fabric
After the sand has been spread out, cover it with landscape cloth. It offers stability and helps prevent weeds from sprouting up between the flagstones as they are laid. It is necessary to cut the cloth so that it conforms to the curve of the route.
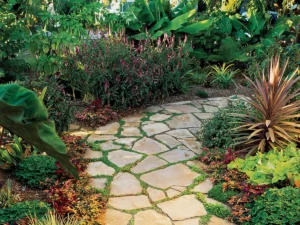
Step 7: Place the Flagstones
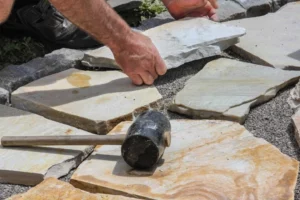
Source Pinterest
Carefully lay the flagstones on the landscape fabric, starting from one end of the pathway. Space them evenly, leaving small gaps (about 1/2 inch) between the stones for sand or filler. Adjust the stones as needed to create a pleasing pattern.
Step 8: Level and Secure the Flagstones
Use a carpenter’s level to ensure each flagstone is level. Tap the stones gently with a rubber mallet to adjust their height. Make sure they are firmly set in the sand.
Step 9: Fill the Gaps

Source Pinterest
Fill the gaps between the flagstones with sand or specialized stone filler. Brush the filler into the gaps and use the plate compactor or a tamper to settle it firmly. Add more filler as needed until the gaps are filled, and the surface is level.
Step 10: Finishing Touches
To complete your flagstone pathway, focus on the finishing touches. After ensuring the flagstones are securely in place, and the gaps are filled with sand or filler, perform a thorough sweep to eliminate any surplus material on the surface.
Subsequently, gently water the pathway. It serves a dual purpose: it helps to settle the filler securely into the gaps between the flagstones, promoting stability, and it further compacts the pathway, ensuring a solid and level walking surface for your finished flagstone pathway.
Step 11: Maintenance
Regularly inspect and maintain your flagstone pathway. Replace any damaged stones, refill gaps as needed, and keep weeds at bay by occasionally applying weed killer or manually removing them.
Sources