How to kiln dry wood? Learning how to kiln dry wood is valuable for woodworkers and artisans. How to kiln dry wood involves a precise process that removes moisture from the wood, ensuring it reaches an optimal moisture content level.
How to kiln dry wood is essential for preventing warping, splitting, and other defects in lumber and for achieving flat, stable boards that are ideal for woodworking projects.
This comprehensive guide will walk you through the intricacies of how to kiln dry wood, providing you with the knowledge and techniques required to master this essential aspect of woodworking.
Whether you’re a seasoned professional or a novice wood enthusiast, understanding how to kiln dry wood will empower you to work with high-quality, well-dried lumber and unlock the potential for creating outstanding woodworking pieces.
Source Pinterest
Kiln Dry Wood Plan
Following are the top How to kiln dry wood plans:
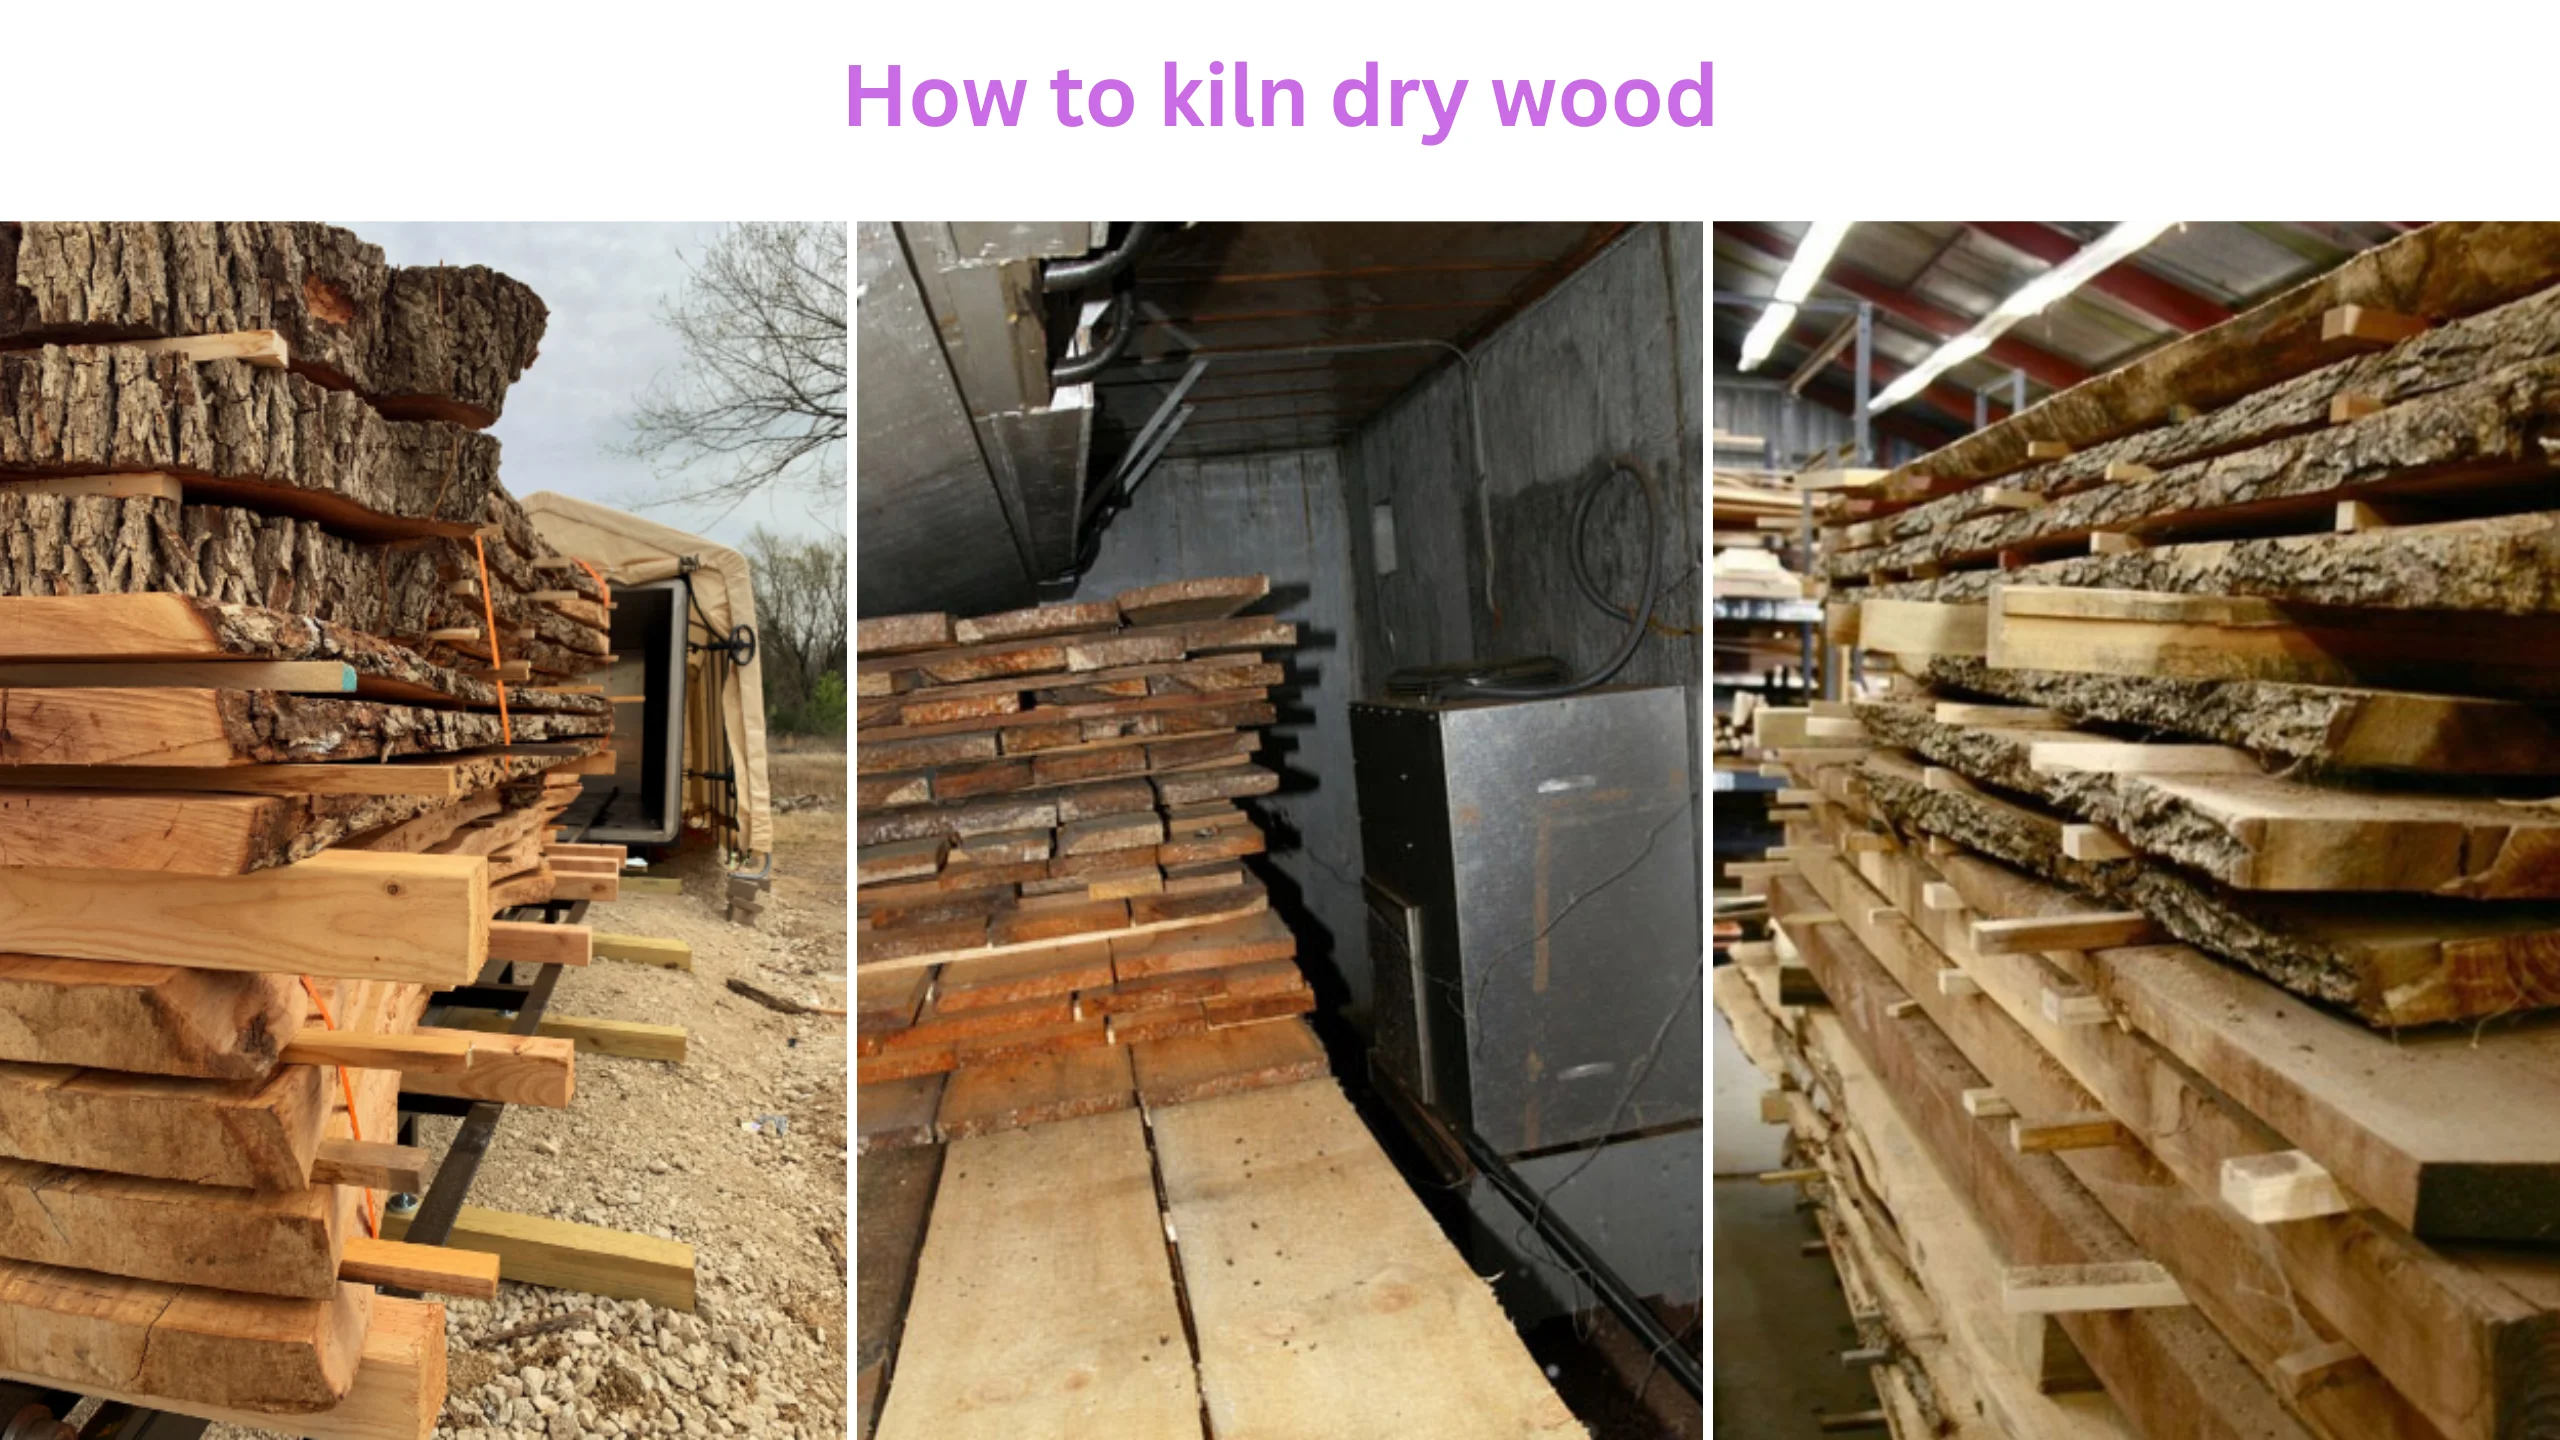
1: Kiln Dry Lumber and Get Flat Boards

Source Pinterest
Kiln-dry lumber is wood subjected to controlled drying in a kiln to limit the amount of moisture it contains, resulting in a flat and uniform appearance of stable boards. If you are interested in survivalists, you know how important it is to have a supply of dry wood accessible.
Kilns are among the most efficient ways of drying out wood, so there’s no reason not to utilize one. This video will show you how to kiln dry lumber and manufacture flat boards, which you may use with your do-it-yourself pizza oven if you follow the instructions.
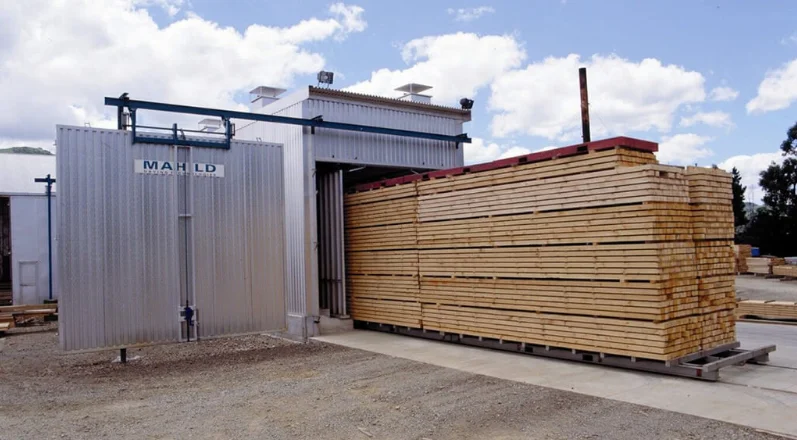
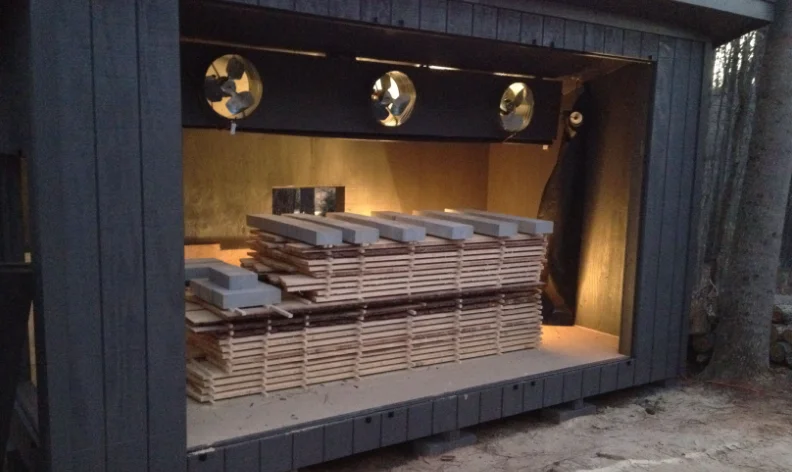
2: Wood Kiln
Source Pinterest
A wood kiln, often called a dehumidifier kiln, is a specialized piece of equipment used in the woodworking industry to manage and decrease the moisture inside wood.
In contrast to traditional kilns, which rely on heat, wood kilns use dehumidification technology to remove moisture from the wood. It ensures that the wood reaches the moisture level optimal for woodworking projects.
This procedure not only accelerates the drying of the wood but also helps avoid warping and cracking, resulting in high-quality wood that is stable and suitable for various uses.
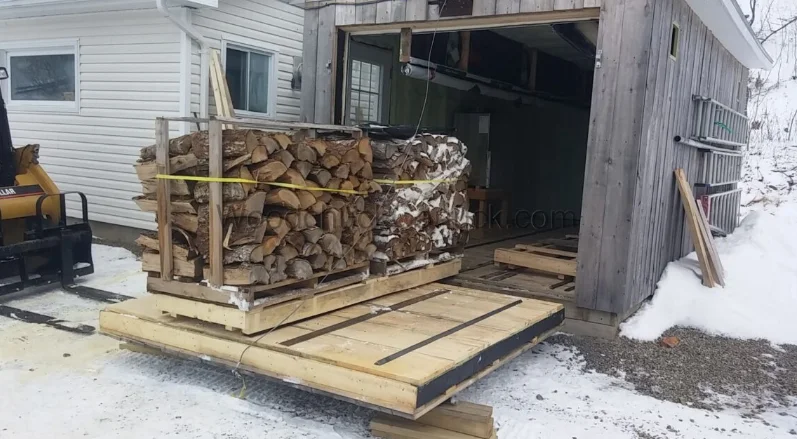
3: Easy Wood Drying Kiln
Source Pinterest
Have you ever been curious about the process of kiln-drying wood? It is a procedure that can be used to speed up the natural drying process, and it is a fantastic way to guarantee that your wood is thoroughly dried before utilizing it in any of your projects.
The process is known as kiln drying. In this video, you’ll discover how to kiln dry wood using a simple do-it-yourself approach; maybe you’ll use your newly acquired skills by building one of these smokehouses. Therefore, if you consider yourself a do-it-yourselfer in any capacity, this tutorial is for you.
4: Kiln-Dried Lumber
Source Pinterest
It’s a procedure that may give your woodworking creations a more professional appearance and feel.
5: Drying Wood With Dehumidifier Wood Kiln

Source Pinterest
Do you like putting time in the workshop crafting lovely artisanal furniture items? Or you’re a carpenter who wants to maintain the quality of the timber in your inventory.
In any event, consider using a wood kiln that already has a dehumidifier built into it. It is a wonderful strategy for defending your expensive wood from the impacts of dampness and retaining the shiny beauty of the wood in the process. Continue reading to discover more about this helpful tool.
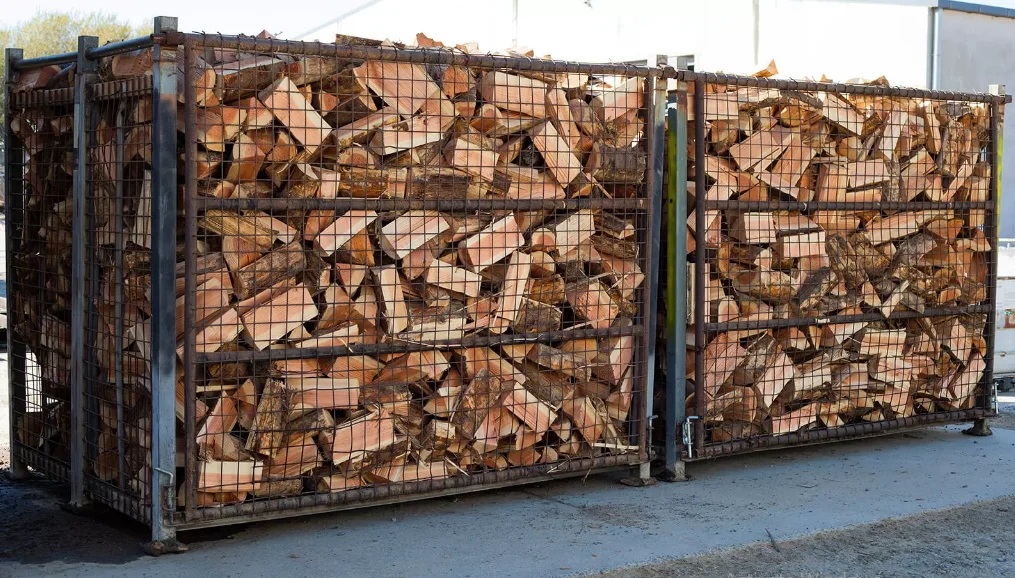
6: Kiln Drying Lumber
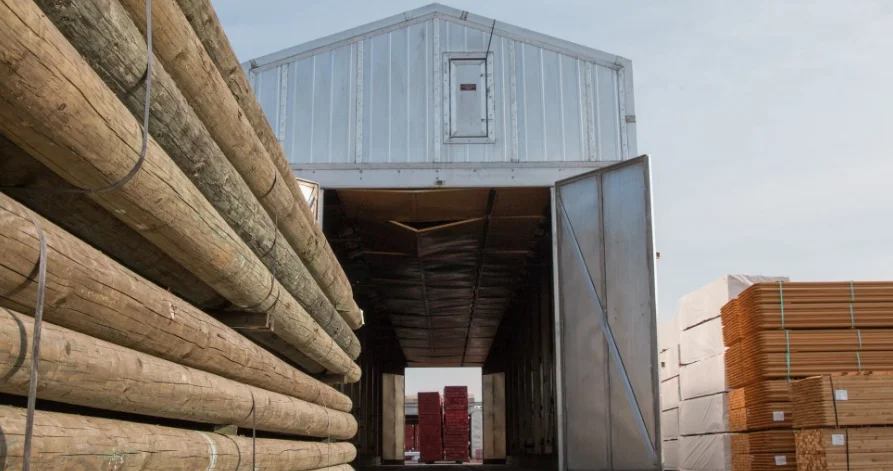
Source Pinterest
Kiln drying the wood is an excellent method for ensuring it is ready for use as fuel and may be used immediately.
How to Kiln Dry Wood: Step by Step?
Step 1: Sourcing Wood Logs
Finding logs for kiln drying is simpler than you might think. Many people are eager to part with fallen trees, so watch for individuals looking to dispose of them. In many cases, if you offer a reasonable price, you can obtain the logs you require. It helps you and eliminates the hassle they would have had to go through to dispose of it.
Another option is to contact local tree trimmers or check with municipal authorities responsible for fallen trees; chances are, you’ll find a seller through these channels.
Once you’ve acquired the wood, seek out a local sawyer. Many sawyers provide portable sawmills at reasonable rates, and an experienced one can accomplish a lot quickly.
Alternatively, you can mill the wood yourself using a quality chainsaw. However, prioritize safety by protecting your ears and lungs when working with chainsaws.
Step 2: Preserving the Wood
It is necessary to seal the end grains of your logs and lumber if you want to prevent cracking. This process of sealing the wood causes the pores to close, which protects it from cracking. You may obtain this result by combining water and wood glue in a separate container.
Repeatedly applying this concoction to the ends of the wood will provide the desired effect. Paint can also serve the same function as wood glue, so you can use paint instead if you don’t have any of it on hand. These sealing materials ensure that the wood retains more than 32% moisture content, preserving its quality.
Step 3: Air Drying the Wood
Allowing wood to shed excess moisture naturally is a crucial step in drying, typically spanning a few months. After approximately two months, your wood pieces should have naturally reduced their moisture content by over ten per cent.
When air drying wood, it’s vital to stack it with adequate spacers and stickers to ensure proper airflow. Ground-level humidity can harm the wood, so placing a piece of plastic on the ground beneath the stack is advisable. To minimize the risk of cracking, securely bind the wood using tie-downs.
Consider constructing a temporary plastic roof to shield your drying wood from rain and adverse weather conditions. Position the roof in a suitable location, away from prevailing winds, to protect your drying wood from the elements.
Step 4: Building the Kiln for Further Drying
After several months of air drying, it’s time to move your wood into an enclosed space for the next drying phase. To build the kiln, remove the plastic you had placed on the ground earlier.
Then, construct a frame using 2 by 4-inch studs, ensuring enough space to accommodate a standard household dehumidifier. Proper air circulation is essential at this stage, so install a fan designed to pull air from below and blow it through a plastic tube to the other end, ensuring no air pockets are left in the kiln.
The fan should ideally measure 20 feet by 6 meters. The dehumidifier should be placed inside the kiln and set to its maximum capacity, considering it has a hose running outside to fill a bucket.
Build the kiln around the stacked lumber using wooden frames and seal all seams with a vapor barrier.
For easy dehumidifier control, create small access holes, which you should tape up after use. The wood should remain in the kiln for a minimum of four months, during which it will reach a moisture content level of 8 per cent. This controlled drying process ensures your wood is ready for various applications.
Step 5: Bringing the Wood to your Workshop
Now that your wood has been drying, it’s time to move it into your workshop. However, before you start working on it, allowing the wood to acclimate for a couple of weeks is essential, as this is the standard practice before processing it.
After this acclimation period, you’ll find that the 5-inch material is ideal for crafting furniture and other woodworking projects. This resting period ensures that the wood is stable and ready for you to create beautiful and durable pieces.
Step 6: Crafting Furniture
Having successfully harvested wood sustainably and completed the drying process, you can harness this distinctive wood to create bespoke furniture pieces.
How to Know if Wood Is Dry?
Here are some indicators to help you determine if the wood is dry:
Color Change: Dry wood will typically change a noticeable color, becoming lighter in the shade.
Weight Reduction: Dry wood will weigh less since it has lost much of its moisture content.
Cracks: Depending on the wood type and drying method, you may observe cracks on the wood’s surface. Note that this is more common when using an oven for drying but may not be a permanent feature.
If you notice moisture on the wood, applying a stabilizing solution is advisable to allow for extended drying. However, only apply the stabilizing solution once the wood has reached room temperature to ensure effective treatment.
How to Keep Wood from Splitting?
Wood splitting is a frequent issue during drying, often resulting from cell collapse. To mitigate this, employing a wood stabilizer is recommended.
Furthermore, taking time with the drying process is crucial, as haste can damage wood. Ensuring uniform drying is essential. Expose the wood to heat evenly from all sides to achieve this efficiently. This practice minimizes the risk of splitting and helps maintain the wood’s structural integrity.