How to Make a DIY Corset?
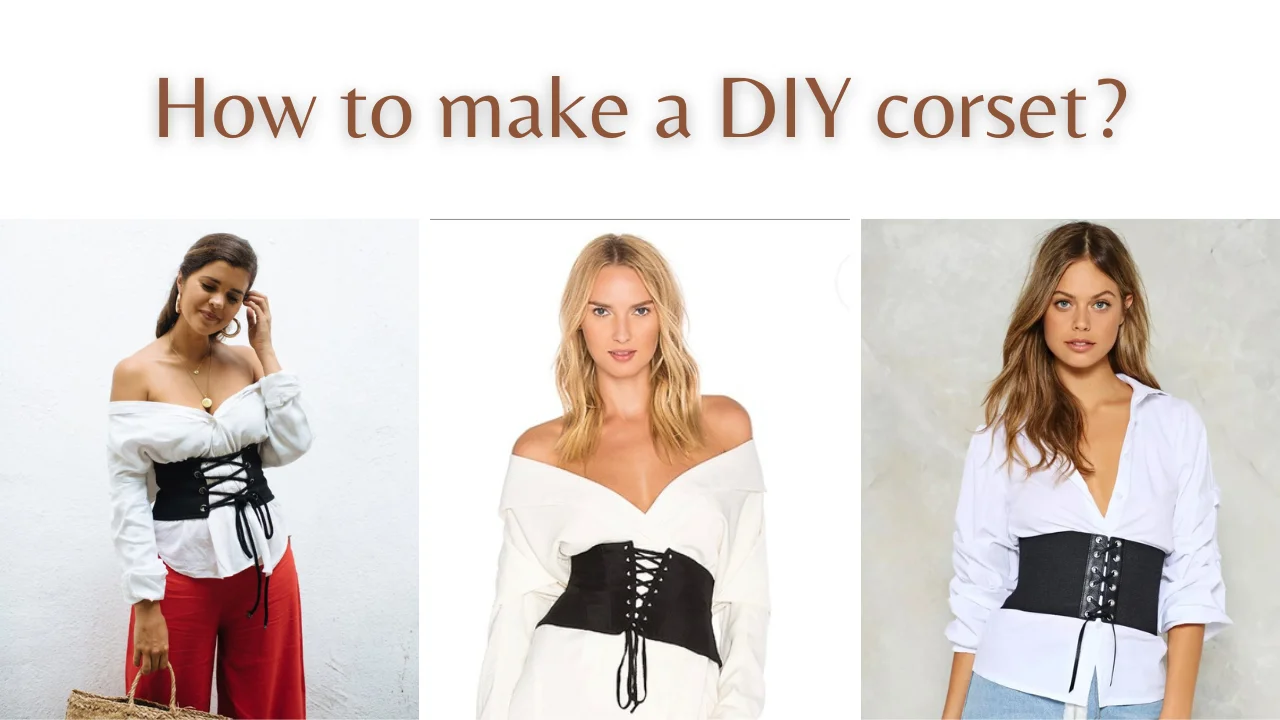
Crafting a DIY corset allows you to infuse your wardrobe with vintage allure and individuality. This guide equips both novices and experienced craters to fashion a personalized corset.
Starting with fabric selection and pattern cutting, you’ll progress through adding key elements such as boning, grommets, and laces. The step-by-step breakdown ensures a rewarding creative journey regardless of your sewing expertise.
Crafting your corset delivers a unique fashion statement and a tangible representation of your skills. The wearable artwork will catch your eye and proudly display your effort. Join this fantastic corsetry adventure and enjoy wearing a stylish, self-expression garment.
A Step-by-Step Guide to Making a DIY Corset
Begin crafting your own corset with our simple step-by-step guide:
1: Preparing Your Fabric
Select a fabric that suits your style and comfort to create your DIY corset. You’ll need enough fabric to cover your upper body and allow for adjustments. Lay the fabric flat and ensure it’s clean and wrinkle-free.
If the fabric has a pattern, make sure it’s aligned correctly. Measure your waist, bust, and corset length accurately. Trace the corset shape on the fabric using a fabric marker or chalk, adding seam allowances. Cut following the lines carefully, and then continue making your personalized corset.
Source Pinterest
2: Determining Your Size
Before diving into your DIY corset project, it’s crucial to determine your size accurately. Use a soft measuring tape to measure your waist at its tightest, breast at its fullest, and corset length from under bust to hips.
If available, use a size chart to match your dimensions. If you’re between sizes, corsets fit snugly, so size down. A well-fitting and flattering DIY corset starts with the proper size.
3: Choose your Fabric
Corset coutil is the greatest material since it’s 100% cotton, developed for corsets, breathable, robust for its weight, and has little give. Without coutil, use durable cotton duck or fine line. Duck fabric or linen corsets fit larger than coutil.
Cut and sew the lining using tightly woven cotton or cotton blend and the corset pattern. Testing the thread before buying your corset ensures quality. Before usage, unwind and break a piece of all-purpose thread with your hands. Use a strong thread because the corset will put a lot of tension on it.
4: Prepare your Fabric
To start making your stylish corset, the first step is to prepare your fabric. Choose a fabric you love and gather all the necessary supplies, including scissors, pins, and a measuring tape.
Lay the fabric on a clean, flat surface, ensuring it is free from wrinkles or creases. This will help ensure that your corset turns out beautifully and fits just right when you’re done crafting it.
5: Pin the Pattern to the Fabric
Pin the fabric to the pattern. Lay the design vertically across the fabric, adhering to the cross-grain, which is most likely the grain line with the greatest stretch. You should avoid wearing your waist in too much stretch.
The fabric is pinned with the pattern. The design could also be placed using weights or stones called “pattern weights.” This method requires a chalk pattern outline before cutting. This option avoids fabric distortion when cutting, making it sometimes preferable.
6: Cut the Pieces Out
Once your fabric is ready, it’s time to bring your DIY corset to life. Use your measurements to cut out the fabric pieces you need carefully.
Make sure to follow the lines precisely to create accurate shapes for the front and back of the corset. Taking time during this step will help ensure your corset comes together seamlessly.
7: Stitching Your Pieces
With your fabric pieces all set, it’s time to start stitching. Place the front and back pieces together with the right sides facing each other. Pin them in place to keep them secure.
Sew along the edges using a sewing machine or needle and thread, leaving the top and bottom open.
Make sure your stitches are neat and even for a polished look. This stitching will hold the corset pieces together and form the basic structure of your DIY creation.
8: Pin your Pieces Together
Bind the parts together with the thread. Stitch the parts together in the correct sequence using a very little straight stitch. Slowly work down the fabric from the top, avoiding any shifts or bunches. When you’re done, your corset will be in two pieces.
When stitching, double-check that you’re joining the correct pieces. You might try numbering the pieces on the back if you have a piece of white chalk.
9: Press Each Seam Open
When you have finished stitching all the seams, you need to press them open to make the back visible. When finished, they need to be laid flat.
- Reduce the risk of bunching by removing any surplus fabric, if necessary.
- Remember that you can also push the seams open as you go.
10: Sew Sides of the Fabric to Prevent Ragged Edges
To ensure a clean finish, it’s important to sew the sides of the fabric pieces together. This step will prevent any fraying or ragged edges along the seams.
Using a sewing machine or needle and thread, carefully stitch along the sides, staying close to the edge. This will give your DIY corset a professional look and help it withstand wear and tear.
11: Stitch the Waist Tape in Place
A waist tape adds stability to your corset and helps define the waistline. Align the waist tape with the waistline of your fabric pieces, and stitch it securely along the seam.
This tape will provide extra support and keep the corset’s shape, ensuring it fits comfortably and looks stunning.
12: Adding the Boning, Binding, and Busks
Now it’s time to add some important components to your corset. Create channels within the fabric by stitching rows where the boning will go.
Slide the boning pieces into these channels for added structure. Stitch the binding along the top and bottom edges for a polished appearance. Sew busks the closures at the front to fasten your corset securely.
13: Create Boning Channels
Boning channels are essential for keeping the corset sturdy and maintaining its shape. Sew parallel lines inside the corset where you want to place the boning.
These channels will hold the boning in place and prevent it from shifting, ensuring your corset provides the desired support and shaping.
14: Sew on the Right Busk
Position the busk closures on the front panels of your corset. Carefully sew the busk pieces onto the fabric, making sure they align perfectly.
The busk closures consist of one side with knobs and the other with loops. This attachment method ensures a secure fit and easy opening and closing of your corset.
15: Sew on the Knobs
Attach the knobs to the corresponding loops on the opposite side of the busk. These knobs and loops create a secure closure for your corset.
Sew them on tightly to ensure your corset stays in place while wearing it, giving you confidence and comfort.
16: Attach the Bottom Binding
Sew the bottom binding along the lower edge of the corset. This binding adds a professional look and helps protect the fabric and keep it from fraying over time.
Make sure it’s sewn on securely, so your DIY corset stands the test of time and looks fabulous from every angle.
17: Stitch the Binding on
You can secure the taped binding using your sewing machine to make straight stitches. Add binding only to the bottom for now. You must bone the corset before finishing the top.
18: Put in Some Bones
Insert bones into bone channels after measuring their length; cut spiral steel flats to the length of the corset, leaving a 1/4-inch edge at the top and bottom. These bones can be purchased whole or pre-cut.
- Spiral steel flats will better conform to your corset’s contours, but spring steel flats will work just fine.
- Use strong hot glue or craft glue to cover the bone ends to prevent sharp edges.
19: Bind the Top Edge
Bind the top of the corset with the corresponding binding using the same taping and sewing method used for the bottom border.
20: Insert Your Grommets
Grommets are like little metal rings that help with lacing up your corset. Make small holes along the back edges of your corset to insert them.
Place the grommets in these holes and use a special tool to secure them. These grommets will keep your corset strong and let you tighten or loosen it for the perfect fit.
21: Lace the Corset
Now comes the fun part – lacing up your corset! Start at the bottom and thread the laces through the grommets. Crisscross the laces as you go up, pulling them snugly but not too tight.
Once you reach the top, tie a bow to keep everything in place. This lacing adds classic corset looks and lets you adjust how snug or comfy you want it to be.
22: Put the Corset On
Put the corset on by loosening the laces a bit. Slip it over your head and then pull the laces to tighten it around your waist.
Make sure it’s comfortable and secure. Once you’re happy with the fit, tie another bow at the top. Now you’re all set to rock your awesome DIY corset, strike a pose, and feel fantastic.
Conclusion
Creating your DIY corset is an empowering and rewarding endeavor that allows you to showcase your creativity and style. Following the step-by-step process outlined in this guide, you can design a unique and personalized garment that fits perfectly and exudes confidence.
As you lace up your handcrafted corset and enjoy the complex embellishments, you’ll improve your sewing skills and embrace fashion as self-expression. So enjoy corset-making and wearing an item that shows off your creativity.
Frequently Asked Questions
How hard is it to make a corset?
Can you sew a corset without boning?