
How to make a DIY lighter offers a resourceful and innovative approach to fire, starting using aluminum foil and batteries. Safety remains paramount, focusing on protective gear and responsible battery disposal.
The foil preparation involves careful consideration of dimensions, creating a bridge between battery terminals for ignition. A readily combustible source is essential for transferring the flame. Understanding battery terminals is crucial for ignition.
Alternative fuel sources like butane, alcohol, and lighter fluid are available, but you can craft your lighter fluid using an ethanol-water-salt mixture.
This comprehensive guide on how to make a DIY lighter emphasizes safety and resourcefulness, providing valuable insights into this alternative fire-starting method ensuring you’re well-prepared for various situations.
Source Pinterest
How to make a DIY Lighter Step by Step?
Instructions for Making Your Lighters Using Aluminum Foil and Batteries.
1. Step 1: Practice Safety Measures
Ensuring you and others are safe should be your top priority. Before doing anything else, you should always wear fire-resistant gloves while working with fire, batteries, or electric charges that include potentially harmful chemicals.
Ensure the trash can is empty, and a fire extinguisher is nearby. Remember to recycle batteries while disposing of them, particularly if you reside in a region with designated battery collection methods.
The acid from a leaking battery should be considered hazardous and disposed of promptly. Battery acid is very corrosive and poses serious health risks to humans.
2. Step 2: Power Sources
Make sure you’re using brand-fresh batteries. A charge is also required to produce the flame. Although any batteries will work, AA alkaline batteries are recommended since they are often used to power lighters.
Also, their size makes them an attractive option; consider employing a pair. Use a 9-volt battery if necessary, but know it won’t be enough.
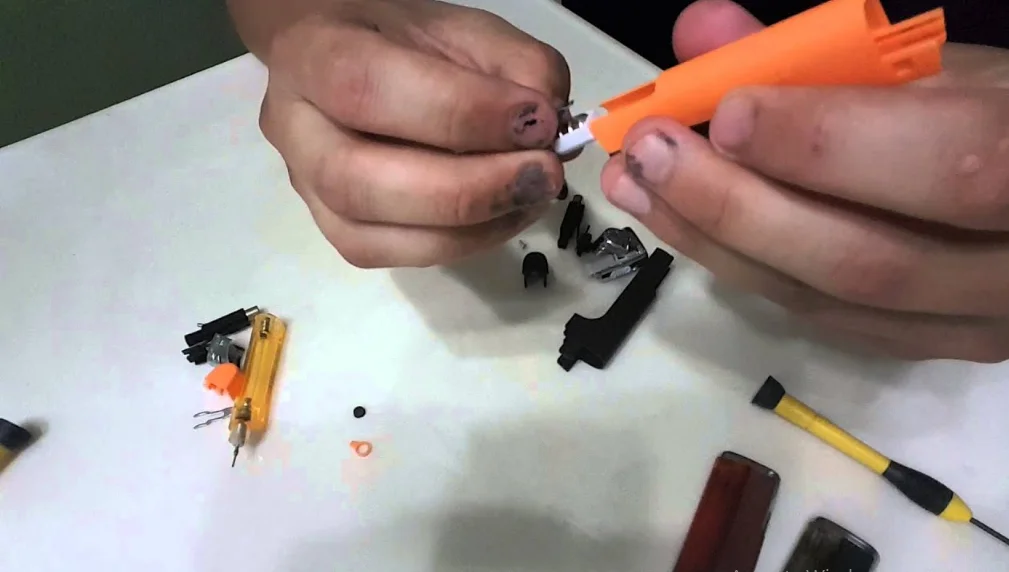
3. Step 4: Foil
To build a lighter, you must first prepare the foil, for which you will need a metal foil. If you don’t have any aluminum foil, you may use a gum wrapper or, if that’s not accessible, the foil from a cigarette lighter.
Make a strip by folding the foil in half once using AA batteries. The minimum required dimensions for the strip are 3″ in length and 1″ in width.
If you build it this way, a little bridge will connect the battery’s two ends when it is complete. The strip must be of sufficient size, yet it should not be so thin that it may be readily damaged or set ablaze. You may experiment with various forms and dimensions to discover the optimal solution.
4. Step 4: Source Transfer
To sustain the flame created by the foil and battery, having a transfer source ready is crucial. Since this DIY method’s fire tends to extinguish quickly, it must be kept burning by moving it to a readily combustible material.
Common choices include dry leaves, loose paper, or newspapers. This precaution is vital, especially if the flame ignites close to the battery, as moving it promptly prevents potential hazards like an explosion.
Preparing with a nearby, easily combustible substance ensures a continuous and controlled flame, making this DIY fire-starting technique practical and safe for various situations.
5. Step 5: Locate the Battery
Familiarity with the battery’s terminal orientation is paramount in this DIY fire-starting method. Most batteries conveniently label their terminals, with a plus sign (+) denoting the positive terminal and a minus sign (-) indicating the negative one.
This knowledge is fundamental as the entire process hinges on your ability to correctly identify and manipulate these terminals. The success and safety of the procedure depend on your understanding of the battery’s polarities.
Incorrect connections could result in hazardous situations, so always double-check and ensure you can locate the positive and negative terminals without any ambiguity. This awareness ensures a controlled and secure ignition process, making it essential to crafting your DIY lighter.
6. Step 6: Tie the Foil Down
It is the last thing you’ll need to do to start a fire after you’ve done everything else. When ready, connect the foil to the battery’s negative terminal. If you connect the negative end securely, you can start a fire.
7. Step 7: Lighter Fluids and Fuels
Several kinds of energy sources are available. Butane gas, alcohol fuel, and lighter fluid are all combustible liquids. Cigarette lighters commonly utilize butane as fuel.
Candle lighters that use alcohol fuel are available. Lighter fluid may also be used as a fuel source for them.
Diy Instructions for Lighter Fluid
Creating your own DIY lighter fluid is a straightforward, cost-effective solution that ensures you always have a handy fuel source. The process is as simple as mixing 1 part ethanol with 2 parts water and adding a dash of salt.
This easy-to-follow recipe allows you to make your fluid with readily available ingredients. Apply it to your lighter’s wick or fuel reservoir when using it.
Remember to handle your homemade fluid carefully, keeping it away from flames, heat sources, and out of reach of children.
It’s a safe and convenient alternative to commercial options that often contain chemicals like methyl ethyl ketone, ethanol, toluene, and naphtha.
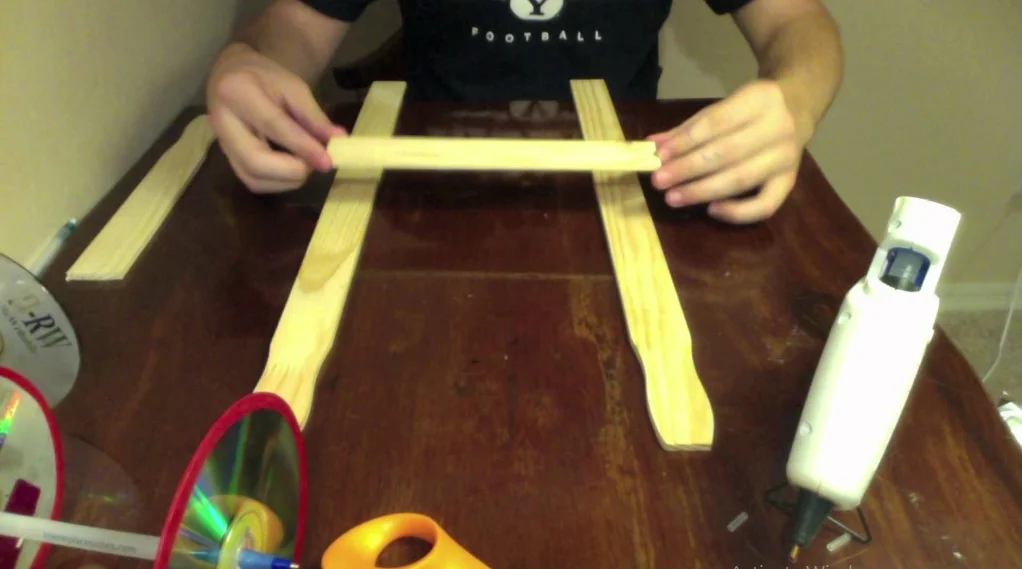
How to Build a Mousetrap Car?
How to build a mousetrap car? Well, you’re about to embark on an exciting journey of creativity and engineering. This comprehensive guide will walk you through building a mousetrap car.
How to build a mousetrap car is not just a project; it’s an opportunity to explore the fascinating world of physics and mechanics while crafting a fun, hands-on creation. Whether you’re a curious student eager to learn or a hobbyist looking for a satisfying DIY challenge, this project is perfect.
Building a mousetrap car is an educational adventure combining science and practical application. You’ll discover the principles of potential and kinetic energy, the mechanics of motion, and the thrill of witnessing your creation zoom across the floor.
DIY Mousetrap Vehicle Blueprints
Here are DIY Mousetrap Vehicle Blueprints:
1: Automotive Fischertechnik Mousetrap
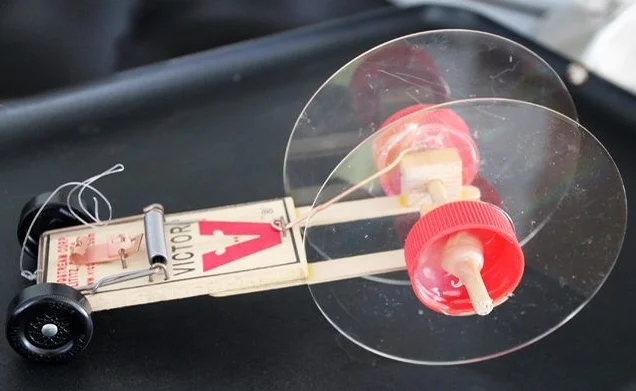
Source Pinterest
The Automotive Fischertechnik mousetrap is a simple yet fascinating toy that operates on the principle of stored mechanical energy. Its primary source of propulsion is a tightly wound rubber band, which is looped around the wheels’ axle.
When this rubber band is released, it rapidly unwinds, converting potential energy into kinetic energy. As the rubber band unwinds, it exerts a rotational force on the wheels, causing them to turn.
This turning motion propels the mousetrap car forward, demonstrating the conversion of stored energy into mechanical motion. It is an engaging educational tool for understanding the basic principles of physics and engineering.
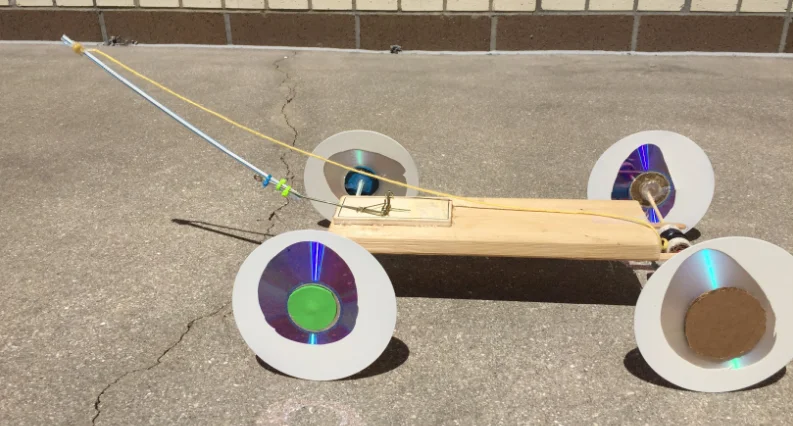
2: 1st Place Mousetrap Car ideas
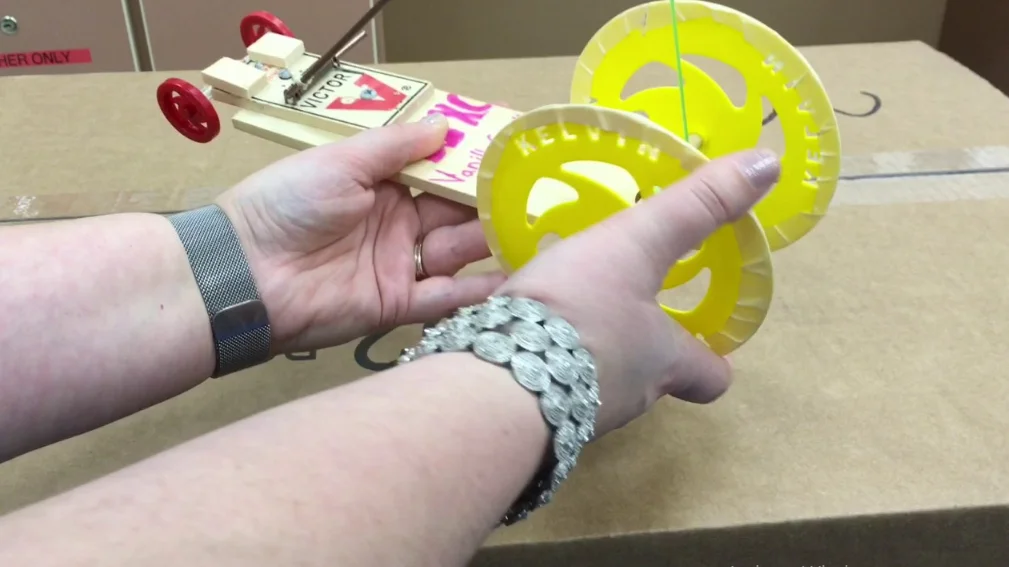
Source Pinterest
A mousetrap car, designed for a 1st-place finish, is typically constructed from wood and features four wheels. A string runs between the front and rear axles to make up the innovative system that connects them.
The energy stored in the wrapped string is transmitted to the wheels when you twist it and then let go of it. This dual action causes the car to move forward and, at the same time, spin in circles.
It’s a clever engineering project that showcases converting potential energy into linear and rotational motion, making it a fun and educational endeavor for those seeking to excel in mousetrap car competitions.
3: The Car is made from Mousetraps
Source Pinterest
Putting together a mousetrap car is a fun DIY project that shows you how to build a small vehicle driven by a mousetrap. This endeavor is educational and accessible, using materials commonly found in your household.
The project’s core involves attaching a mousetrap to the car’s body and then leveraging the spring-loaded energy stored in the mousetrap’s mechanism.
Winding and releasing the mousetrap generates kinetic energy that propels the car forward.
It’s a hands-on, fun way to explore basic physics and engineering principles while repurposing everyday items to craft a working, self-propelled vehicle.
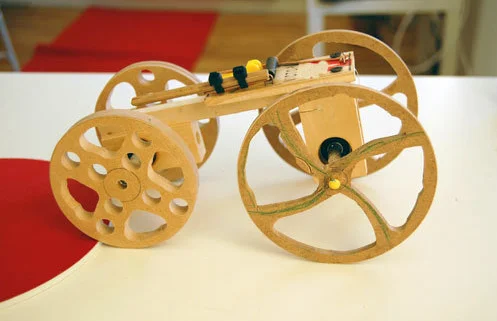
4: Mousetrap Vehicle Car
Source Pinterest
Toy automobiles that are constructed from common home objects might be referred to as mousetrap cars. A mousetrap inspired the design of the automobile’s interior and exterior.
The automobile made of a mousetrap consists of two wheels and an axle, both attached to the mousetrap utilizing rubber bands or string.
When you pull on the trigger of the mousetrap, it will release its hold and then snap back into place, which will cause the axle to release its hold on the wheels and cause the mousetrap to move.
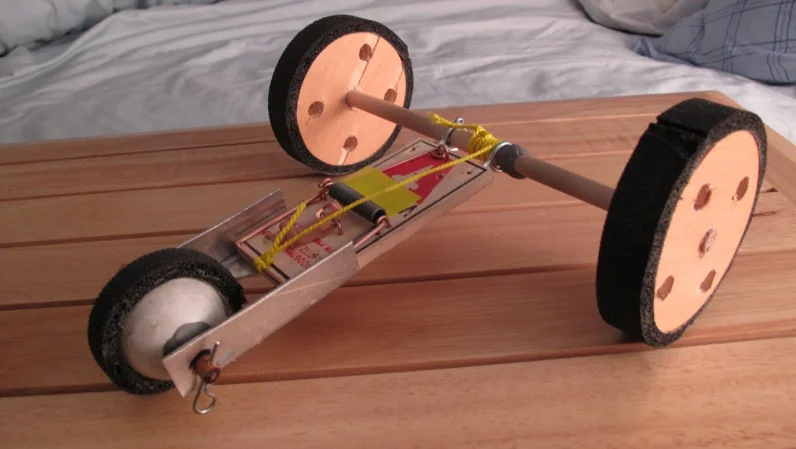
5: Car with a Mousetrap
Source Pinterest
A mousetrap automobile may be constructed from almost any material to be fashioned into a rectangle. For example, the axle must be constructed from something solid, like a pencil or a dowel rod.
It is recommended that a rubber band be fastened to either end of the axle so that, when released, the band may move the vehicle forward.
6: Long-Range Mousetrap Car
Source Pinterest
Building a long-range mousetrap car is a remarkably straightforward DIY project, so user-friendly that even a child can complete it. The beauty of this project lies in its simplicity, utilizing easily accessible materials and a basic construction process.
As you assemble and fine-tune your mousetrap car, you’ll gain a sense of accomplishment and valuable insights into the principles of mechanics and physics. It’s a fun and educational endeavor that promises hours of enjoyment and learning.