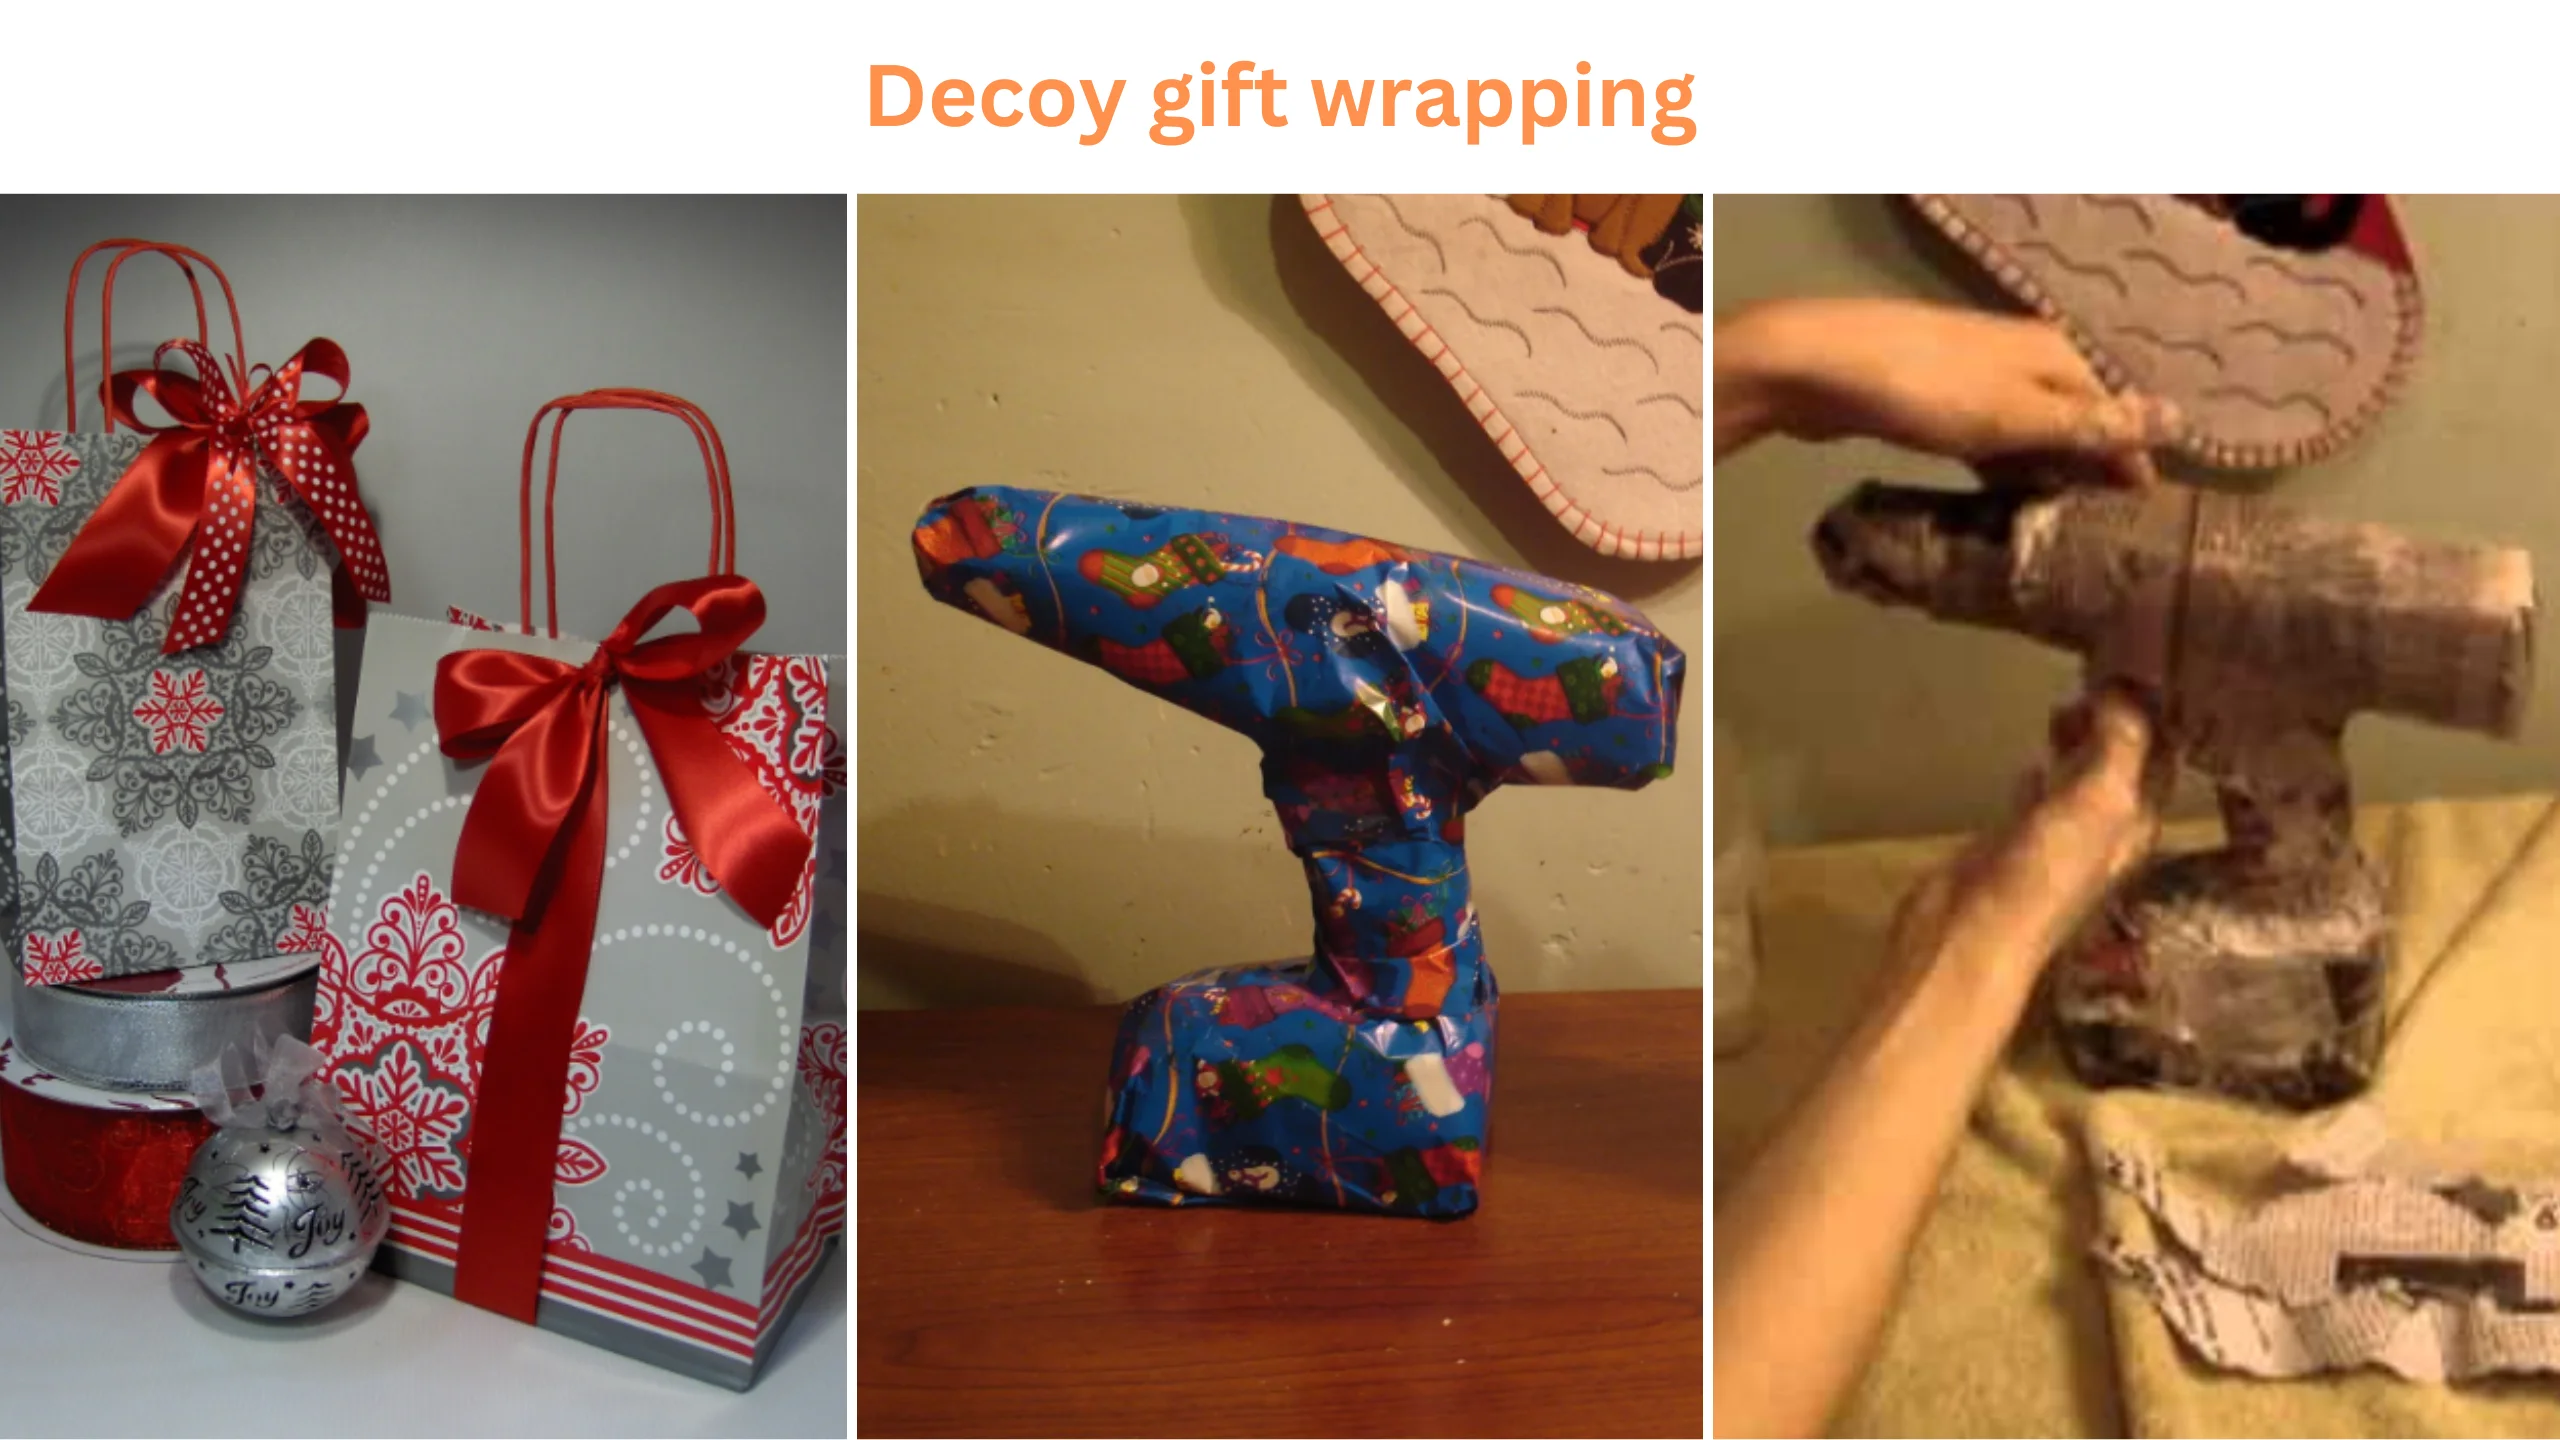
Decoy gift wrapping, the art of playful deception in gift presentation, transforms unwrapping into an experience filled with curiosity, laughter, and joy. In the world of gift-giving, where anticipation often reigns supreme, decoy gift wrapping emerges as a delightful strategy to add an element of surprise.
With decoy gift wrapping, the essence lies in crafting an outer appearance that teases and intrigues, concealing the true nature of the gift within. It’s a whimsical dance between expectation and revelation, as the recipient is led down a merry path of discovery.
In this exploration of decoy gift wrapping, we delve into the imaginative ways it can elevate your gift-giving game, leaving recipients both bemused and delighted.
Prepare to embark on a journey where the wrapping becomes an integral part of the present, and the element of surprise reigns supreme. Join us in unravelling the magic of decoy gift wrapping.

Source Pinterest
Decoy Gift-Wrapping Plans
Here are different Decoy gift wrapping plans:
Decoy Gift Wrapping: Adding Fun to Your Christmas Gifts
Source Pinterest
Are you seeking a way to make your Christmas gift-wrapping unique and memorable? Take a moment to explore this engaging blog post on the art of decoy gift wrapping.
This creative twist on traditional gift wrapping will surely bring a smile to your recipient’s face, along with a few laughs and maybe even some puzzled looks.
Unveil the charm of decoy gift wrapping as we share innovative and fun ways to present your gifts this holiday season.
Get ready to make your presents stand out from the crowd and leave a lasting impression on your loved ones. It’s all about adding that extra character and surprise to your gift-giving experience.
Gift Wrapping Made Memorable

Source Pinterest
During the holiday season, there is nothing quite like the happiness that comes from spending time with those you care about, whether they be family or friends. During this time of year, giving and receiving gifts is customary; nevertheless, selecting the ideal present for each recipient can take time.
If you’re feeling stuck this holiday season, consider trying the delightful decoy gift-wrapping method. Thanks to your creative touch, your loved ones will be pleasantly surprised and joyful when they unwrap their gifts! Here are some fantastic ideas on how you can cleverly disguise the contents of your gifts within their wrappings.
Wrapping Gifts for TikTok Compilation: Adding Fun to Your Gift-Giving

Source Pinterest
Are you searching for a unique and enjoyable way to make your Christmas presents extra special this year? Try out the exciting method of decoy gift wrapping. This one-of-a-kind approach involves playfully wrapping your gifts, guaranteed to bring a smile to the recipient’s face.
Plus, it’s a clever way to deter curious children from sneaking a peek at their Christmas surprises before the big day arrives. Explore this collection of TikTok videos for some fantastic ideas and inspiration on adding fun and creativity to your gift presentations.
Let’s make this holiday season even more memorable with some delightful and unique gift-wrapping techniques.
Decoy Gift Wrapping + Exchange: A Fun and Eco-Friendly Idea
Source Pinterest
This unique way of wrapping gifts will grab your recipient’s attention and put a smile on their face.
It is an excellent method for recycling old newspapers or magazines and adds an element of surprise to your gift-giving experience. So, let’s dive into this creative and eco-friendly approach to gift presentation.
Decoy Gift-Wrapping Tips
You will need two gifts for the steps outlined in this Instructable: one false and one genuine. You may choose to have nothing more than a thin cardboard and wrapping paper casing with a Just Kidding! letter pasted inside. However, the second present will be hard to find because it will be tucked away within the fake one.
The part of the procedure that presents the most challenge has come around. Bringing together an extra presence within the existing one requires more skill and careful planning. The interior area of a present box must be utilized to its utmost potential.
To begin, you have to decide on what it is that you intend to store in the container that you have. If you only have a little time but are patient, using a portable device such as an iPod or iPhone is the best option. After determining what will be placed within your container, you must check that everything will fit correctly.
Calculating the necessary clearance around a spherical or cube-shaped object could be more straightforward. However, entering cylindrical goods like batteries or tubes inside the box will be considerably more difficult without dropping them.
How to make Decoy Gift Wrapping Step by Step?
Step 1: Materials & Supplies
List of supplies:
- The real gift
- Newspaper
- Water
- Scissors
- Hot glue gun
- Duct tape/Scotch tape
- Hot glue sticks
- Cardboard
- Packing material
- Flour
- Tactical blade
- Bowl for blending
- Packing peanuts
- Bow
Step 2: Preparation
Wrap your item with a few layers of regular plastic wrap, ensuring it’s well sealed.
Step 3: Making the Paper Mache Pulp
Making paper mache pulp is an approximate science. Mix a cup of flour into warm water until you achieve your desired consistency.
A good starting point is using 2 cups of warm water and 1 cup of flour. Lay a sheet of newspaper flat on the table, then tear it into 1-inch wide strips. These will be the strips for your paper mache layers.
Step 4: Layering with Paper Mache
Working on a covered surface will make cleanup easier. Begin wrapping the decoy object with the paper Mache in all directions. Once the first layer is done, proceed to create a second layer. Allow the paper Mache to dry completely, which usually takes 24 hours.
Step 5: Removing the Mold
Once the paper Mache is dry, use a utility knife to cut a seam in the middle and around it carefully. It will allow you to remove the mould from your real gift.
Step 6: Adding Reinforcements
Consider reinforcing if you have fragile parts that can’t be glued together. Cut a couple of pieces of cardboard and glue them in place.
Then, attach two smaller pieces for support, like the handle and the part that contacts the head. Cover the inside of your head with a piece of cardboard and repeat the process at its base.
Step 7: Assembling
Apply glue over the seam and spread it with a spare piece of cardboard. Use duct tape to cover other areas. If the bottom isn’t even, trim it with scissors.
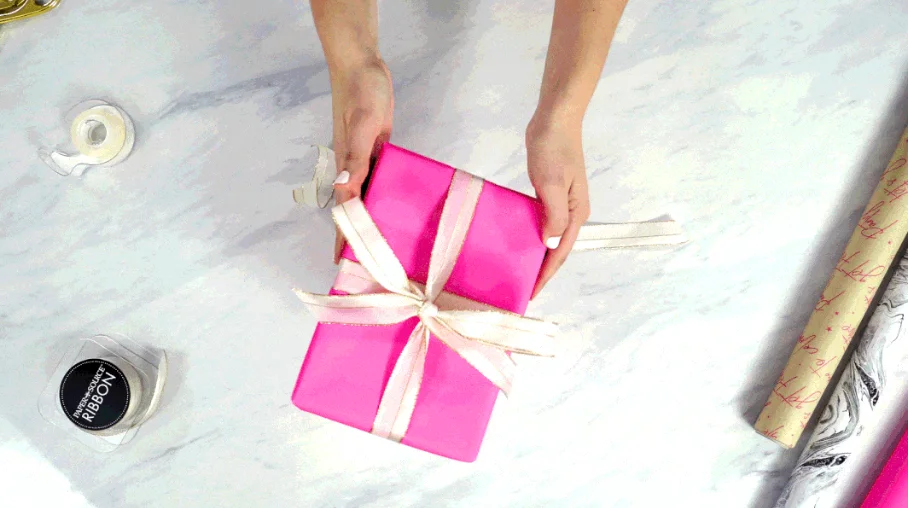
Step 8: Wrapping
Wrap the item in three pieces to create an “obvious” effect, ensuring the paper mache is hidden.
Step 9: Adding Weight
If needed, add weight to the item. Depending on its size and weight, you can use lighter materials like joint compounds or denser substances like concrete to fill any remaining gaps.
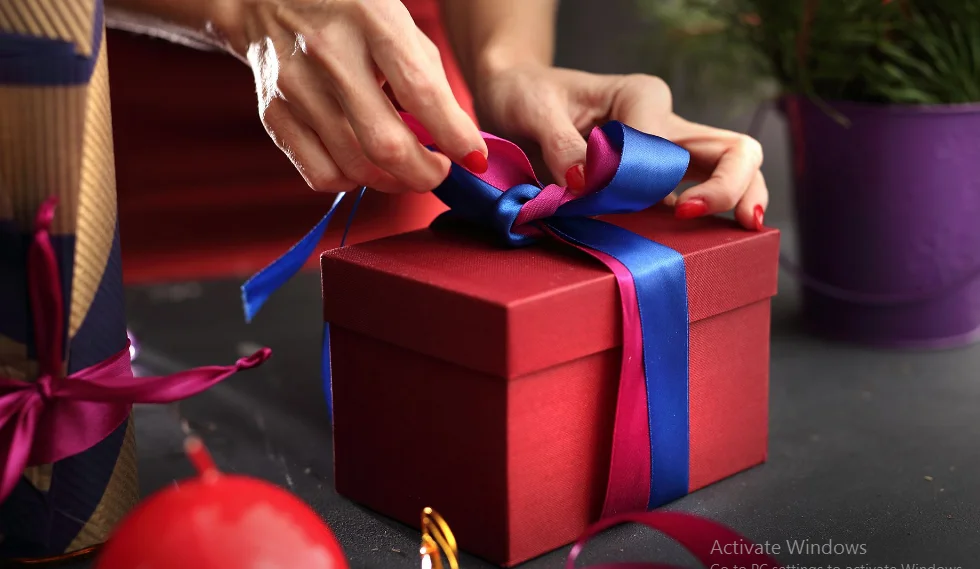
Step 10: Completion
Finish by adding a ribbon, and you’ll have the perfect gag gift. This project is straightforward and highly satisfying once you see the result.