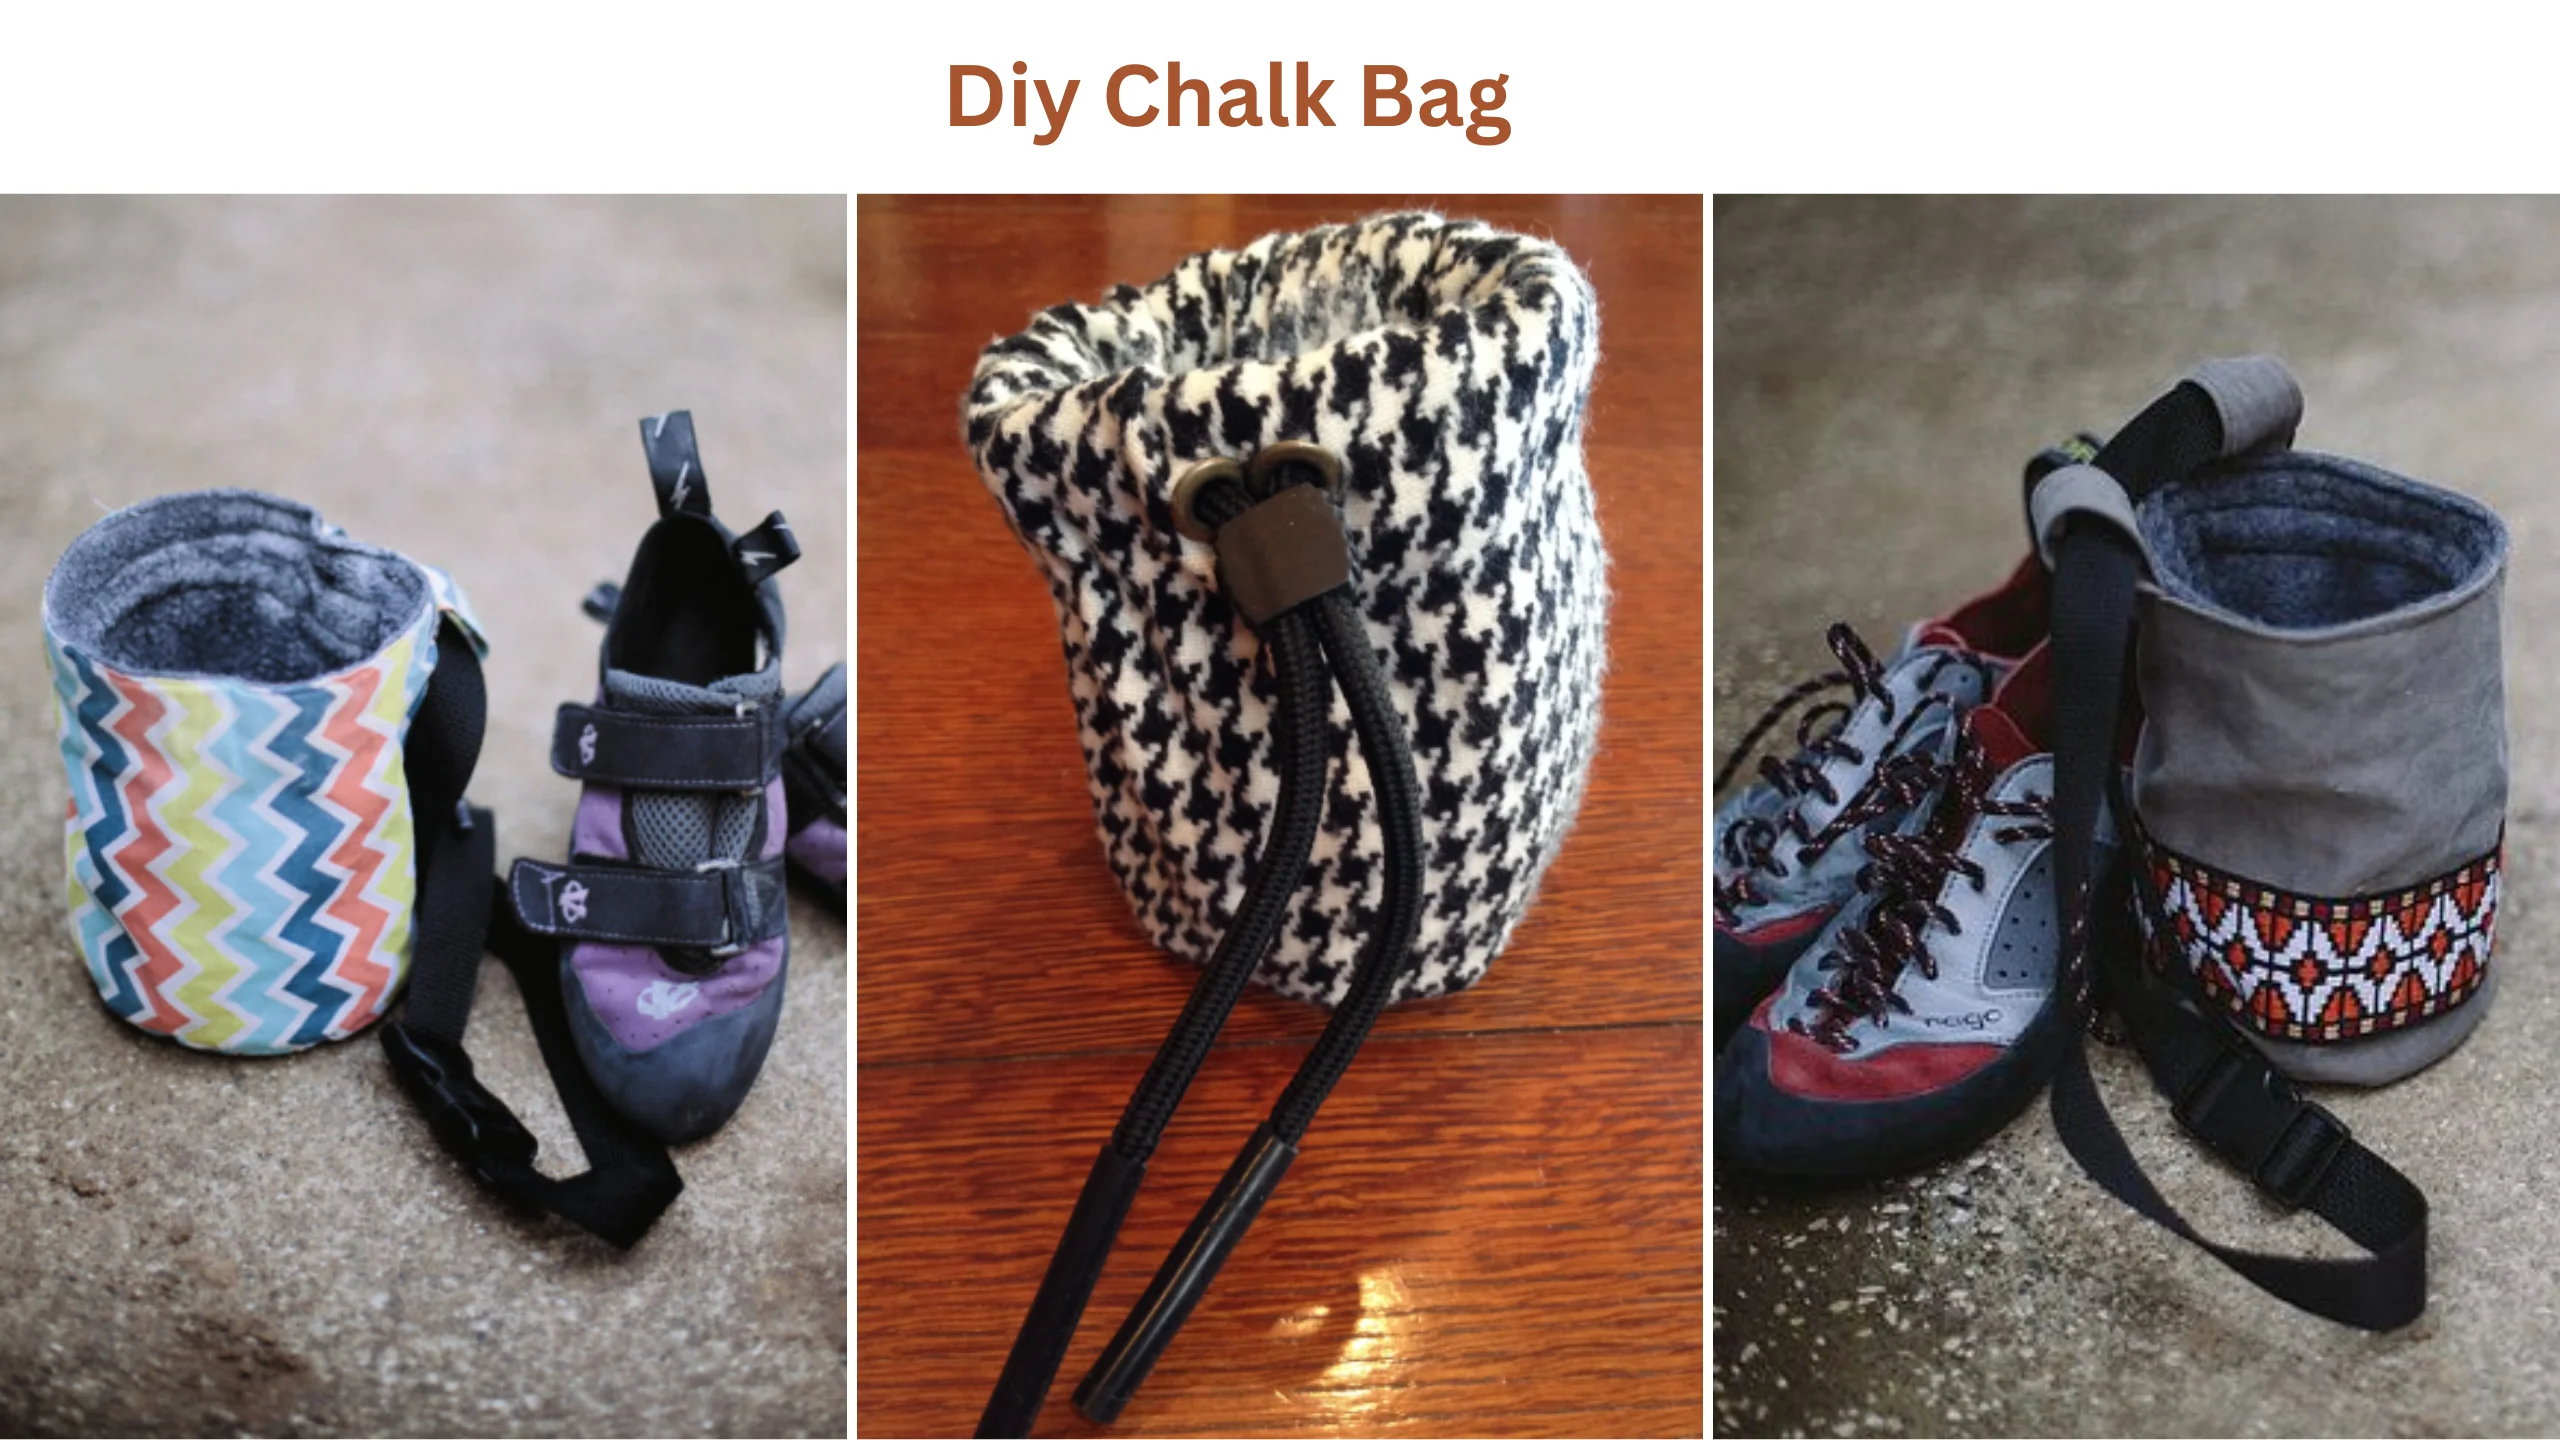
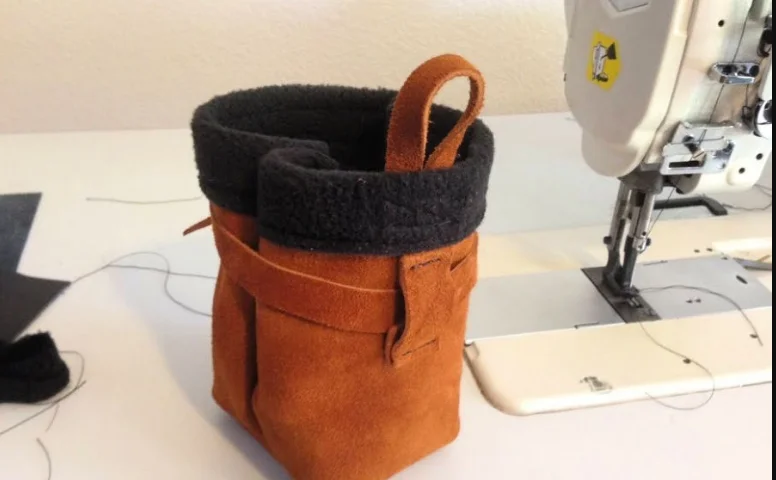
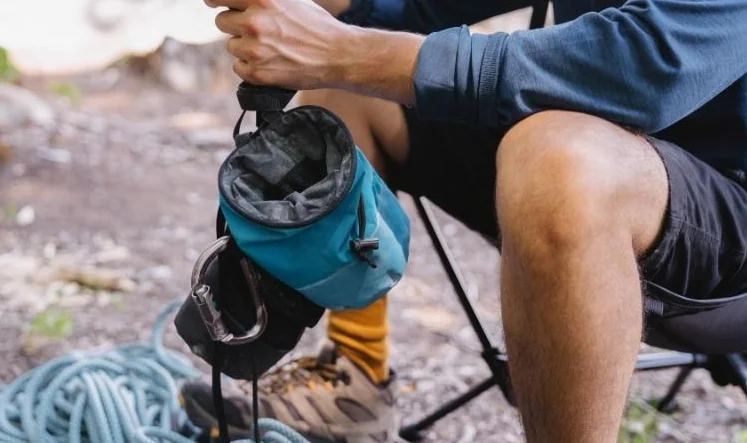
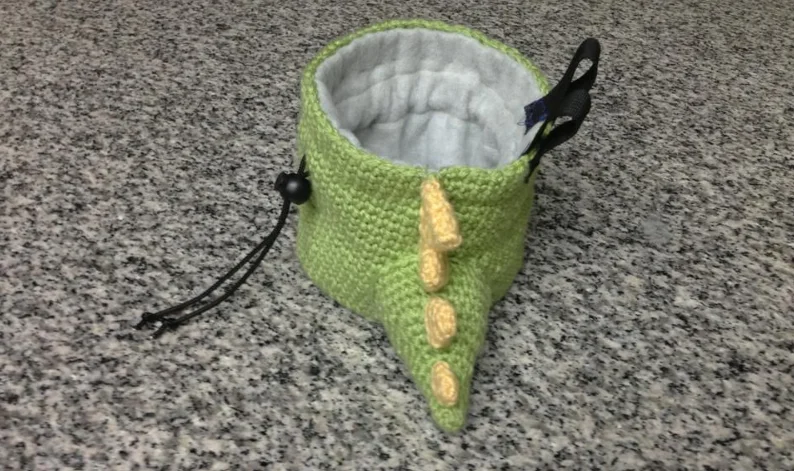
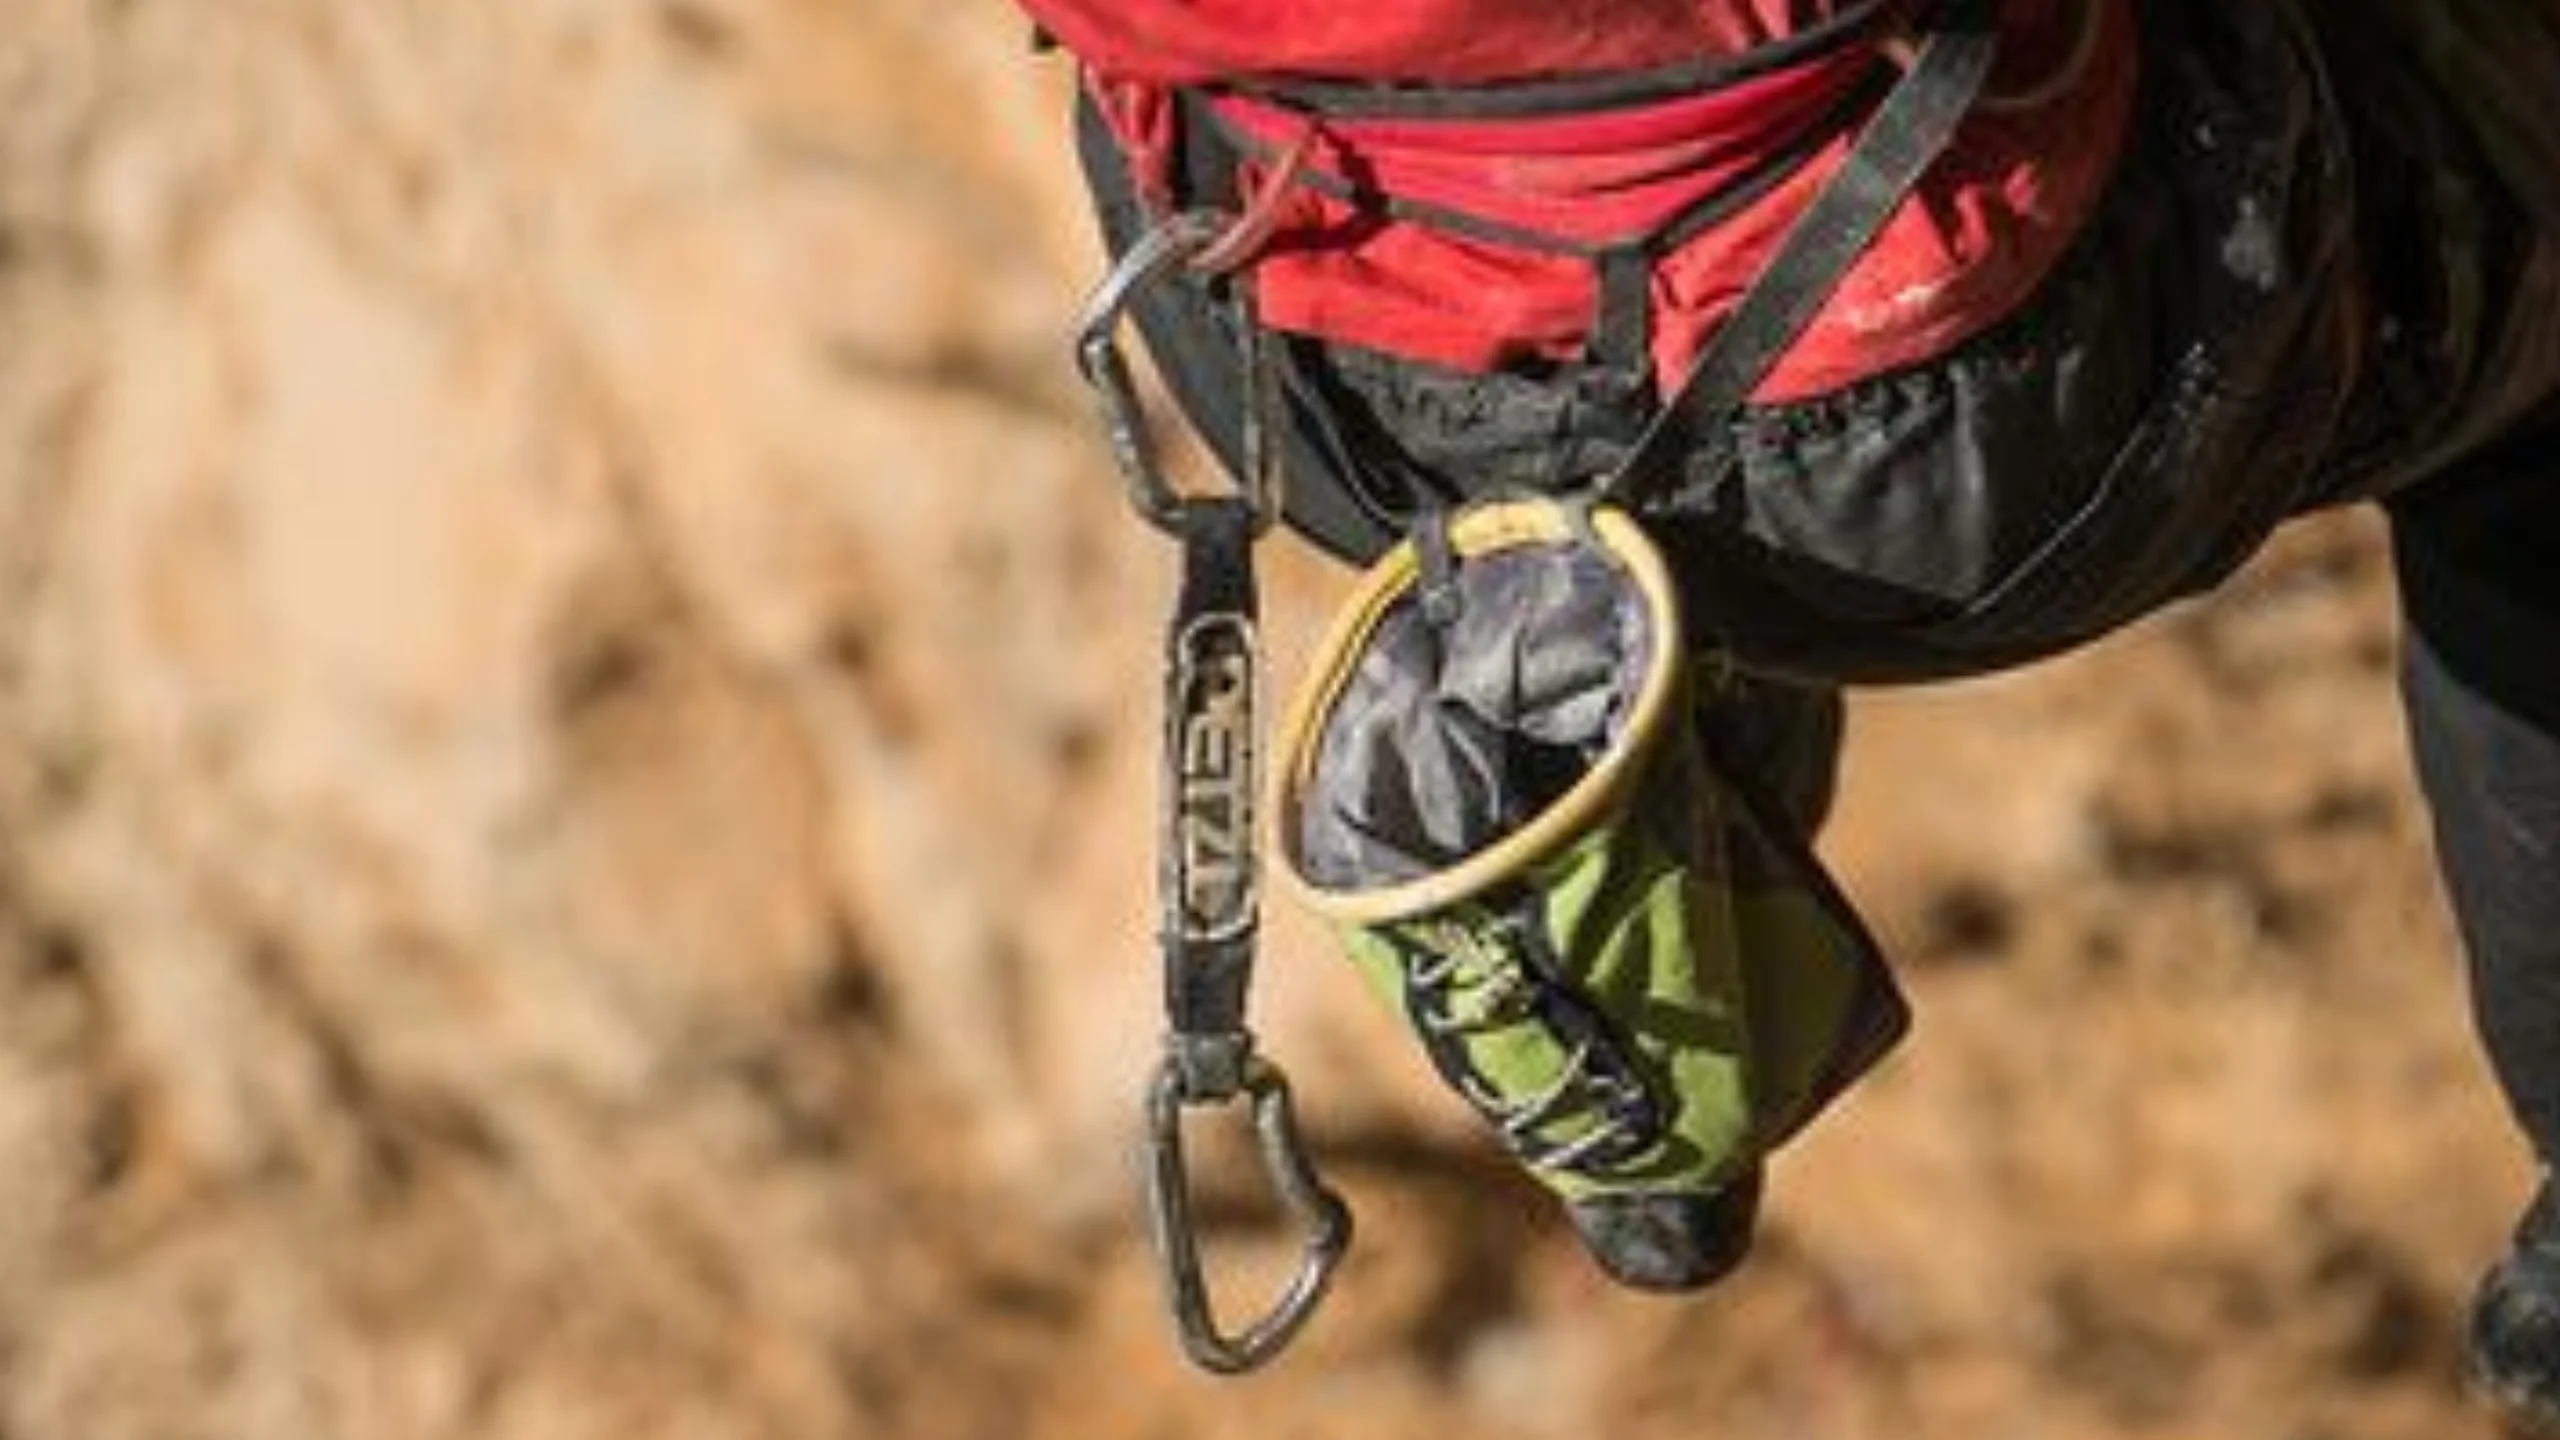
DIY chalk bag is a handmade climbing accessory used to store and dispense chalk for rock climbing and bouldering, typically crafted to reflect the creator’s unique style and preferences. Rock climbing and bouldering enthusiasts know the value of a good chalk bag.
Create a unique DIY chalk bag to keep hands dry and boost grip while reflecting your climbing style. This guide offers a creative journey to craft a personalized chalk bag from scratch, perfect for climbers of all levels. Crafting your chalk bag is a rewarding and enjoyable project.
We’ll explore the materials you need, the step-by-step construction process, and even share some design ideas to make your chalk bag as individual as your climbing style. So, let’s prepare to ascend the heights of creativity and functionality as we delve into the DIY chalk bag crafting world.
Source Pinterest
Instructions for Making a Diy Chalk Bag
Step 1: Chalk Bag Requirements
Source Pinterest
Before learning to make your chalk bag, you must evaluate the materials and tools needed to complete the project. The following is a list of some of the items that you will need to make your bag:
- A single hole for a grommet
- One lock with a cable
- Fabrics used as lining, such as fleece
- Stiff fabric for the bottom, with a circle that is 6 inches in diameter
- Two worn-out strands of climbing netting that will serve as waist-belt loops
- A narrow piece of sturdy material measuring eight by 14 inches; examples include canvas, corduroy, and denim.
- If, on the other hand, you are only going to be constructing a simple bag, you may use whatever fabric you choose so long as it is robust.
- An upholstery sewing machine is not required, but it is recommended since it speeds up the process.
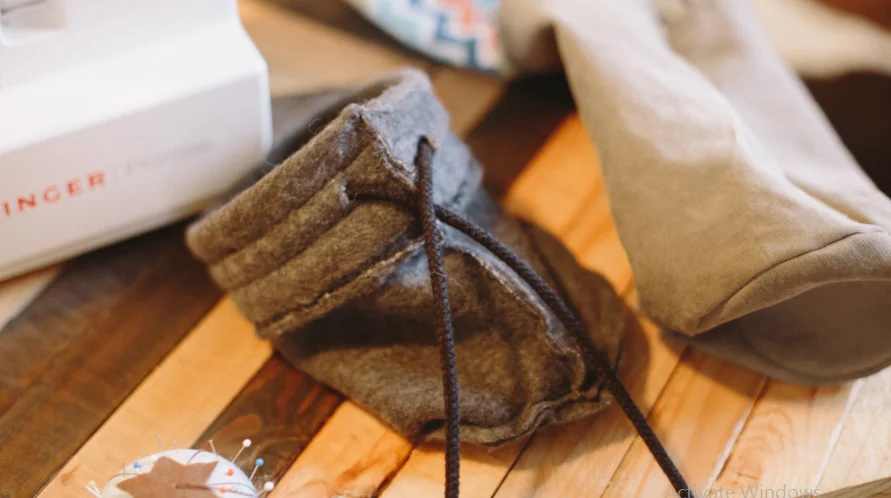
Step 2: Cut Fabric for the Outside Cylinder
Source Pinterest
Once you have gotten acquainted with everything necessary, the following step is to cut the material for the outer cylinder. It should be in the shape of a rectangle and approximately seven inches long and thirteen inches wide.
As you move from the front to the back of your pants, your pants’ length and breadth must continue to grow. The waistband is where you should begin measuring for the length. Attempt to guarantee that it is, even if the results are not evenly distributed, even though it may not come out evenly.
If, on the other hand, you desire a more conventional bag, you will need to make sure that the material is cut into the shape of a rectangle. You can also use more than one panel for your outer fabric; however, you must ensure each panel has a dimension of 7 by 13. At this point, you are free to express your creative side.
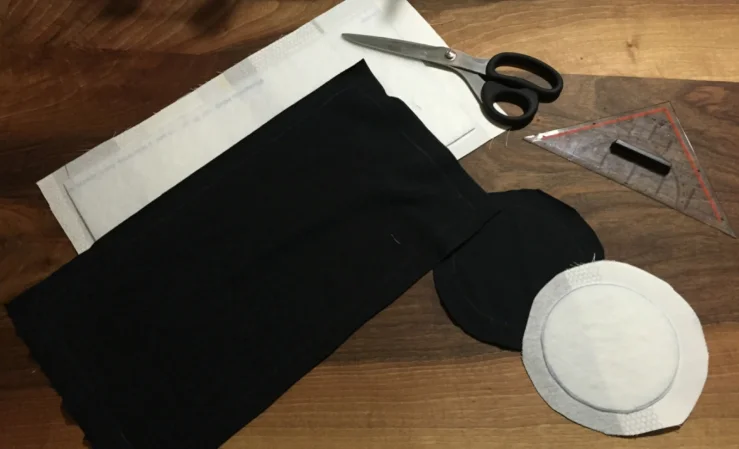
Step 3: Cut the Inner Cylinder Fabric
Source Pinterest
The amount of the inside fabric you need will be determined by how you want to complete the top of the bag. If the fabric you wish to use does not have a binding on the top, cut your lining fabric in half.
The resulting piece should be higher than the fabric you choose for the outside. It will make it possible for you to fold it under and produce a tidy edge, but if you want to bind the top using a different fabric, you must ensure it has the same dimensions as the inner fabric.
It may be challenging when you first try to make cuts, so having a good eye for your actions would be helpful.
Step 4: Sew Together the Outer Cylinder
Source Pinterest
Following that, you will need to fold the outer cylinder in half, making sure that the correct sides are facing each other while you do so. After that, you should stitch it and turn it so the correct side faces out.
Step 5: Find and Cut the Bottom Fabric
Source Pinterest
Utilizing the freshly constructed outer cylinder will make this process very simple for you to complete. Suppose you want to achieve a considerably circular bottom than the outer cylinder of your circumference.
In that case, you need to trace it first to determine the suitable size of the bottom components. Tracing the outside cylinder will also help you determine the circumference of the bottom. Find a jar top that matches what you have traced, and then use it to tidy up your circle.
Make sure you do this. After completing all the steps, cut a single circular pattern piece from the outer and the inside fabric.
Step 6: Sew These Pieces Together
Source Pinterest
To assemble the cylindrical body of your fabric project, follow these steps. First, turn the outermost stitched cylinder layer inside out, revealing the correct side.
Attach the circular bottom piece, ensuring the incorrect side faces inwards, and sew it securely to close the bottom. This step is vital for proper closure.
Repeat the process with the lining fabric, sewing the side seam with the incorrect side out. Attach the bottom circle, mirroring the previous step, to secure the lining to the cylinder’s bottom. This approach results in a well-finished exterior and interior, creating a durable, polished fabric project.
Flip the outer layer, attach and sew the bottom piece inside out. Then, do the same for the lining fabric, creating a separate lining. Secure the lining to the bottom, ensuring a neat and polished final product with both interior and exterior fully finished and functional.
Step 7: Add Eyelet
Source Pinterest
To add an eyelet to your project, start by cutting a small hole in the outer shell of the fabric. This hole should be located on the exterior of your item. Then, using a hammer, insert a large eyelet into the hole you just created.
The eyelet should be positioned approximately 1.5 inches down from the top edge of your bag or item. It’s crucial to ensure that this entire process is carried out from the exterior side of the shell.
This eyelet serves both a functional and decorative purpose, allowing you to attach cords, straps, or other accessories to your project.
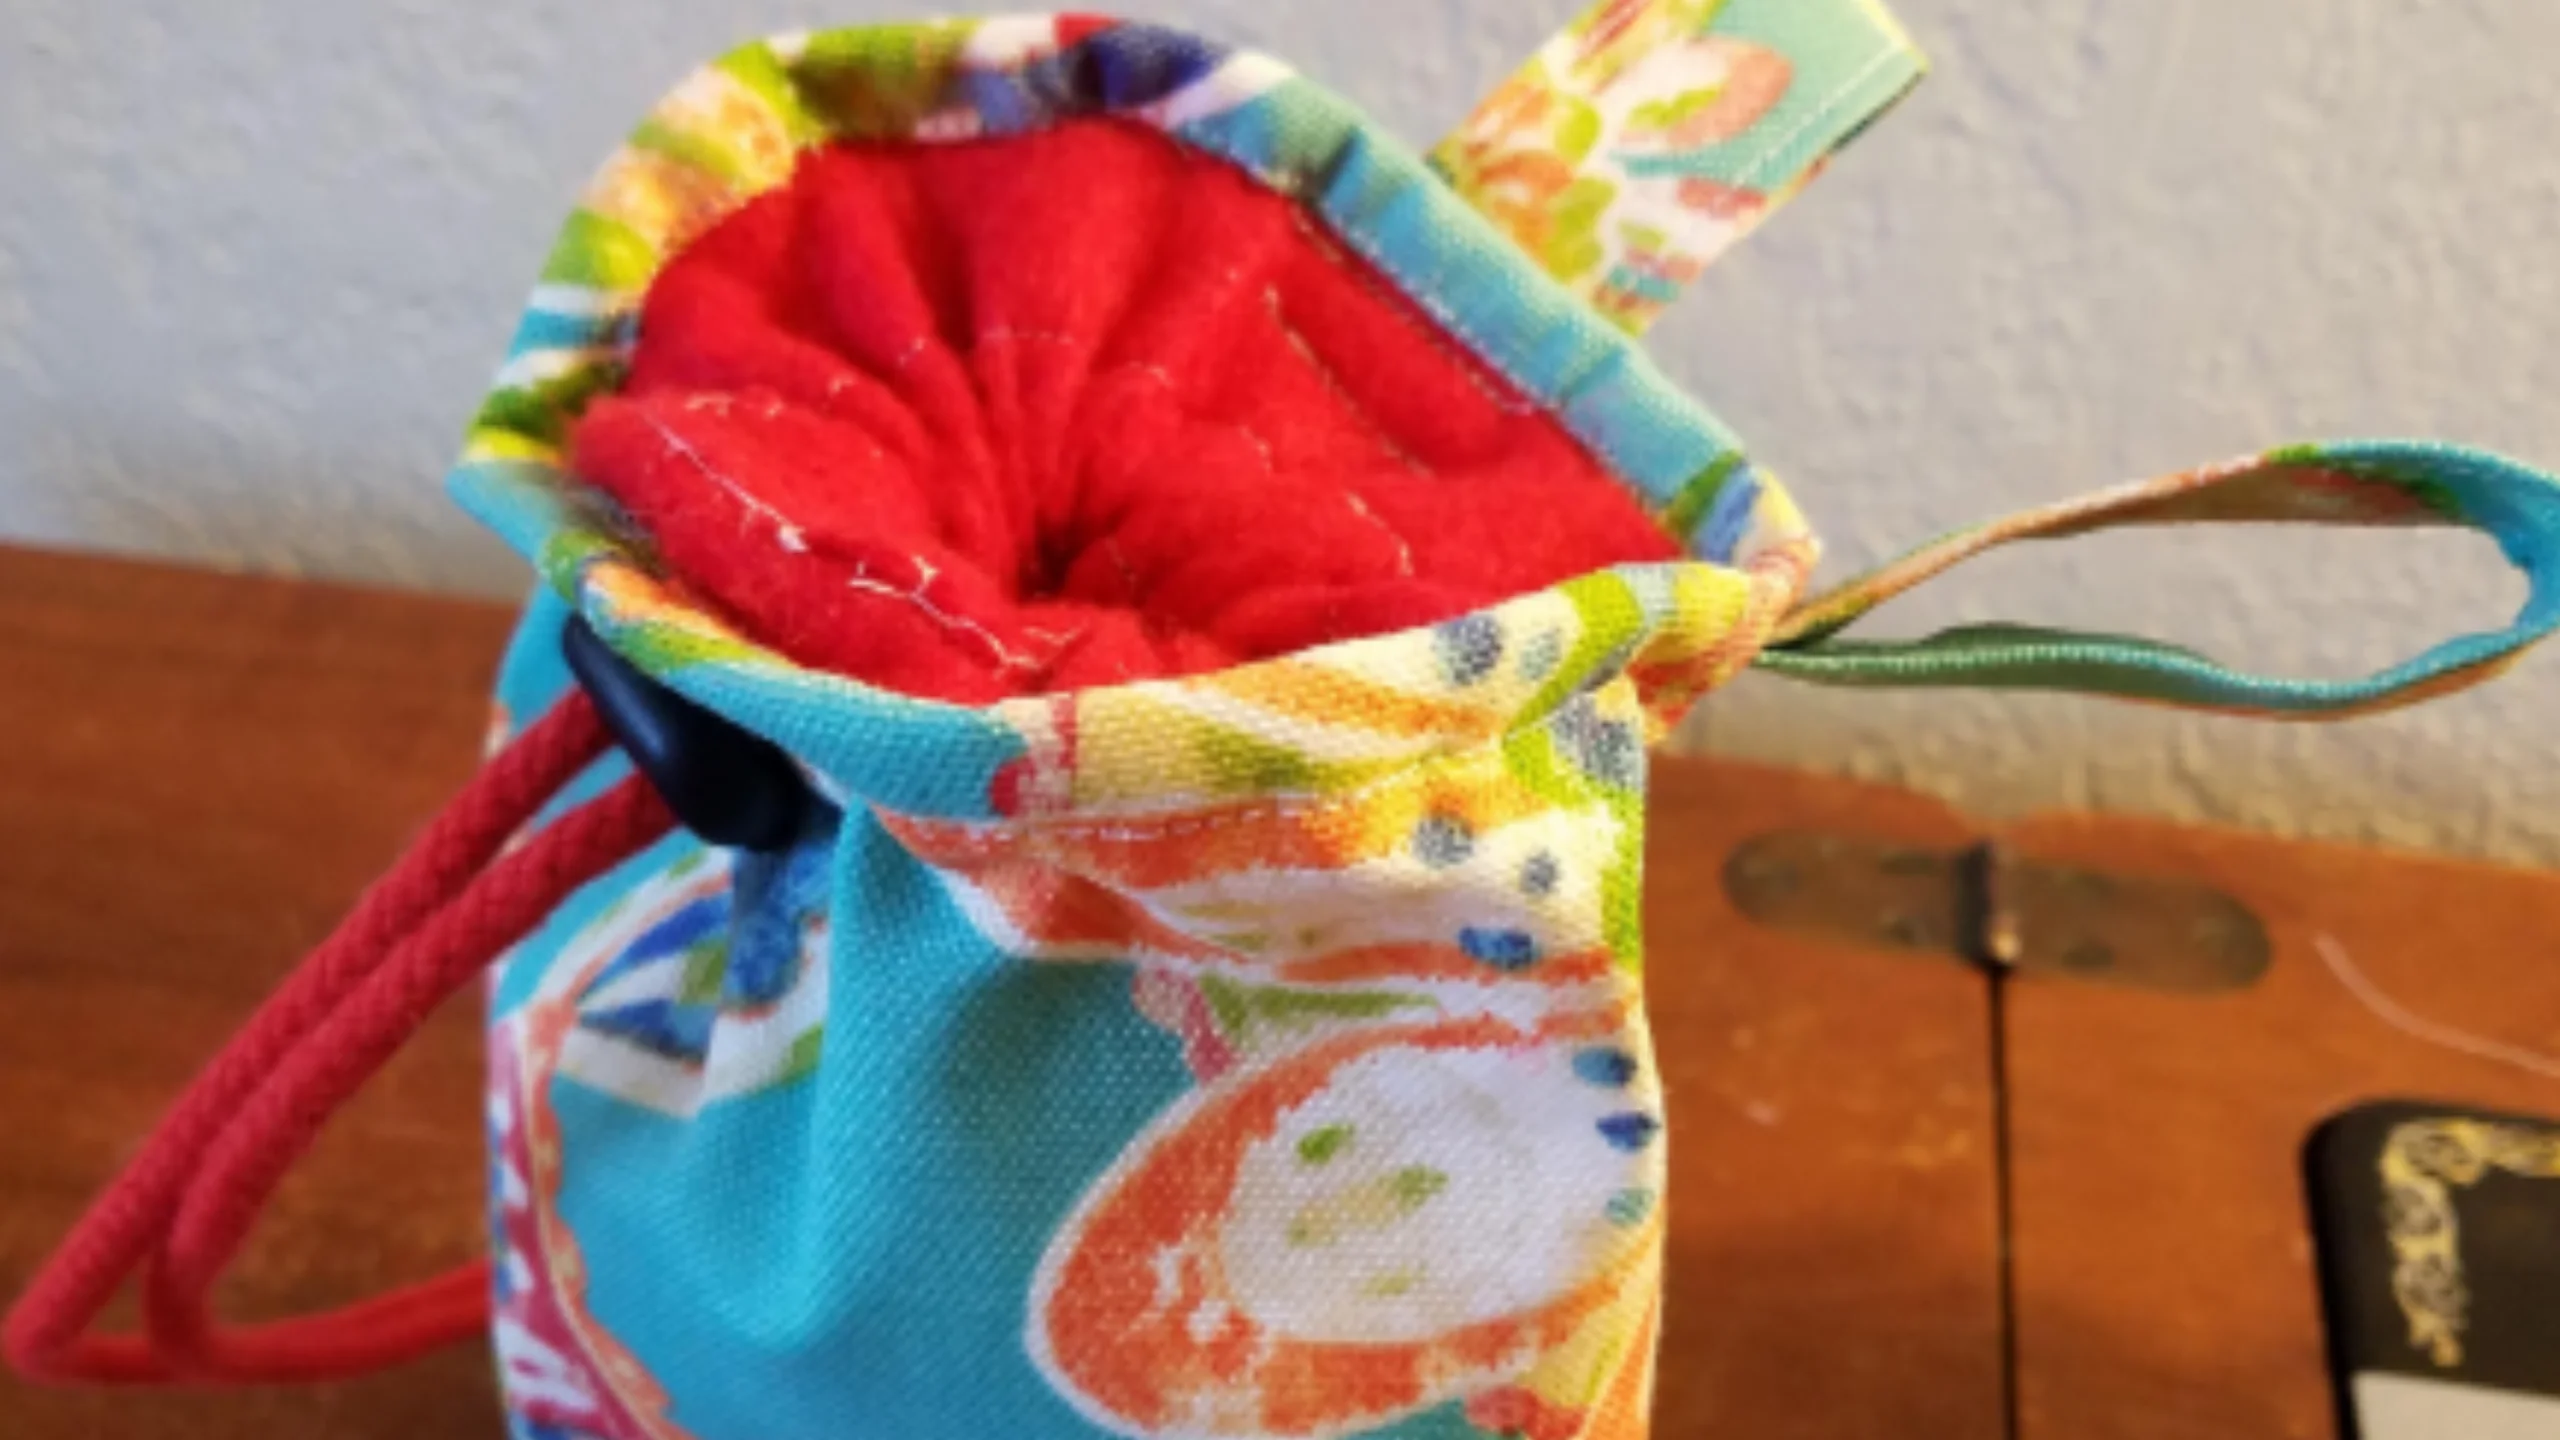
Step 8: Connect the Cord to It
Source Pinterest
Ensuring the functionality of your chalk bag can be challenging, but it’s crucial. Confirm that the drawstring operates smoothly from both inside and outside the bag, focusing on the lining for secure chalk storage.
Sew the loop through the non-eyelet side, aligning it with the eyelet’s position. Wrap the cord around the liner bag and loop twice, and then insert it into the outer shell. Position the cord loop opposite the eyelet, and thread both loose ends through it.
This meticulous process guarantees easy access to your chalk while maintaining secure storage, ensuring your chalk bag serves its purpose effectively.
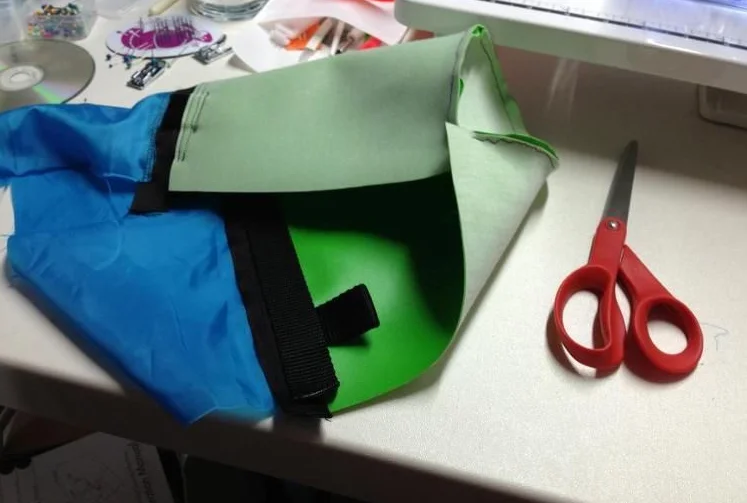
Step 9: Fold down the Edge to Finish the Top
Source Pinterest
To complete the top edge of your project, follow these steps: First, fold the upper edge of the bag to overlap the edge of the liner. It creates a neat and finished appearance while securely connecting the bag and liner.
There’s a slight chance that the bag might extend beyond the liner at the waist-belt loops, which could weaken the seam.
To prevent this, reinforce the seam in this area by double-stitching it. Its added stitching strength ensures that the bag remains securely attached to the liner, even around the waist-belt loops, providing both durability and a polished finish to your project.
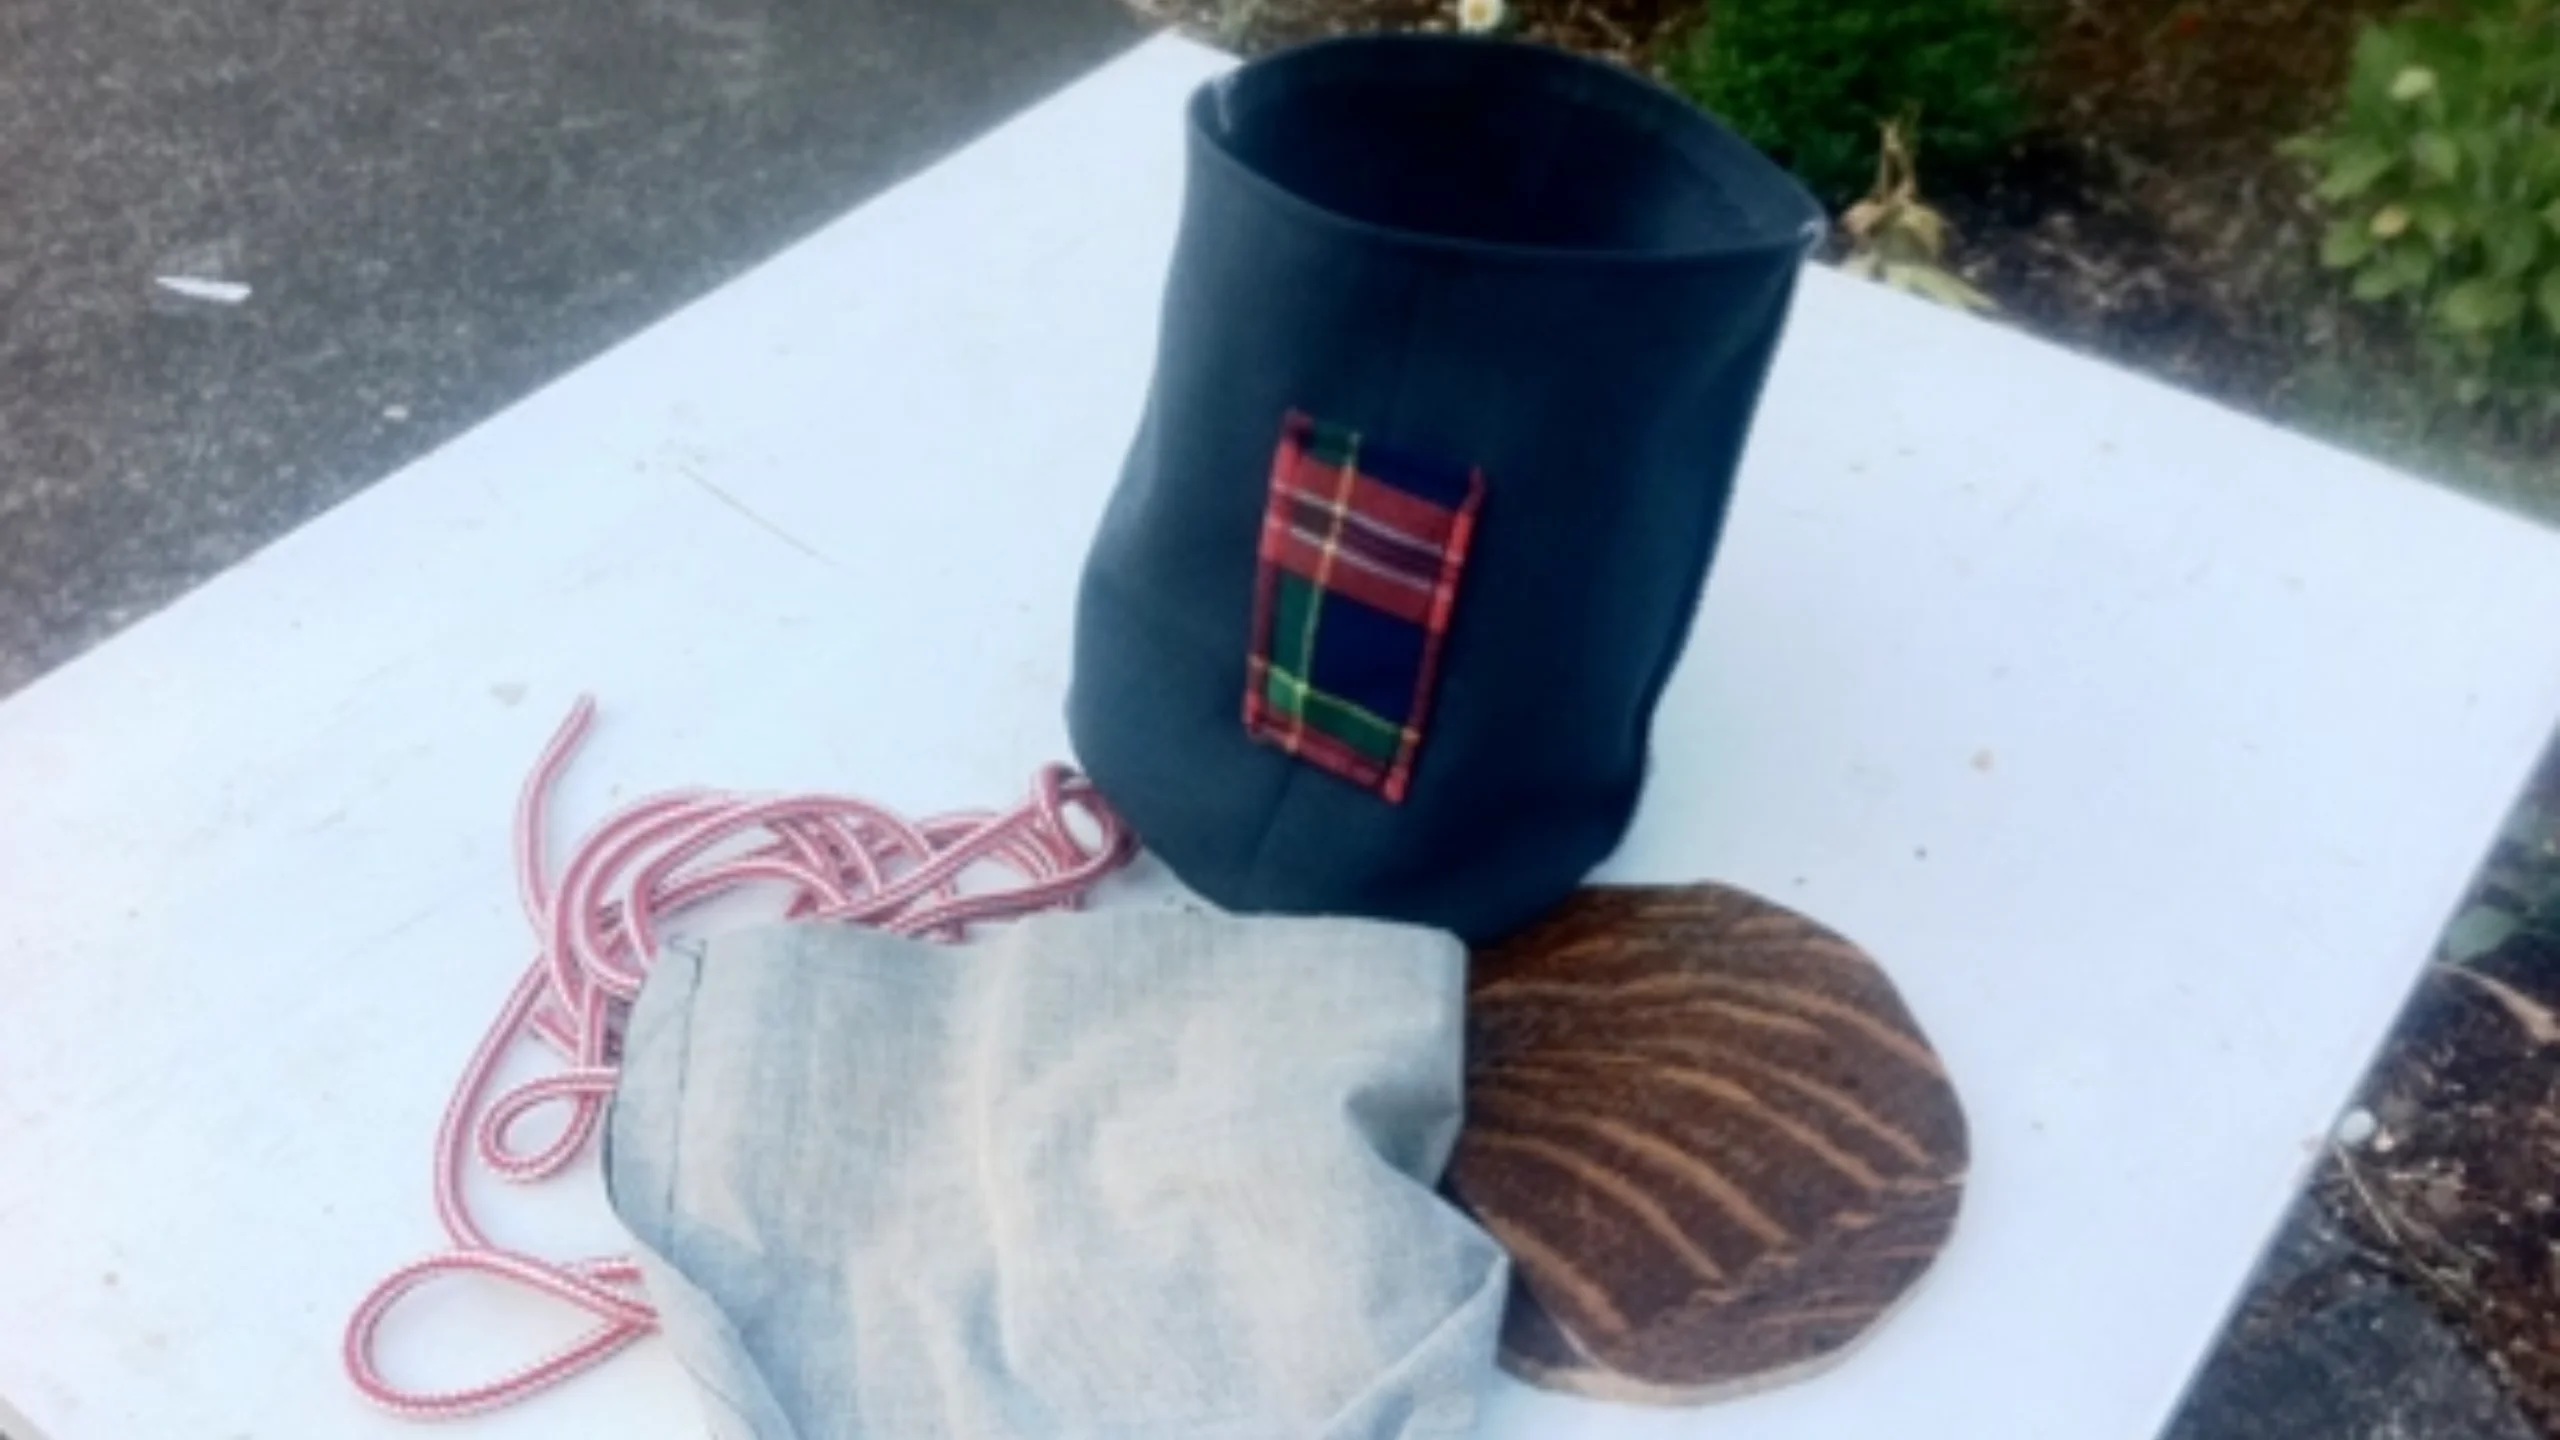
Step 10: Fill Your Chalk Bag
Source Pinterest
Once you’ve filled your chalk bag with climbing chalk and any additional items, you’re ready to start your climb. The chalk inside the bag helps keep your hands dry for a better-ascending grip.