
How to make a DIY neon sign? Illuminating your space with a custom neon sign is a creative and captivating project that can infuse any room with a vibrant and personalized touch.
Neon signs have long been associated with retro aesthetics and trendy interior designs, making them popular for adding flair to home decor, businesses, or events.
Crafting a DIY neon sign lets you express your creativity and style. This article provides all you need to make one at home, even if you’re not an expert in electricity or art.
Making a stunning neon masterpiece that expresses your individuality and adds a distinctive, eye-catching touch to your surroundings takes the correct materials, some time, and a creative spirit. Let’s get started on our DIY neon sign adventure.
Source Pinterest
How to Make a DIY Neon Sign?
Ready to DIY a neon sign? You’ll need neon wire or LED neon flex, acrylic sheet, power supply, drill, wire cutters, and tape. Let’s get started!
10 DIY Neon Sign Plans
Here are the 10 DIY Neon Sign Plans:
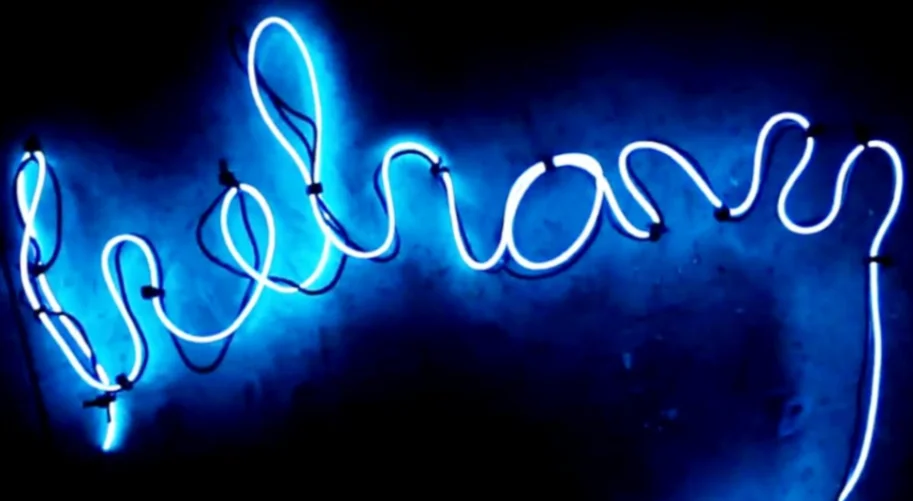
1: Create Your Own Homemade Neon Sign
Source Pinterest
You can construct your neon sign. These traditional neon signs are made of bendable glass tubes sealed at both ends and filled with an inert gas.
You will only need a few tools to complete this do-it-yourself project, and the instructions are laid out in an easy-to-follow step-by-step format. Make rough sketches of your idea on paper as the initial step in this process.
It would be best to be as accurate as possible when carrying out this task, including sketching the exact proportions or fonts. Some of the supplies required for this task are a glue gun, some metal wire with a gauge of sixteen, and an EL wire with a diameter of five millimeters in a color of your choosing.
2: DIY EL Wire Neon Sign
Source Pinterest
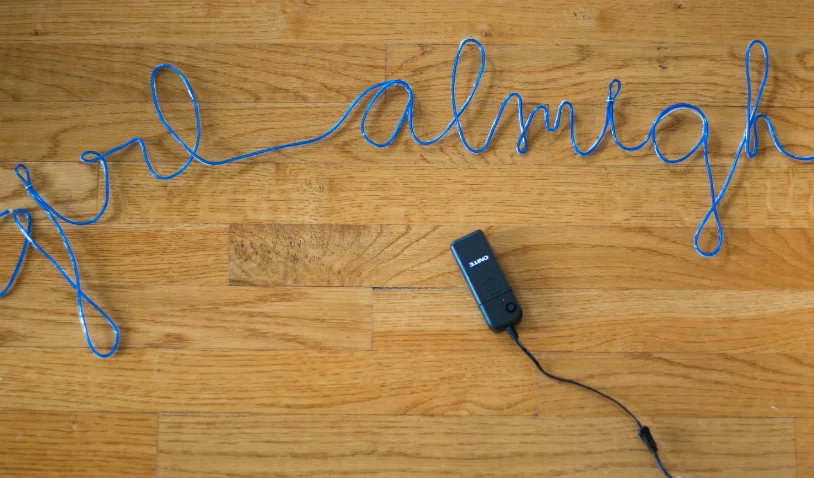
You are required to use EL wire to complete a do-it-yourself project involving the creation of a neon sign. This enchantment calls for an easy-to-work-with component, and the electroluminescence wire you possess is just the thing to fulfill that need.
In addition to other materials, you will need painter’s tape, a cardboard or dry-erase marker, and 3×3 white acrylic.
It would be best to begin by printing out your words to suit the acrylic, determining where the holes should be drilled to form your words, etc. The following link provides more explanation on how to complete these steps.
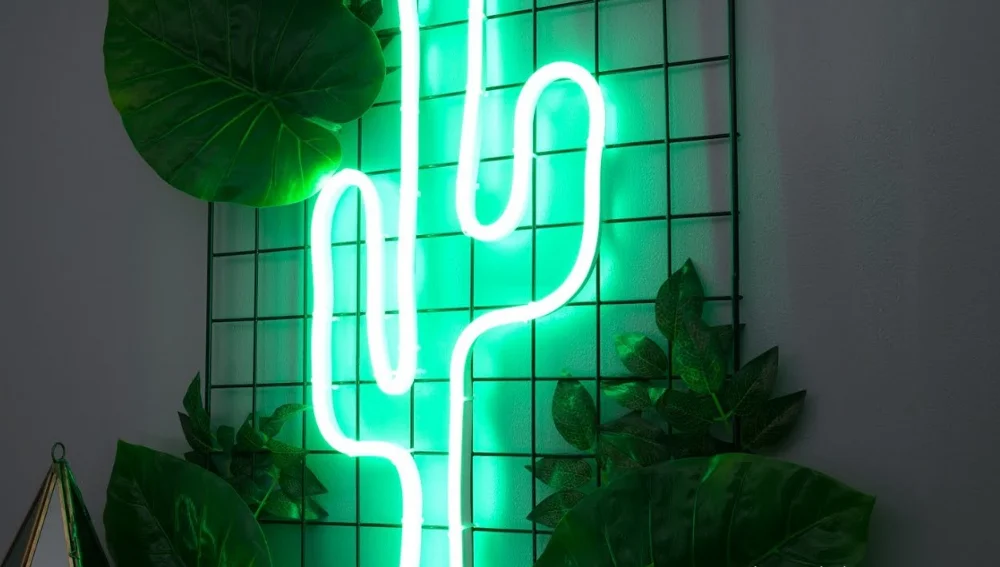
3: DIY Realistic Neon Sign
Source Pinterest
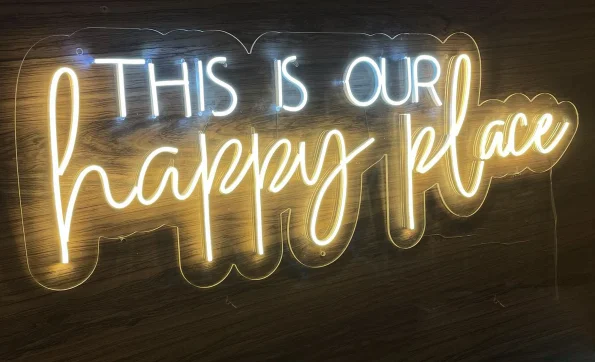
It is a false neon sign, yet it seems realistic and dazzling at the same time. It would be an excellent choice for a glowing sign. You will need a solid board, such as plywood or MDF, with a thickness of 5 millimeters to serve as the foundation for this project.
You can select the fonts used when printing out your lettering or sign. Check that the drill you’re using has the same diameter as the one you already have.
In this instance, the author did not use EL wire, but rather, he made his LED. After that, you give each letter its final shape. The mounting process for your neon sign is now complete.
4: Decoration using DIY Neon Signs
Source Pinterest
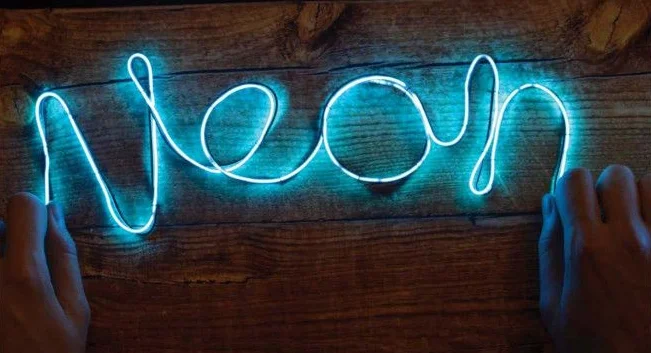
The neon sign that you see here is relatively easy to construct. It is possible to do these incredible feats of magic without any prior experience being necessary at all. First, you will need a large piece of paper to sketch your chosen word or phrase as the first step.
In the second phase, you will ensure sufficient wire to cover your word. For this to turn out the way you want it to, another piece of advice is to ensure that the wire you choose is flexible.
A T90 14 solid was used in the production process. In the third step, form the wire into the shape of your word and trim off any excess. The EL wire was three meters in length, and it was employed in the creation process.
Utilizing your wire, carefully apply glue to attach it to the design. You could use superglue, a glue gun, or even both. The neon sign you ordered is now ready.
5: How to Make Your Do-It-Yourself Neon Sign
Source Pinterest
A neon sign is a quick and easy way to spruce up your living space. This do-it-yourself project is handy for an attractive project, making it ideal for weddings or celebrations.
A pen, some paper, some EL wire, some MDF board that has been cut to the size you want the sign to be, a hot glue gun, and other items are required.
Be careful to sketch out your concept on the board before moving on. The following link provides more information that is pertinent to this work.
6: DIY Neon Sign Under $60

Source Pinterest
Here is a personalized neon sign that can be built at home for a very little cost. It has all the colors you need to adorn your business or residence. This do-it-yourself project may be completed in either of two different ways.
The developer established a clear difference between how each may be done; for example, you could plan it on your computer.
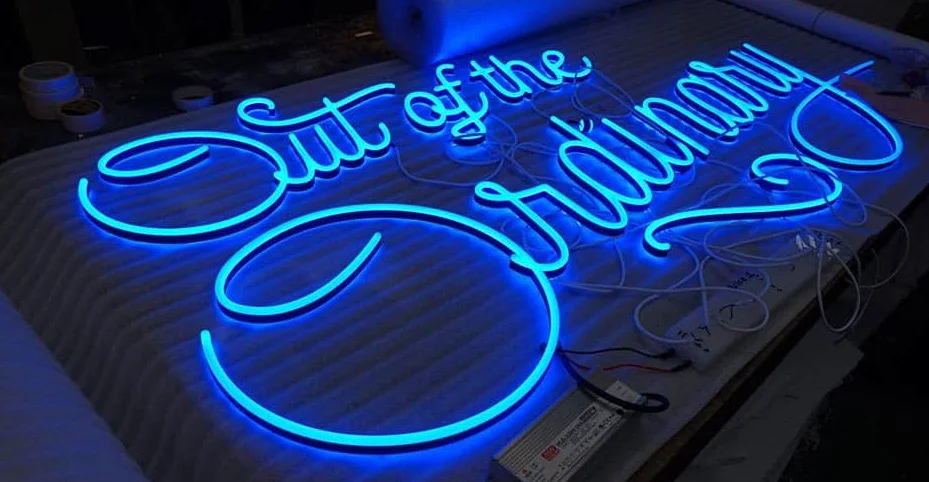
7: LED Neon Sign with Acrylic Backer
Source Pinterest
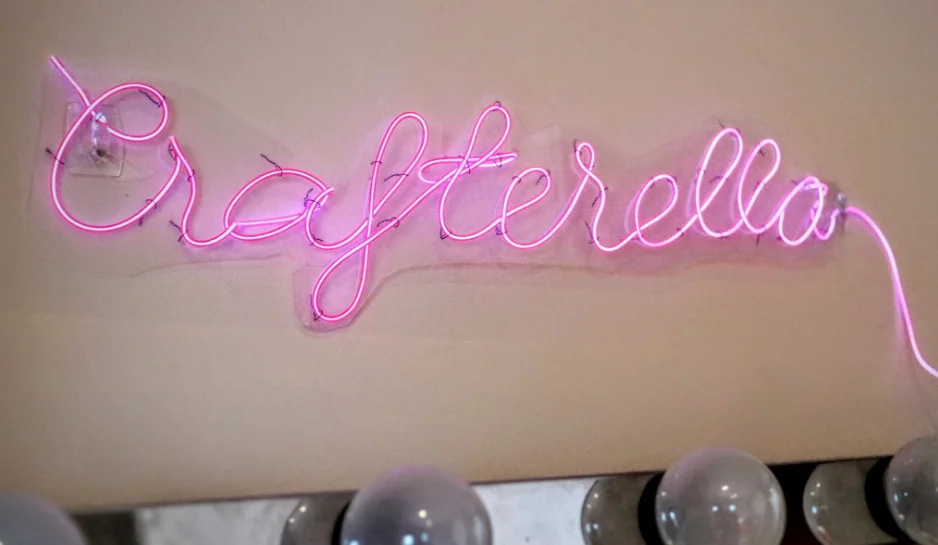
Another method for constructing a neon sign using an acrylic baker is shown here. You will need a backer made of bubble-cut transparent acrylic. In the beginning, you will begin making your neon channels by tracing your drawings onto the board.
The important thing to remember while producing this is to ensure you trace your letters correctly and in the exact fonts you want to use. After that, the procedure of installation will get underway.
You will place your wire to correspond with each letter drawn on the board. To ensure a flawless finish, hold the rear ends of the piece together using adhesive.
8: DIY Ghostbusters Neon Sign

Source Pinterest
Here is a straightforward do-it-yourself project that, once finished, will blow your mind. If you are working on a more complex project, you should do this instead.
The creation of this item calls for a certain degree of expertise, including familiarity with CorelDRAW, laser cutting, and soldering, among other things. A K40 laser cutter, a sheet of black or clear acrylic soldering iron, a copy of the core laser, and other items are required.
9: Homemade Neon Sign for the Fallout

Source Pinterest
A basic and economical plan can be carried out in the comfort of one’s home and does not need special tools. It is feasible to carry out this action in some different hues. The manufacturer used a board measuring five meters long and four other pieces of pallet timber.
You will be responsible for preparing the background as part of creating this. The person who came up with the idea used the four pieces of wood on the pallet and connected them using screws to create pieces of wood that were easier to handle. After that, trace your design onto the backdrop to include it in the background.
10: DIY Neon Sign

Source Pinterest
The key to creating a fantastic neon sign is infusing it passionately. The blueprints for this task are quite specific; you should build whatever works best for you. This neon sign was given the name Winky Lux by its designer.
It can be done in a flash and is quite elegant. When building this, you must measure your floral tiles to determine the length you want them to be. Wire, zip ties, white acrylic paint, a hot glue gun, measuring tape, and other items are required for this project.
For an easy do-it-yourself project, try this. It can be used to decorate your house or your preferred location.