DIY Sideboard Plans your gateway to elevating your home decor with personalized craftsmanship. When furnishing your living space, a DIY Sideboard is a statement piece that enhances functionality and reflects your unique taste.
With DIY Sideboard Plans, you can create a stunning furniture piece tailored to your specific needs and preferences. DIY Sideboard Plans provides you with blueprints and step-by-step directions to be creative. These blueprints let you customize your furniture to make it unique to your house.
For woodworkers and Diyers alike, DIY Sideboard Plans is a gratifying endeavor that lets you show off your abilities. In this comprehensive guide, we’ll delve into the world of DIY Sideboard Plans, exploring the endless possibilities they offer for transforming your living space.
So, let’s get started on your DIY Sideboard project and unlock the potential to reimagine and revitalize your home decor.
Source Pinterest
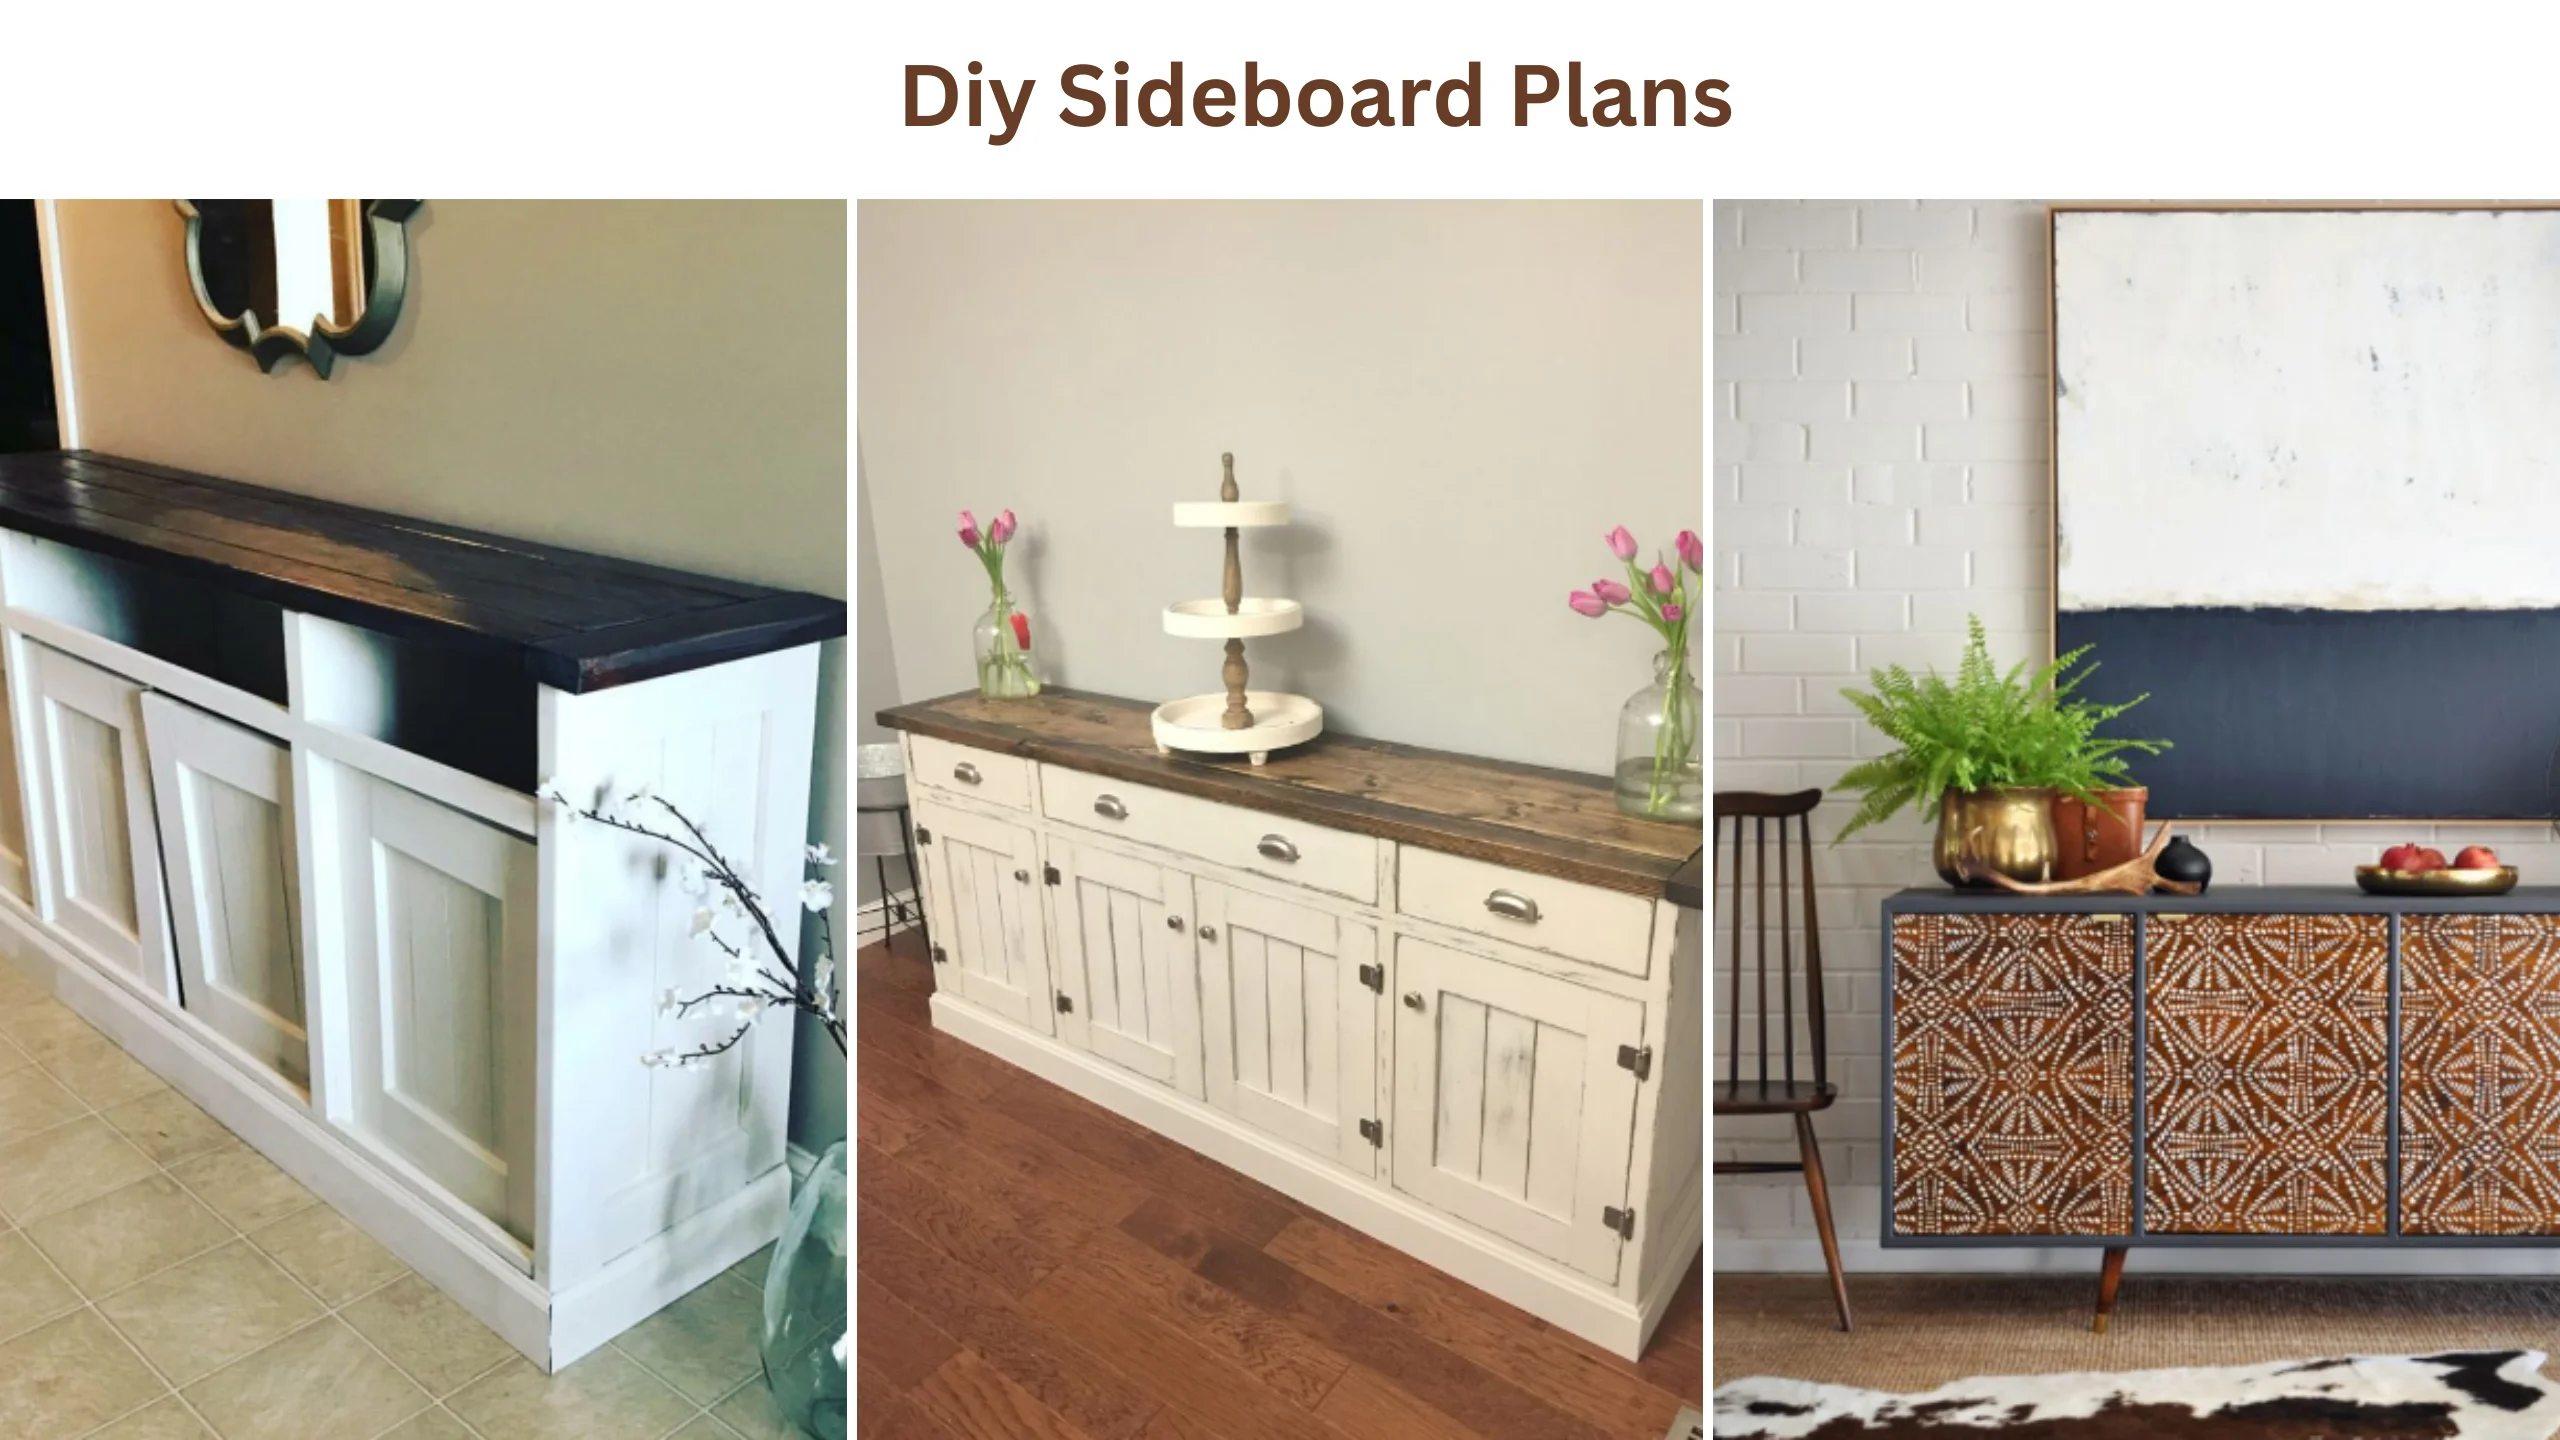
List of DIY Sideboard Plans
Here is the detail of DIY’s sideboard plans:
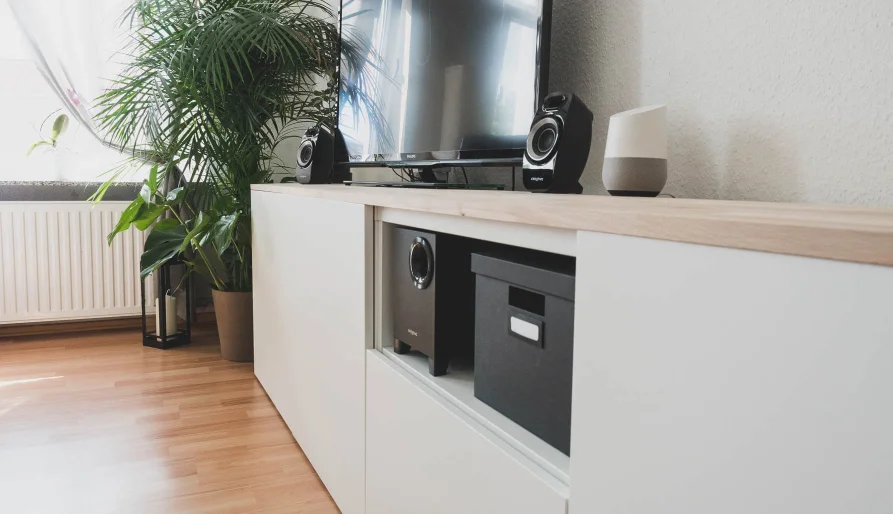
1: DIY Cabinet Sideboard

Source Pinterest
DIY Cabinet Sideboard is unnecessary to spend significant money to embellish your kitchen. You can create this sideboard cabinet to hold your cookbooks, pots and pans, culinary utensils, and other kitchen supplies with a little bit of hard effort and some basic abilities in the area of do-it-yourself home improvement.
Because this sideboard cabinet contains several different compartments that must be built before being assembled, you must give yourself plenty of time to make it.
2: DIY Modern House Sideboard
Source Pinterest
This sideboard is the way to go if you want to brighten up the area in your kitchen that you are currently working with, especially if you’re also looking for DIY arcade cabinet plans. Using this Do It Yourself Modern House Sideboard, you can make a fashionable statement in your kitchen.
When placed against a wall, this sleek sideboard works wonderfully both as a partition to separate bigger communal areas and as a storage item in its own right.
The compartments are roomy enough to accommodate your kitchen equipment and tools, and the three drawers can be pulled out to provide convenient access to more storage space for your belongings.
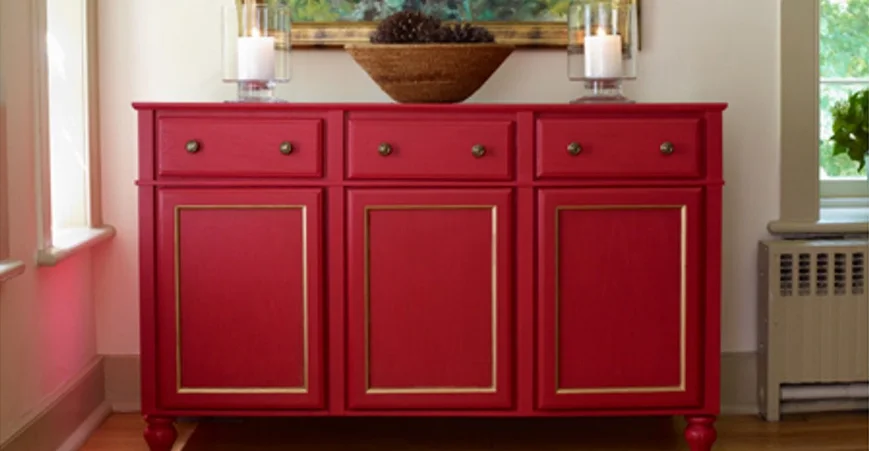
3: Build Your Giant Sideboard
Source Pinterest
The DIY Huge Sideboard will introduce A colorful mood into your kitchen. Because it is not very broad but rather quite tall, it works well in kitchens that are on the more compact side.
The design draws the most attention; it has pre-drilled shelf holes, providing solidity and ease while constructing your sideboard.
It also includes four bottom shelves that have cabinet doors and four pull-out drawers on the bottom. If you follow the directions, you can create it on your own.
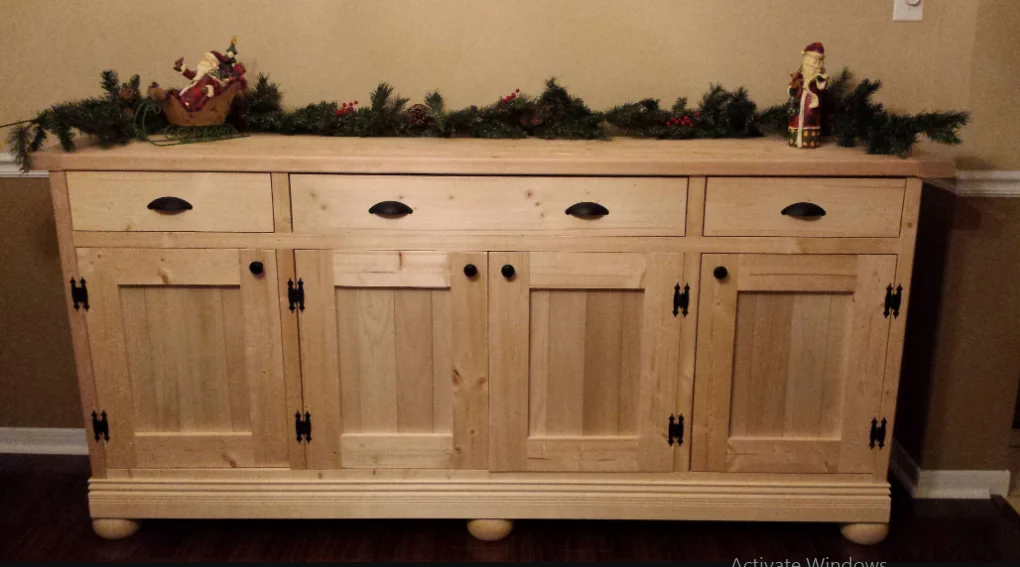
4: DIY Project for a Farmhouse Sideboard

Source Pinterest
This DIY Farmhouse Sideboard Idea is the ideal addition to any space in your home. This sideboard has three shelves subdivided into cubbies to provide additional storage space.
This sideboard, which has a country-style design, is simple but elegant, and it would be an excellent choice for a constrained room in terms of square footage.
Because of the high-quality finish, it is suitable for use in any design scheme, and because of the neutral tones, it can be used with various other wood furniture items.
5: Ikea DIY Sideboard
Source Pinterest
It is by far the simplest IKEA hack there has ever been. You will glamorize your sideboard by giving it a stylish makeover so that it seems like you spent hundreds of dollars on it.
Your pals will be interested in learning more about this incredible artwork and where you obtained it. A photographic walkthrough may be seen above in the form of still images. It’s simple, entertaining, and a good challenge.
6: Created Vintage Sideboard
Source Pinterest
Please take advantage of the chance to customize this wonderful sideboard to work in your kitchen. The fronts of the doors and drawers are crafted from superior-quality MDF.
You are free to choose the predominant hue for this piece of furniture, and it may be customized to fit any specifications or preferences you have.
The sideboard will be sent to you in an assembled state—the ideal piece of furniture for the frugal and do-it-yourself enthusiast. It will be an excellent option if you want a contemporary sideboard with a retro-inspired design that adds a fashionable spin to the classic.
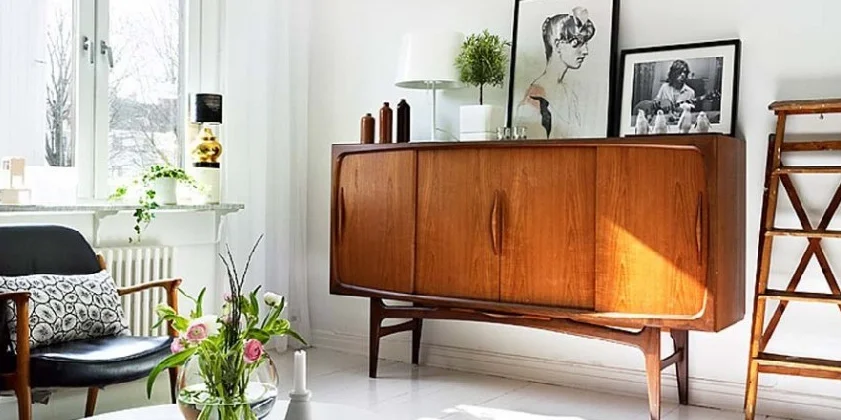
7: Scandinavian-Modern Sideboard
Source Pinterest
This Do-It-Yourself Scandinavian-Modern Sideboard is another project worthy of consideration for installation in any family room.
This straightforward do-it-yourself project is worth every minute of your work because of its sleek lines, stunning shape, and form. To make this incredible piece of furniture, you can use a limited amount of previous expertise working with wood or any specialized equipment.
If you are captivated by its stunning appearance and want to learn more about it, follow the link below to access the appropriate resource.
8: Crafting Your Sideboard
Source Pinterest
Look no further for a project that will challenge your endurance and give you a feeling of achievement. This sideboard cabinet you can make yourself is just what your house is missing to make it seem more like a home. Everything can fit in a sideboard cabinet if it’s large enough.
Create one independently if you are confident in your abilities and are willing to see it through. This sideboard may be assembled in a matter of days if you follow the step-by-step directions we will provide you in an easy-to-understand format.
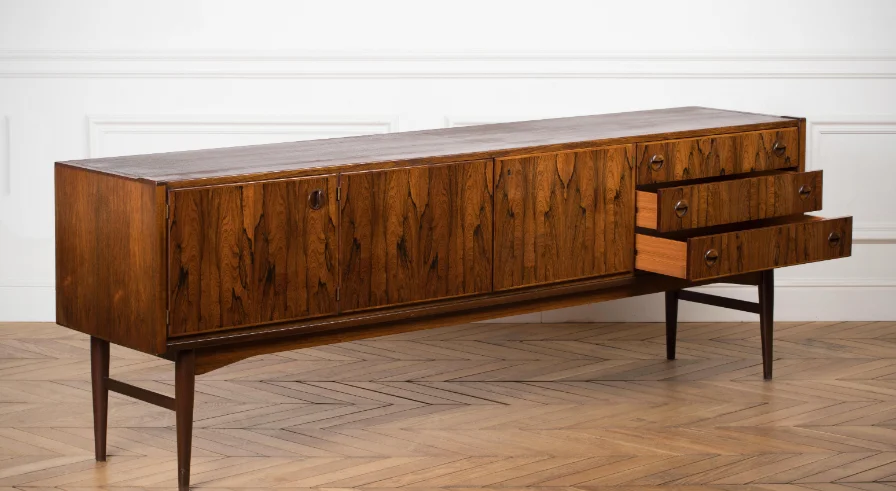
9: DIY Sideboard Buffet Cabinet Project
Source Pinterest
The construction of this DIY Buffet Cabinet Sideboard is a fun activity for the whole family and allows you to appreciate the handiwork of skilled artisans. Knowing that you were the one who made this stunning piece of furniture will provide you with a sense of immense pride.
This item would be well suited for an eat-in kitchen, dining area, or even the living room if it were used as additional storage. Its wood tones are muted enough to fit in with any design scheme.
The grain characteristics on its surface are aesthetically pleasant and offer just the appropriate amount of flavor.
10: DIY Mirrored Sideboard
Source Pinterest
Transform an ordinary dresser into a stunning mirrored sideboard with this DIY project. You’ll be amazed by the unique and elegant result. You can craft it on your own. This mirrored sideboard is a stylish addition that can enhance your bedroom or living room decor.
How to Make a DIY Sideboard?
Step 1: Cutting the Pieces
Begin by cutting the components to the required sizes as listed. Ensure the door and sides have a vertical grain pattern while the top board and drawer fronts have a horizontal grain pattern.
Step 2: Preparing the Pocket Holes
Prepare your tools and drill three pocket holes, one at the center of each end, through the Bottom Board and Horizontal Divider. Additionally, drill extra pocket holes into the top edges of the Side Boards and Vertical Dividers.
Step 3: Applying Veneer Strips
Add finishing touches by applying veneer strips to the cut edges of the plywood.
Step 4: Aligning the Boards
Place the Bottom Board on the table, followed by the Horizontal Divider and the Top Board. Use a mallet to establish a centerline. Use a speed square to mark a centerline along the leading edge of all three boards.
Step 5: Ensuring Square Alignment
Ensure that the bottom of the Top Board, the top and bottom of the Horizontal Divider, and the Bottom Board create a square with the center of the frame.
Step 6: Attaching the Vertical Divider (Upper)
Use wood glue to attach the top of the vertical divider (Upper) to the underside of the Top Board, ensuring it’s centered.
Step 7: Assembling the Structure
Stand the top, bottom, and sideboards on their edges and loosely secure them in corner clamps. Ensure that the pocket holes on the sideboards face inward. Place the Bottom Board between the two Side Boards and position the Top Board above it.
Step 8: Attaching Back Supports
Drill pocket holes at the very end of the 212-inch-wide Back Support pieces and secure them with glue and screws, ensuring the pocket holes face the back of the assembly.
Step 9: Attaching the Horizontal Divider
Cover the vertical divider’s base with glue and place the horizontal divider (Upper). Ensure that the Vertical Divider’s lower edge aligns with the Horizontal Divider’s bottom, then drill three pilot holes through both.
Step 10: Securing the Horizontal Divider
Position the Horizontal Divider so its ends are perpendicular to the Side Boards, and secure it after adjusting its height. Use a drill/driver to secure the Horizontal Divider’s end pieces to the Side Boards.
Step 11: Assembling the Vertical Dividers (Lower)
Assemble both drawers according to the cut list.
Step 12: Dry Fit Cabinet Fronts and Doors
Dry fit the cabinet fronts and doors; lay it on its back once the cabinet is complete, and then set the drawer and door fronts into place.
Step 13: Preparing and Staining Parts
Prepare and stain the parts by sanding and discoloring before installing the drawers, doors, and fronts.
Step 14: Installing Drawers
Install the drawers, ensuring they align with the slides inside the cabinet, and lower them to the floor.
Step 15: Attaching Drawer Fronts
Apply wood glue to the front of each drawer for a snug fit with the cabinet doors. Position the drawer fronts as desired and secure them in place with clamps.
Step 16: Installing Feet
When installing the feet, ensure they are centered 1.5 inches from the front and rear of the Bottom Board and 2 inches from the outer edges.
Step 17: Installing Knobs
To install the wooden knobs, drill pilot holes for each knob using the installation template as a guide.
Step 18: Final Touches
Attach the cluster’s plug, insert the knobs’ threaded rods into their holes, and add a dab of wood glue to the bottom of each Back Support. Your DIY sideboard is now complete.